E Step Calibration Guide
thingiverse
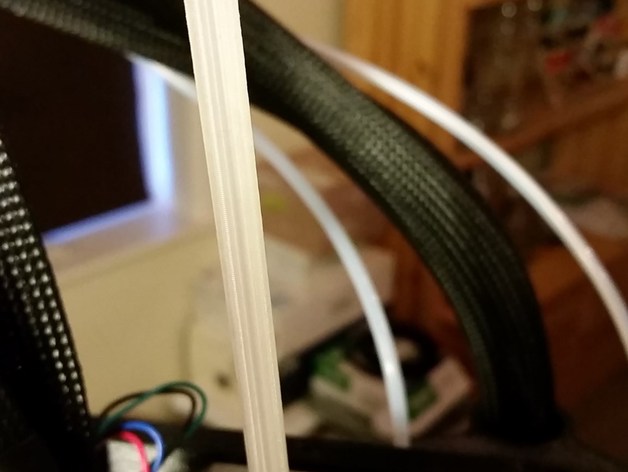
I got fed up with trying to keep the filament steady while measuring and calibrating e-steps. So I came up with a straightforward solution: hold it in place. Once you've threaded it through the middle, it won't come loose. Next, mark above the entry point on the filament. Then use either G-code or a control panel to gently push the filament down until the bottom of your mark is aligned with the top of the tool. Now you can extrude 100mm of filament and measure from the top of the tool to the bottom of the mark. This should make it less stressful to get an accurate measurement. Now, calculate 100/measured * (current estimated steps) to arrive at a new setting for your e-steps. The tools should be 105mm long, so you can measure how accurately your printer is printing height at the same time as getting a bonus advantage.
With this file you will be able to print E Step Calibration Guide with your 3D printer. Click on the button and save the file on your computer to work, edit or customize your design. You can also find more 3D designs for printers on E Step Calibration Guide.