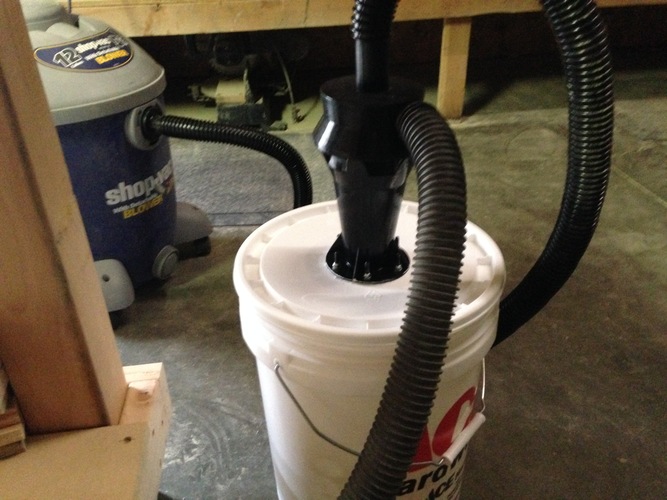
Dust Collection Vortex Generator
pinshape
This is a DIY vortex generator for Dust Collection systems that work with standard 1.25" Shop Vac hoses and mount to the lid of any bucket with a lid. Assembly: Print top and bottom pieces. Mark a hole at the bottom of the vortex generator onto the bucket lid, cut it out carefully making sure no edges protrude inwardly. Identify the bolt holes on the lid by tracing the mounting flange's holes in the bottom piece and drill them slightly larger than 5mm. Apply a bead of silicone adhesive to the up-facing surface of the bottom piece and then join the top and bottom together, squeezing tightly. Add another bead of silicone adhesive to the flange's underside and bolt it onto the bucket lid using M5 bolts with washers. It may be wise to build a backing plate inside the lid as some lids are very thin. Allow 24 hours for drying. Place the lid on the bucket. Insert the vacuum side hose into the top hole. Press another hose onto the horizontal inlet. Turn on the vacuum and inspect the mounting point and top/bottom joint for any leaks. Hook up to your tool and turn on the vacuum for improved filter life and reduced maintenance.
With this file you will be able to print Dust Collection Vortex Generator with your 3D printer. Click on the button and save the file on your computer to work, edit or customize your design. You can also find more 3D designs for printers on Dust Collection Vortex Generator.
