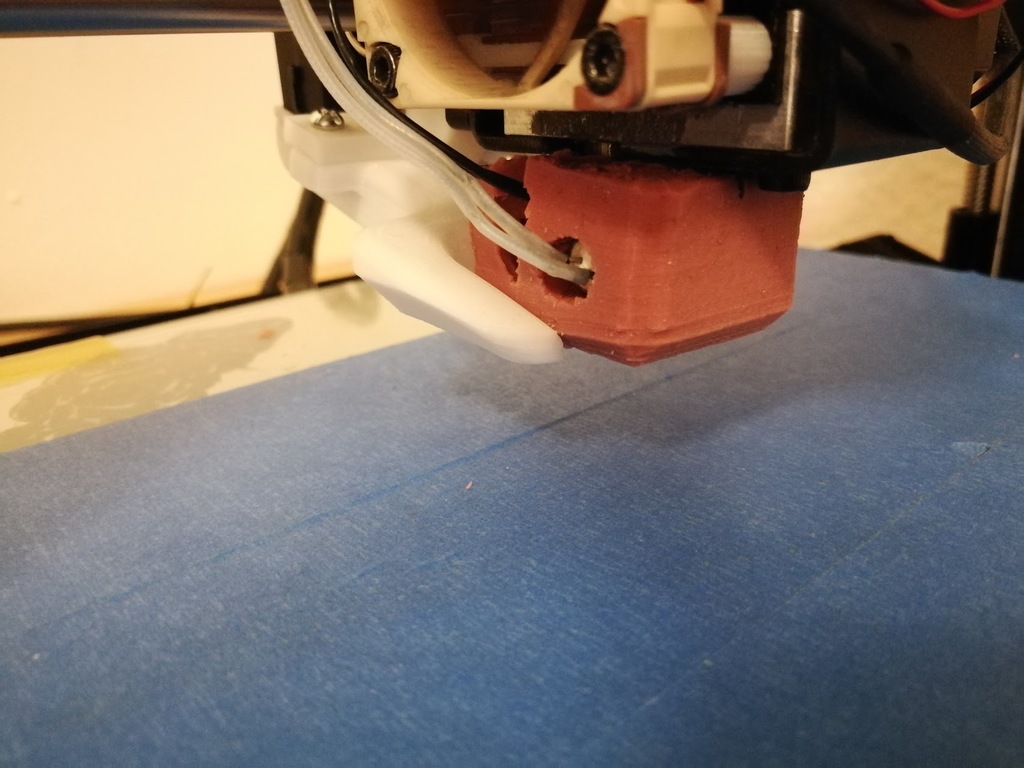
Duplicator i3 hotend silicone insulation sock
prusaprinters
<p>Remix of Crazydog's Hotend Mold. - Shout-out to him!</p> <p>This remix is thinner (3mm vs 4mm silicone) and with bevels so it has better compatibility with Hotend cooling ducts. This one ist completely compatible with Thorped's Fan Duct which im using.</p> <p>While the Extruder is only slightly modified from Crazydog's version, the Mold is completely new.</p> <p>Compatible with Wanhao Duplicator i3 V2.1 with the Heaterblock dimensions: 19.5 x 19.5 x 13.5 mm</p> <p>And probably re-brands of the Duplicator i3 V2.1 as well.</p> <p>Update!</p> <p>New bigger version (Name of the new files is "_big"):</p> <p>Old version had 2.5mm thick silicone walls, the new has 4.5mm on each side. Top and bottom is still 2.5mm to keep clearance.</p> <p>I uploaded new pictures as well, as you can see it is still kompatible with Thorped's Fan Duct.</p> <p>With the Hotend to 250°C the surface of the silicone gets 125°C hot with the new one, with the old silicone sock I got >150°C!</p> <h3>Print Settings</h3> <p><strong>Printer Brand:</strong></p> <p>Wanhao</p> <p class="detail-setting printer"><strong>Printer: </strong> <div><p>Wanhao Duplicator i3 V2</p></div> <p><strong>Rafts:</strong></p> <p>Yes</p> <p class="detail-setting supports"><strong>Supports: </strong> <div><p>Yes</p></div> <p><strong>Resolution:</strong></p> <p>0.16mm</p> <p class="detail-setting infill"><strong>Infill: </strong> <div><p>30%</p></div> <h3>Post-Printing</h3> <p>What you need:</p> <ul> <li>A file to make the parts fit into each other tightly</li> <li>Heat resistant silicone (I used Trollfactory 2 component silicone for tin casting - resistant up to 450°C)</li> <li>Small scissors for touch ups of the silicone</li> </ul> <ol> <li>File of the irregularities of the smaller square hole and the cube on the bottom part so it fits tightly in the case.</li> <li>File of the outsides of the four beams on the hotend so that if fit in the mold.</li> <li>Mix you silicone together (you'll need about 14-16 gram) in an plastic cup or similar. (don't use that for food afterwards!!)</li> <li>Pur in the Silicone to about 2/3 or 3/4 of the Mold.</li> <li>Put in the Hotend slowly, press it down and align it good. The silicone should be covering it and about exactly as high as the case.</li> <li>If the friction doesn't hold everything together, use tape.</li> <li>Wait until silicone is hardened out.</li> <li>Take of the bottom of the mold, push out the silicone/Hotend from the mold case, get the Extruder out.</li> <li>Do little touch ups with small scissors, the holes are probably still covered by a thin layer of the Silicone</li> <li>Mount it on the printers Hotend. (The Hotend must be free of the previous insulation!)</li> </ol> </p></p></p> Category: 3D Printer Extruders
With this file you will be able to print Duplicator i3 hotend silicone insulation sock with your 3D printer. Click on the button and save the file on your computer to work, edit or customize your design. You can also find more 3D designs for printers on Duplicator i3 hotend silicone insulation sock.
