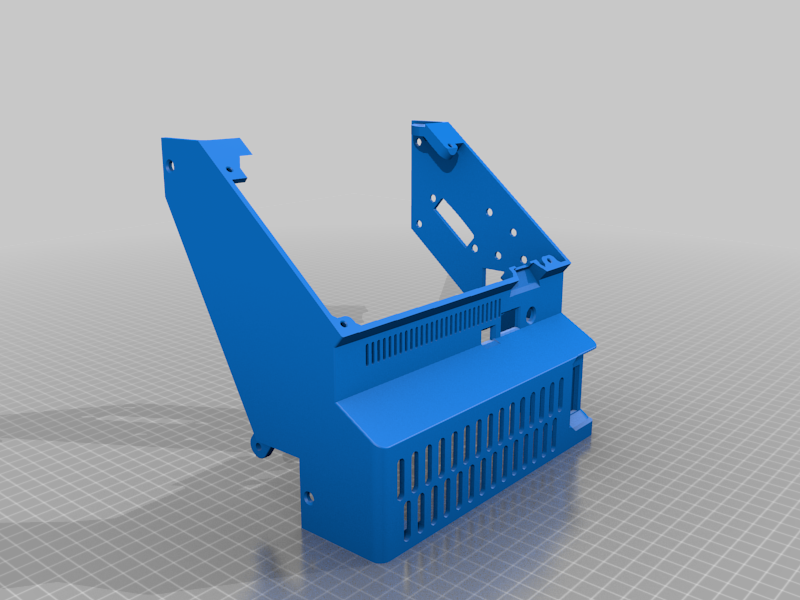
Duet 3 Universal Enclosure
thingiverse
Update 2: The front wall has been tweaked to improve hole sizes and locations of USB ports and audio jacks. A clean back wall is added for those who install a smaller power supply. I included a block-off plate for those with the original back wall, but want the large hole plugged without printing or installing a new back wall. My Duet 3 board's 5V voltage regulator started producing low voltage, so instead of sending the board in, I purchased a Homelylife brand 5V 100W buck converter to power my Raspberry Pi, which further powers my Duet 3 5v rail. An adapter bracket is added to install the buck converter into the spare slot on the "board mounts" plate. Finally, an adapter is added to use the stock CR-10 spool holder. All newly-added parts should just require standard PC fan screws for mounting. Update: The original Front Wall STL did not have a cutout to accommodate a small motherboard-mounted component below the right upper mount screw. The update creates a cavity to create space for it. Also, re-adjusted Raspberry Pi cutout locations are made. Original: This enclosure is designed from the ground-up to utilize the Duet 3 board, PanelDue_7i, and Raspberry Pi 3+ with wifi. The case has accommodations for standard CR-10S parts and connectors, but may be customized for any printer that can use the Duet 3 board. If you have a Raspberry Pi connected, note that I haven't printed the final version of the front panel vent yet, so I haven't verified final port positioning. On my previous version, I elongated the holes with a soldering iron and everything fits perfectly. If you're converting to 24V like me, consider using Mean Well SE-600-24 (24VDC power supply), 24V Hot End fans from an Ender 3, 24V Hot End Heater Cartridge made by BCZAMD, and 24V Hot Bed made by SIMAX3D. Of note, I didn't feel comfortable doubling the hot bed power output through the stock CR-10S connector, so I omitted the box screw-in connector and used longer wire direct from the board to the printer. The 24V 600W MeanWell Power supply was louder than I would've hoped considering everything else is silent, but this setup only peaks at about 250Watts, so it's a bit overkill. The board mount tray has an extra unused spot for future expansion. No need to re-engineer the whole thing, just design an adapter. The blank mount area uses holes that are spaced 41.753mm X 77.286mm, and require holes that measure 5.2mm to utilize the standard M5 computer fan mount screws. After everything I learned from this project, I would've just stayed with a Duet 2, but I was interested in the Duet 3's updated Trinamic 5160 stepper drivers that may have print quality enhancements once the firmware for the Duet 3 matures. I went overkill on cooling, but I print in my garage in southern Nevada and wanted to make sure I didn't have issues. You can see the board temperature through the RRF3.0 web interface, and if you see temperatures get high, add the 40mm fans and brackets. I have 8 extra screw holes in the lid. This is for mounting another accessory such as a handle or a spool holder. If unused, I recommend just covering them with electrical tape. The hole spacing from back to front is 12mm, 83mm, 12mm. Left to right is 40mm. The PanelDue bezel is printed without the button tops so that it can be printed face-down with no supports. Since these are more or less emergency buttons, you can get crazy with it and print them in yellow or red to grab your attention and glue them on, or just don't use the button tops at all. For the Front face with the airflow exhaust grills, if you print this diagonally upside-down, you can safely delete supports to all exhaust grills and holes. I'm still trying to figure out optimal print orientation to get the best quality.
With this file you will be able to print Duet 3 Universal Enclosure with your 3D printer. Click on the button and save the file on your computer to work, edit or customize your design. You can also find more 3D designs for printers on Duet 3 Universal Enclosure.
