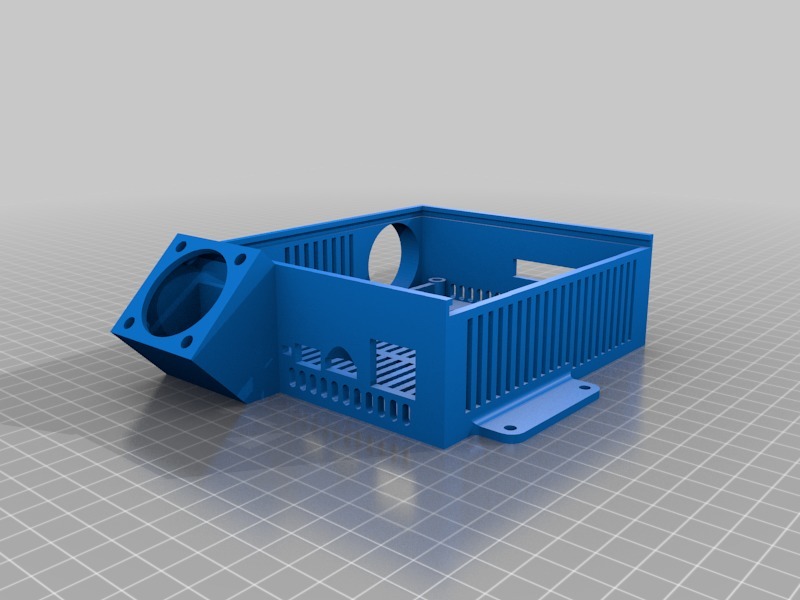
Duet 2 Maestro Enclosure (Extra Vents)
thingiverse
I've modified ktapper's Duet 2 Maestro Enclosure to add numerous extra vents, and I'm impressed by the quality of the original design. Adding these vents was necessary, but my approach was a bit rough around the edges. However, I had trouble using Fusion 360 and DesignSpark Mechanical to create holes in this .stl file, so I ended up using Tinkercad as a workaround. To simplify things, I decided to use rectangular prism holes, which is not ideal, but it got the job done despite Tinkercad's limitations. The Duet Wifi/Duet Maestro/Duet Ethernet boards generate a significant amount of heat on their bottom side, which aligns with the design specs of the board. Ktapper's original design featured 40mm fan mounts positioned horizontally and mild ducting, but it wasn't enough to meet my cooling requirements. My remix maintains the same design as the original but adds many more vents for improved airflow. I added vents to the bottom of the case for maximum heat dissipation and also to two sides. I aimed to preserve some of the flow properties designed into the fan positioning and ducts while still increasing ventilation. Although I haven't printed this yet, it's on my to-do list soon. Initially, I tried adding long vents to the bottom, but that would have compromised the structure's integrity, so I separated them into three rows instead. This should maintain the rigidity of the enclosure. Next, I'll be creating a cover since one wasn't provided for this case originally. I plan to incorporate a fan into the cover to cool the stepper driver heatsinks on the board.
With this file you will be able to print Duet 2 Maestro Enclosure (Extra Vents) with your 3D printer. Click on the button and save the file on your computer to work, edit or customize your design. You can also find more 3D designs for printers on Duet 2 Maestro Enclosure (Extra Vents).
