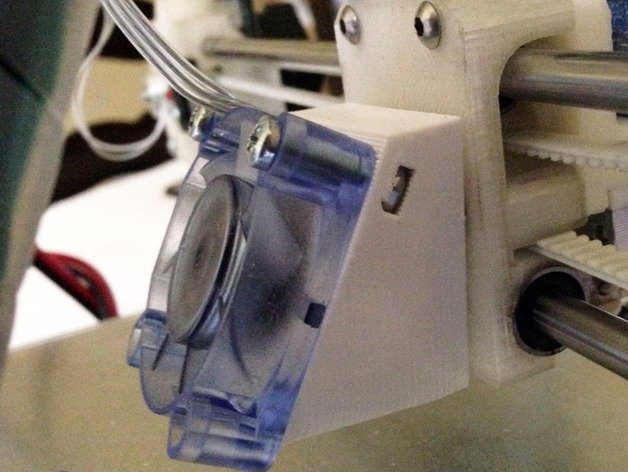
Ducted fan for RepRapPro Huxley
thingiverse
This design originates from RepRapPro's GitHub at https://github.com/reprappro/Huxley/blob/master/Print-Huxley/Individual-STLs/optional-fan-mount-1off.stl. The creator believes it surpasses other fan attachment methods, as those typically affix fans to the Z carriage, placing them too far from the printed part. This design was showcased at the TCT Personalize show in Birmingham, UK. In the original RRP design, the fan is held by two lugs protruding from the fan mount; however, this method might not be sturdy enough for all users. The redesigned fan mount uses captive nuts and 16mm M3 screws for a more secure fit. To install, print and push fit two M3 nuts into the side holes of the ducted fan mount. If necessary, clean up the printed layers inside the holes with a small file. Alternatively, use half M3 nuts for easier installation. The fan mount then attaches to the X carriage using two screws, depending on your Huxley build. You may need to print a different X carriage if necessary, and you can find the STL files on RepRapPro's GitHub. Lastly, secure the fan in place with 16mm M3 screws, similar to those used for cooling the hot end.
With this file you will be able to print Ducted fan for RepRapPro Huxley with your 3D printer. Click on the button and save the file on your computer to work, edit or customize your design. You can also find more 3D designs for printers on Ducted fan for RepRapPro Huxley.
