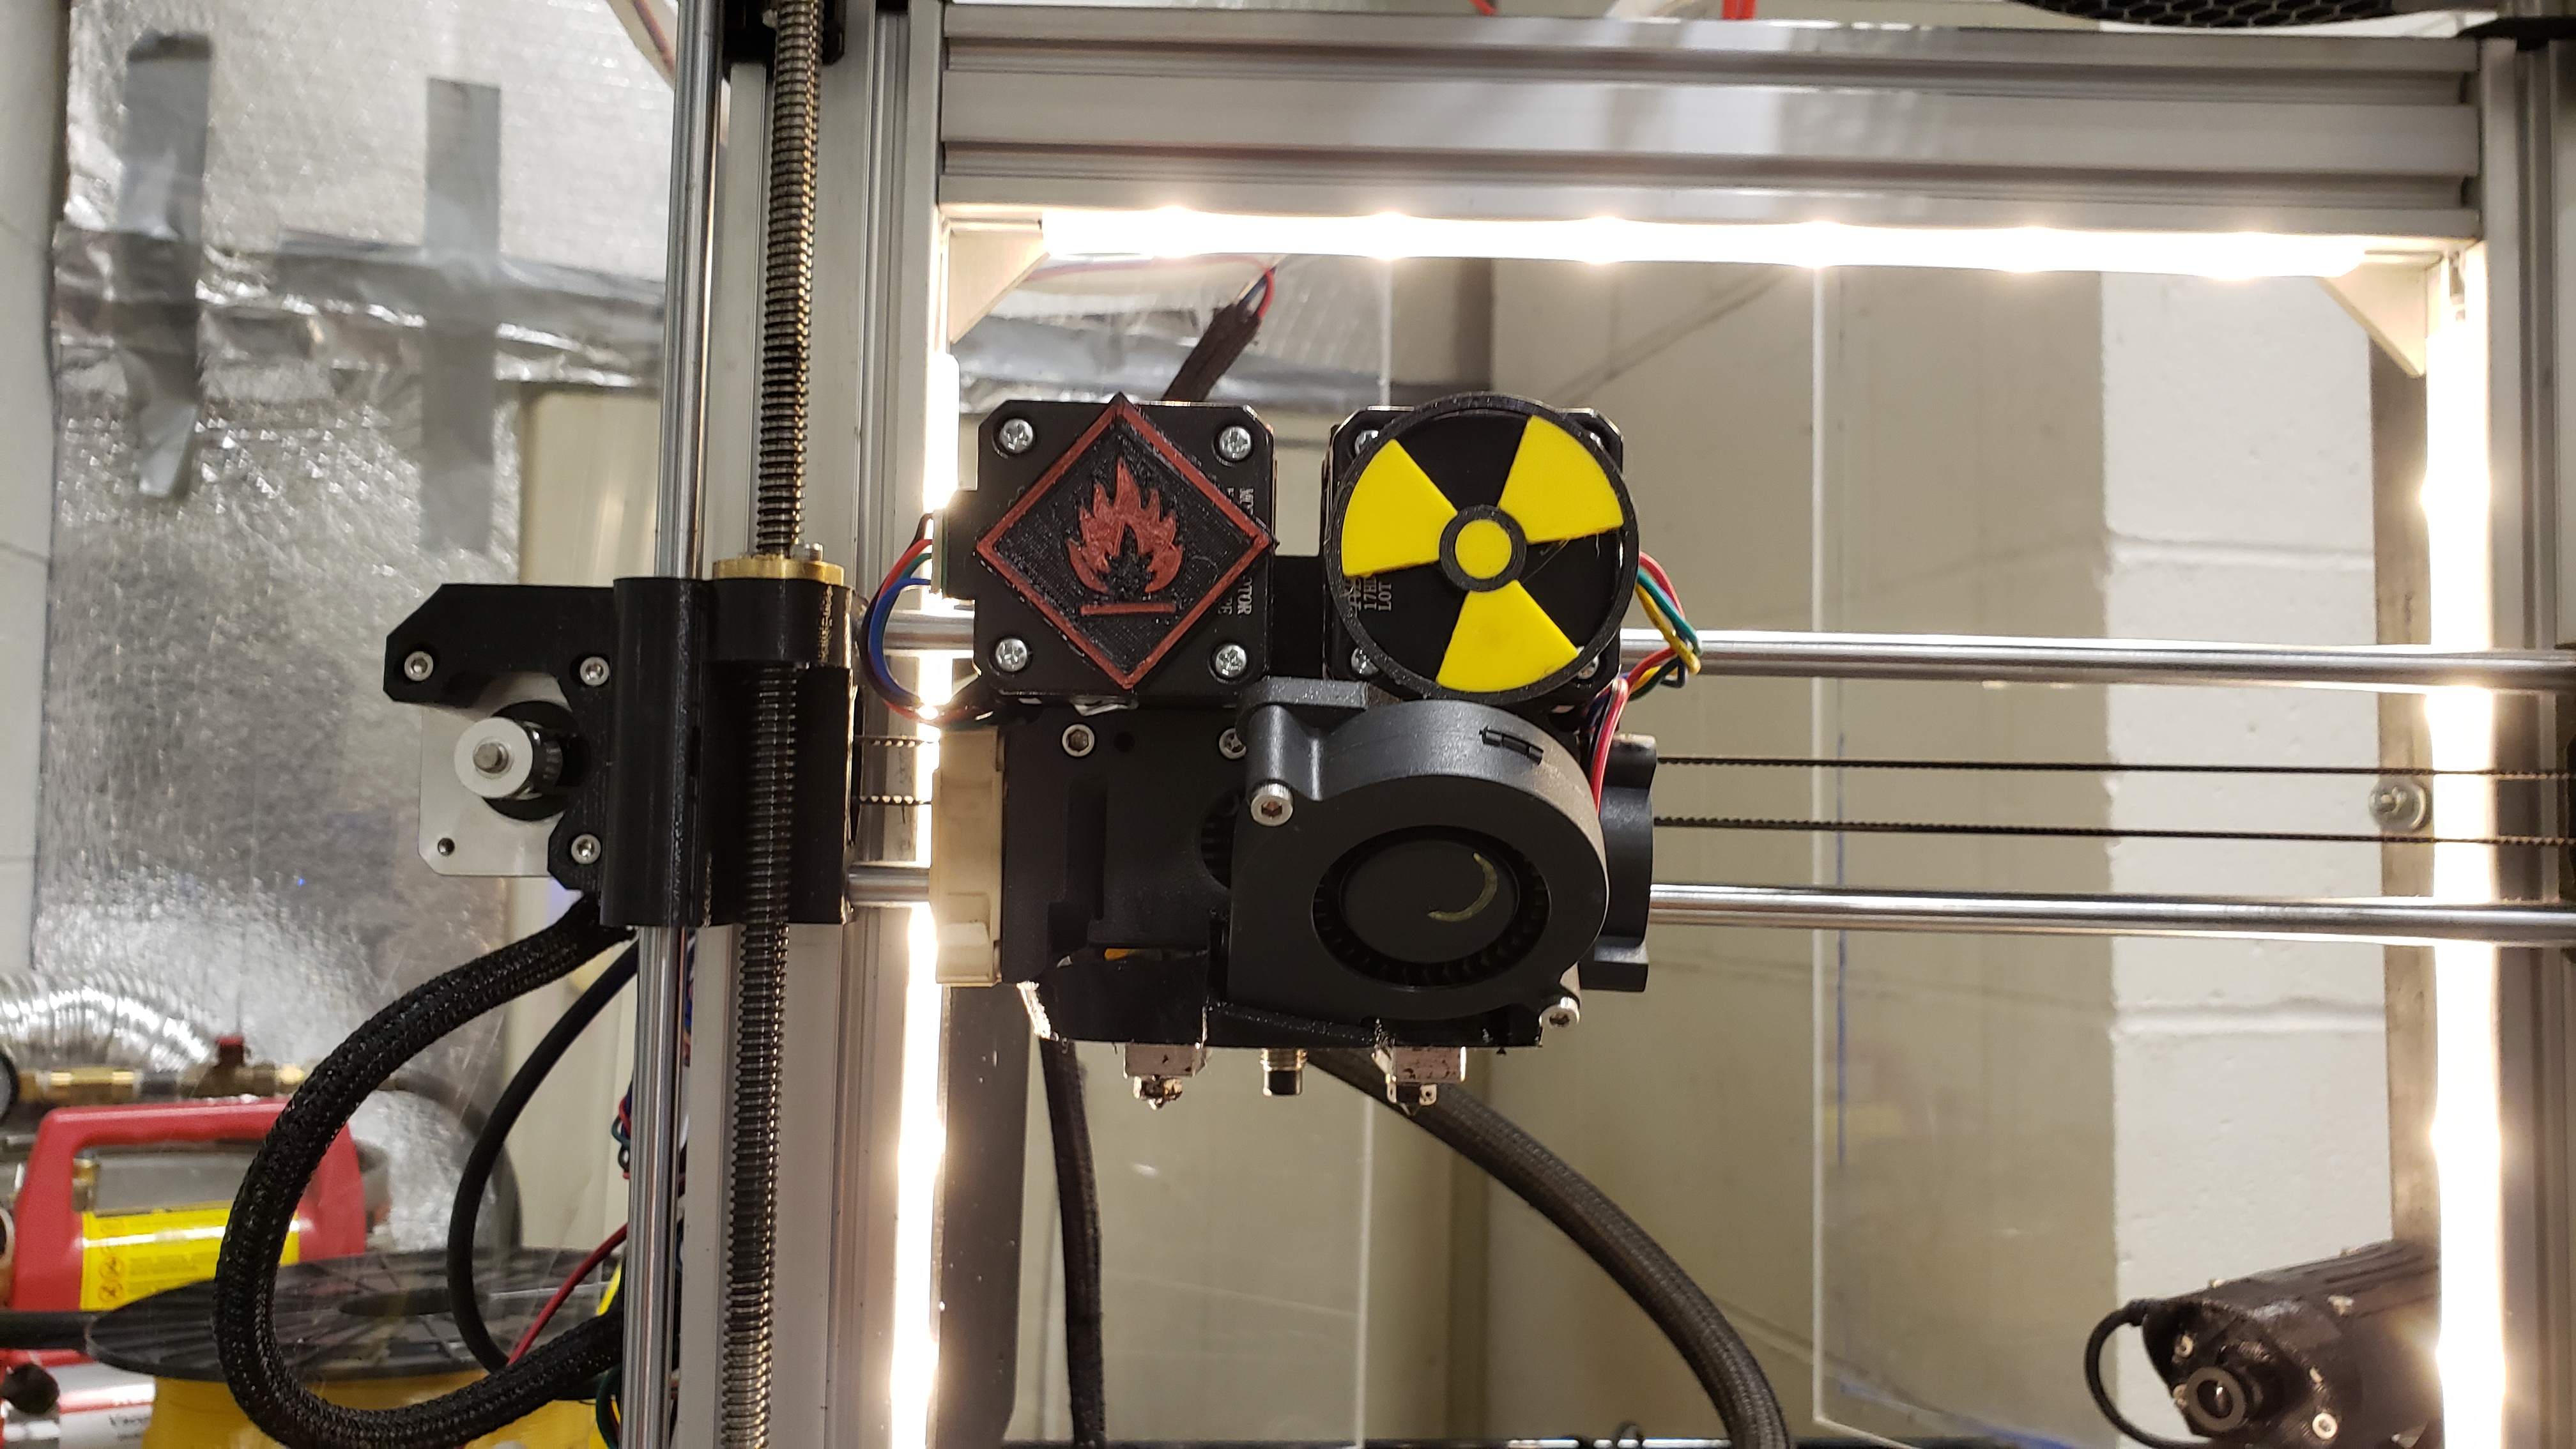
Dual mk3s Extruder mod
prusaprinters
<p>A second extruder mod for the mk3s. It does require a different controller board (e.g. Duet2/3 Wifi/Ethernet) that is capable of driving 2 extruders. It is essentially a mirror image of the original mk3s extruder with a couple of modifications for precise nozzle leveling. Also the PINDA is moved 2mm toward the original nozzle in order to conserve space. The second nozzle offset is 42mm, which means the effective x axis build space is 84mm shorter down to 169mm. If you want to keep the original build volume, do the Bear upgrade and add 84mm to all of the x-axis distances, including 3 extrusions, belt, and hardened rods.</p> <p>This mod assumes you have the technical ability to get precise leveling adjustments, configure an aftermarket controller and troubleshoot basic extruder configurations and settings. All hardware is made with tolerances and the ability to fine tune is essential.</p> <h3>Print instructions</h3><p>I printed everything at 0.2mm when sizing the prototype. I'd recommend Prusament PETG or Colorfabb HT filament to withstand higher print temps. If sticking to PLA, then PLA prints should be fine. These instructions assume you are using the stock frame, though I made this for a Bear upgrade with stock dimensions.</p> <p>Order all of the extra parts needed including a new stepper motor, Bondtech gears, idler spring, hotend assembly, spare x-axis belt, extra lm8uu linear bearing(optional) and extruder fan. I'd recommend getting a 3mm socket cap hardware kit (8mm - 40mm lengths with hex,nylock and square nuts) off your online hardware source of choice. Print all components before disassembling. The provided x-carriage requires you to trim your belt, I'd recommend getting a new x-belt in case you decide to go back to the original setup down the road. Something to consider is that dual nozzle setups demand precise bed leveling to work without crashing. The Nyloc mod with the Prusa Bed Leveling Octoprint plugin is a great way to achieve this with the mk3.</p> <p>Once you are happy with your prints replace the entire x and e axis with the modified parts provided, following the Prusa directions where applicable. Start with extruder 0 and get your PINDA dialed in. Adjusting the screw with the second extruder mounted is... difficult. Install the adjusting nut into the extruder body and thread a 10-12mm long 3mm socket cap screw in. Once you are happy mount the second extruder with the 4 mounting bolts to the x_carriage_V1 one turn loose. Adjust the nozzle adjusting screw until both nozzles are level. I used feeler gauges against a gauge block on the bed to dial in the nozzles, it is best to do this while the nozzles are hot, if possible. Once the ideal nozzle adjustment is achieved, tighten, recheck and readjust as necessary. Getting the nozzles exactly level is critical for this mod to work successfully.</p> <p>After you have configured your controller to run a second extruder and set your ideal offsets run the nozzle alignment pattern and fine tune from there.</p> <p>Stay tuned for refined model files, configs and updates. I have included a couple .3mf files for easier printing, as well as a .ste file from Fusion 360, based off Jonathan Kayne's excellent mk3s STEP model found on <a href="https://grabcad.com/library/prusa-i3-mk3s-solidworks-with-step-1">GrabCad</a></p>
With this file you will be able to print Dual mk3s Extruder mod with your 3D printer. Click on the button and save the file on your computer to work, edit or customize your design. You can also find more 3D designs for printers on Dual mk3s Extruder mod.
