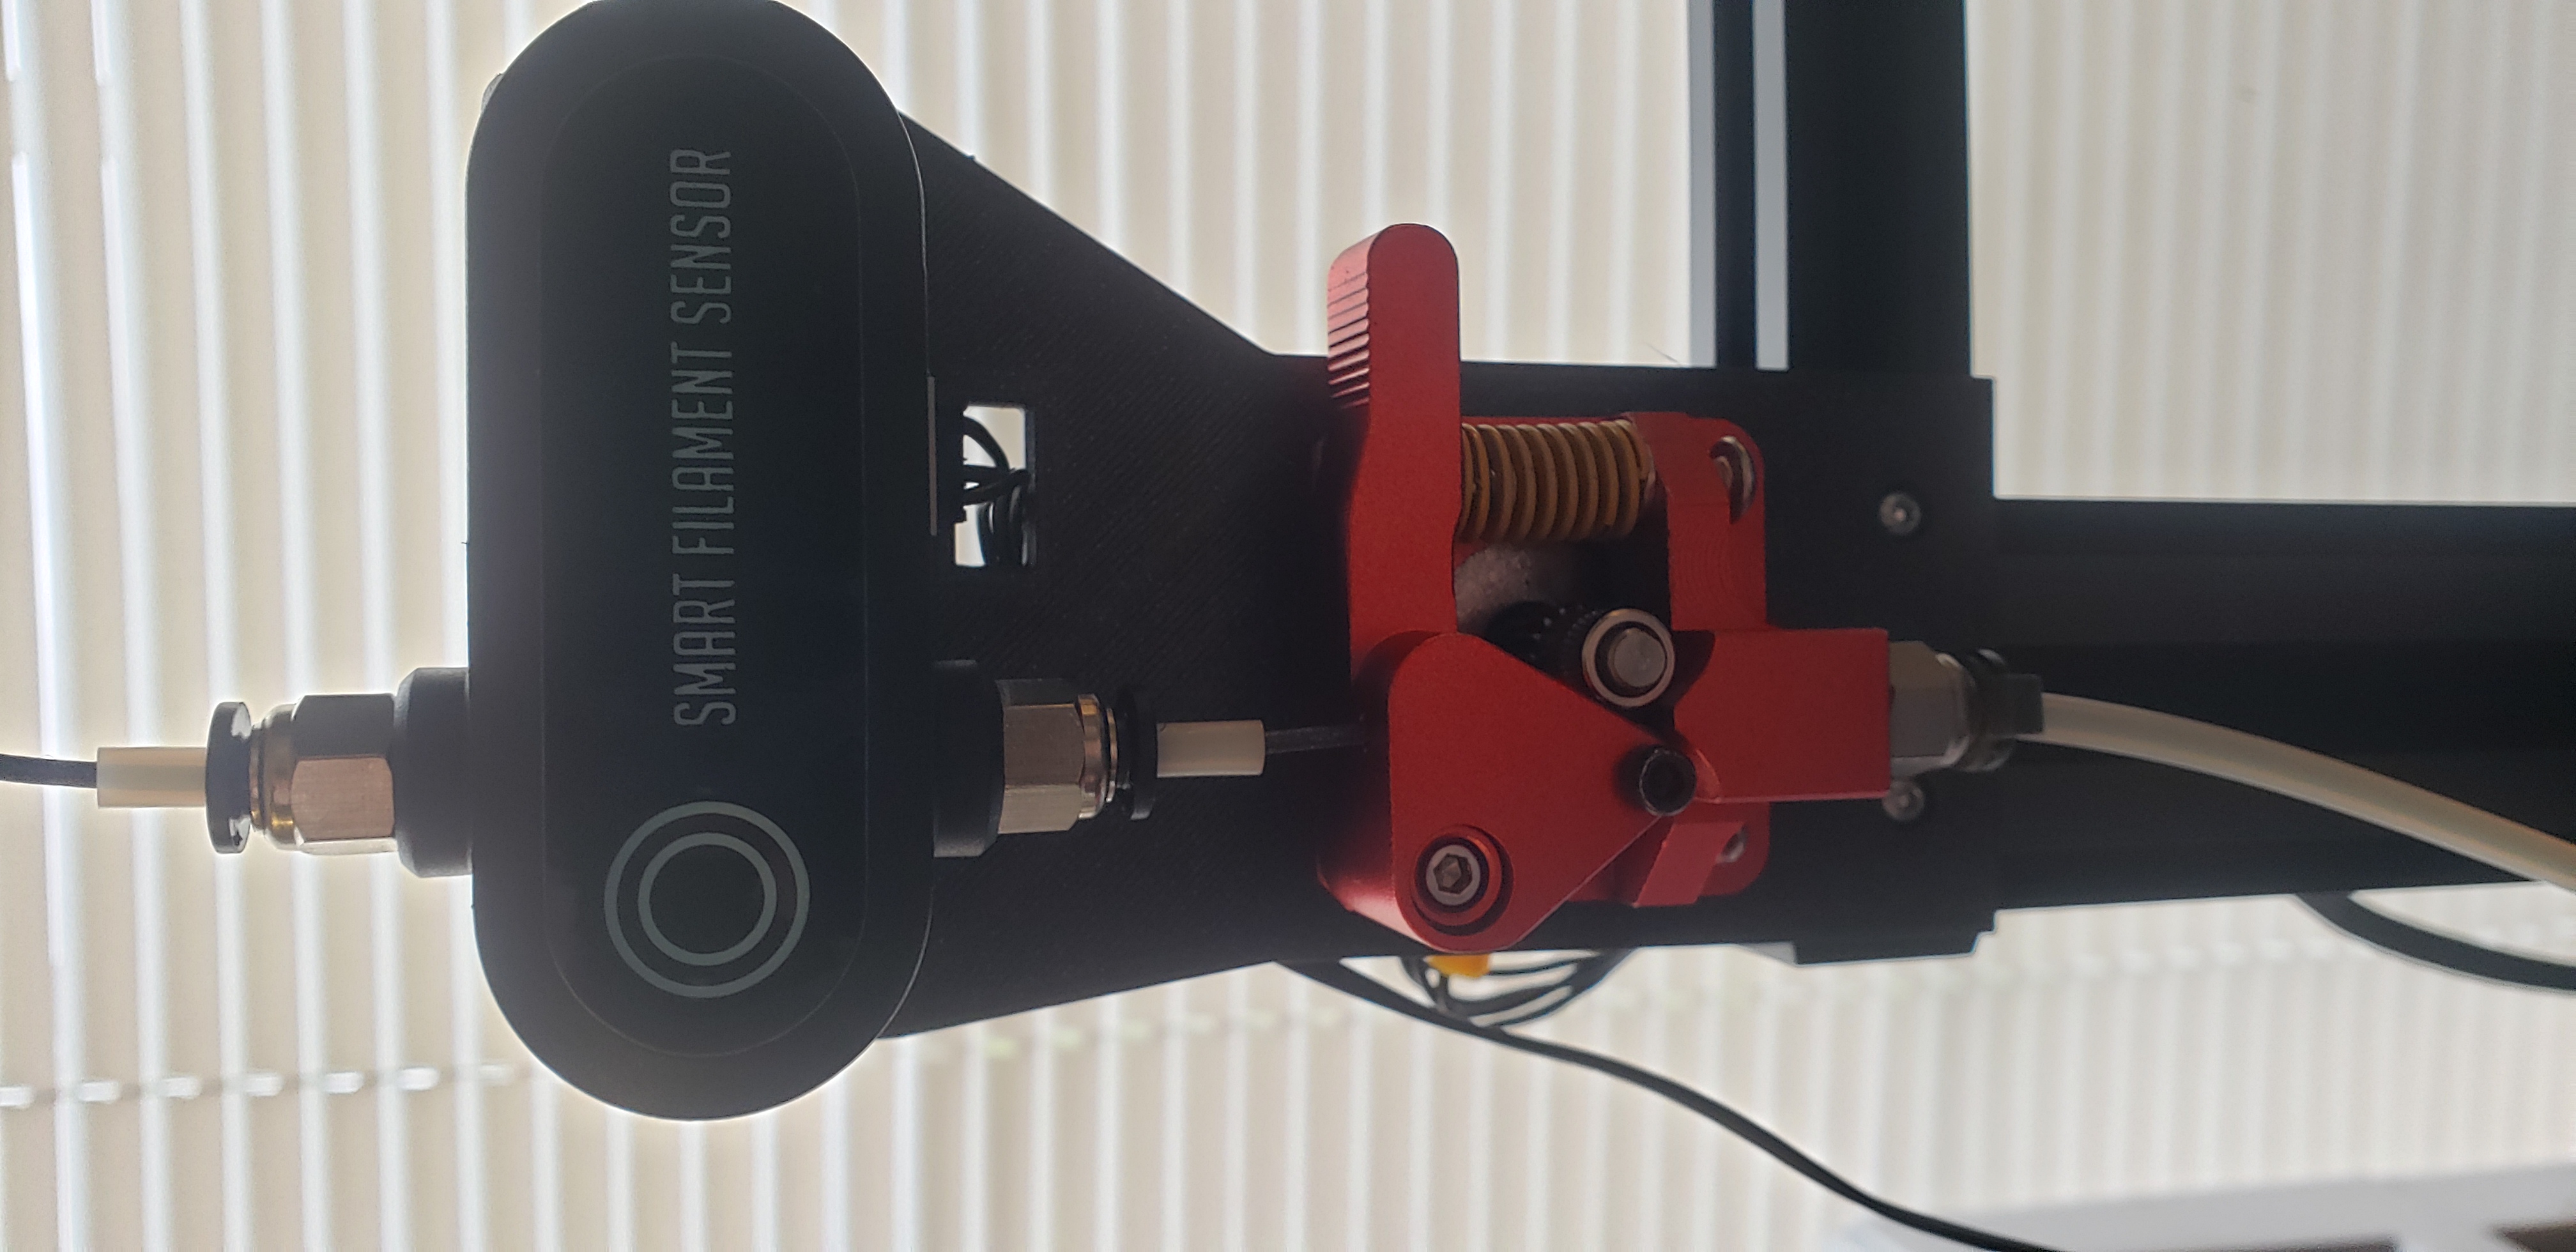
Dual Gear Extruder & BTT SFS Hard Mount - 1.0.0
prusaprinters
<p>This will allow you to hard-mount your BTT Smart Filament Sensor without a bowden tube coupled on both the SFS and your extruder and works on most bowden tube printers with 2020 rails.</p><p>This is particularly useful if your extruder doesn't have a way to couple the PTFE tube to the extruder input.</p><p> </p><h3><strong>Additional Hardware:</strong></h3><ul><li>I am technically using <a href="https://www.amazon.com/gp/product/B086WBBHQ3/ref=ppx_yo_dt_b_search_asin_title?ie=UTF8&psc=1"><strong>this specific dual gear extruder</strong></a>, but many of them have the same dimensions. Just check yours to see if the input hole for the filament is roughly in the same place on your extruder. That's the only important dimension for this mount.</li><li>At least <strong>2x medium-length M3 screws</strong> for mounting the SFS (6 screws if you want to fill all the holes)<ul><li>These can be anywhere <strong>between 12mm and 16mm long</strong>, with 16mm working the best. You can technically go up to 20mm, however, they will likely cosmetically damage your SFS case.</li></ul></li><li><strong>2x (or up to 5x) M3*8 screws with drop-in V-slot nuts</strong> (<a href="thingiverse.com/thing:3050607">These printed ones</a> work great!)</li><li><strong>2x 30mm lengths of PTFE tube</strong></li><li>(optional) These <a href="https://www.thingiverse.com/thing:5154404"><strong>printed bowden clips</strong></a> are usually better than the stock ones</li></ul><p> </p><h3>Recommended Slicer Settings:</h3><ul><li><strong>Supports:</strong> Not recommended unless yours are finely tuned, as they can be difficult to remove from the frame mounting holes. This model is designed to be able to be printed without them anyway.</li><li><strong>Infill:</strong> 15% is recommended but not lower than 10% so that the part is stiff enough.</li><li><strong>Parameters/Walls:</strong> 2 is recommended.</li></ul><p> </p><h3>Printer Compatibility:</h3><p>Since this is only the initial release of this model, it is really only designed for an Ender 3 style printer with a dual gear extruder. <strong>However</strong>, not only does this design have some built-in buffer to allow wider compatibility, but it is also fully parametric with the intention of supporting many more extruders in the next revision.</p><h5> </h5><h5>Stock Creality & Creality Clone Printers:</h5><p>If you are using the stock plastic Creality extruder for the Ender-3 or any of its variations or clones, simply don't print the SFS Riser and it should work (<i>not tested, please let me know if you try this!</i>)</p><p>If it is difficult to get the filament into the extruder from the SFS, you can remove the PTFE couplers & tubes between the SFS and extruder to get more leeway. (Just keep in mind that whatever surface the filament touches other than PTFE can be slowly worn away over time.)</p><p> </p><h5>Other printers:</h5><p>There is no official support yet for non-Creality printers but only because I want to make sure any major kinks are worked out in this first release. My intention is to create 5-10 variations that I can then reference for a wide range of printers.</p><p> </p><h5>Mounting Options:</h5><p>This is designed to be mounted with as little as 2 screws on either the top or side of 2020 rails and can be mounted in virtually any direction, as long as you can feed filament to it.</p><p>The base is 4mm thick to allow it to support the motor in any direction you can think to mount it and still stay reasonably ridged, even when only using the minimum amount of screws. That being said, the more screws you use the better.</p><p> </p><h3>Installation Guide:</h3><p>This guide assumes you have <strong>already uninstalled your extruder & extruder motor</strong> from your printer's frame, and have also <strong>already plugged one end of your SFS cord into your printer's mainboard</strong>.</p><p> </p><ol><li>Using the M3*8 screws with V-slot nuts, fasten the mount to your frame in the desired position.</li><li>Your extruder is installed on the completely flat side of the model, with the motor on the opposing side, and the motor shaft going through the large circular hole. The filament input of your extruder should be facing the side of the model with large rounded corners.</li><li>Using your original extruder hardware, screw it through the model into the motor screw holes.</li><li>Insert your 30mm PTFE tube into both sides of the BTT Smart Filament Sensor, and add your bowden clips to the couplers. (The PTFE should stick out roughly 5-10 mm from each side)</li><li>Route the cord for the SFS through the back of square hole of the mount and plug it into the SFS.</li><li>The SFS Riser should be installed with the angled surfaces touching the SFS and the flat surfaces touching the completely flat side of the mount. Make sure all 6 holes line up, as it is easy to accidentally install it backward so that only 4 screws can screw in all the way.<ul><li><strong>Important:</strong> Don't use the SFS Riser if your extruder input is close to the motor, such as on the original Creality extruder.</li></ul></li><li>Using the medium-length M3 screws, fasten the SFS to the mount and to the SFS riser.</li><li>You are ready to start feeding filament into your hotend and using your printer as normal.</li></ol><p> </p>
With this file you will be able to print Dual Gear Extruder & BTT SFS Hard Mount - 1.0.0 with your 3D printer. Click on the button and save the file on your computer to work, edit or customize your design. You can also find more 3D designs for printers on Dual Gear Extruder & BTT SFS Hard Mount - 1.0.0.
