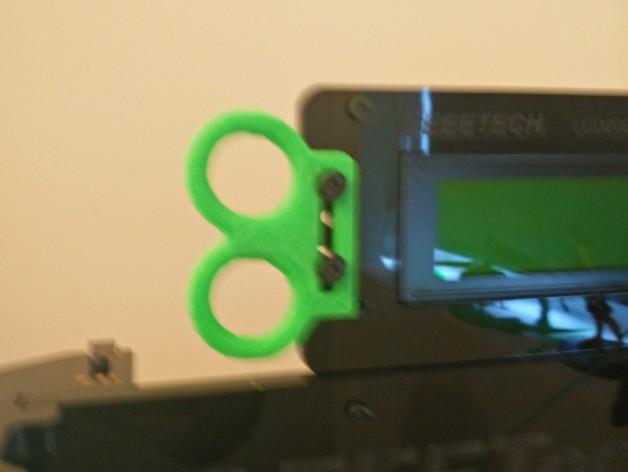
Dual Filament guide
thingiverse
Dual filament setup guide for the Geeetech Prusa I3 Pro B 3D Printer. Step 1: Install Dual Extruder Assembly * Prepare and assemble the dual extruder system according to manufacturer's instructions. * Attach the Y-end-stop assembly and secure with screws. Step 2: Connect Filament Motors * Remove any protective plastic wrapping from new motors. * Connect the filament motor connectors to the Y-carriage motor port. Step 3: Load Dual Extrusion Heads * Secure a roll of PTFE tube to the side plate of the Prusa I3 frame and cut it according to requirements. * Load dual extrusion heads onto Y carriage making sure that Bowden tubes are secured firmly in place using spring clips. Step 4: Test Filament Runners * Gently tug both ends of filaments until they are smooth in movement * Turn on Prusa I3 B 3D Printer. Adjust as required. Note: Ensure the print head remains within X-Z carriage, at least partially contained to facilitate filament loading. This allows filament to stay away from sharp moving objects inside the Y carriages that move the Z carriage when moving.
With this file you will be able to print Dual Filament guide with your 3D printer. Click on the button and save the file on your computer to work, edit or customize your design. You can also find more 3D designs for printers on Dual Filament guide.
