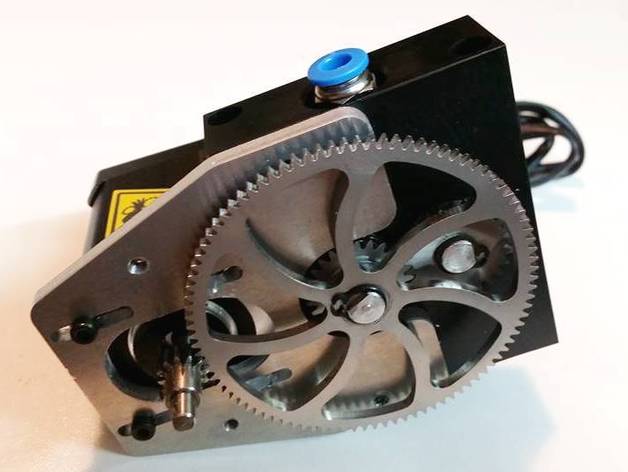
Dual Drive Gear Ninjaflex extruder hole drilling template
thingiverse
This is a hole drilling template for the ORD Solutions dual drive gear ninjaflex extruder. It has holes for the new extruder as well as holes for the existing RoVa3D extruder to make upgrading easier. To use this template, simply print the file and follow these steps: Remove the existing extruder you are replacing from your RoVa3D. Screw the template onto the base plate of your printer. Drill the new holes with a 3.5mm drill bit (1/8" or 9/64"). Tap the new holes with an M4x0.7mm tap. Screw the new ninja extruder to the base plate using these new holes. Remove the old stepper motor from its bracket and screw it into place on the new stepper motor support bracket provided with your extruder kit. Align the drive gear on the stepper motor with the large gear on the extruder. Finally, print a new part in ninjaflex or any other filament (such as ABS/PLA). Visit our website at http://www.ordsolutions.com/ninjaflex-extruder for more information about this product. Follow us on Facebook at https://www.facebook.com/OrdSolutionsInc to stay up to date with the latest news and updates from ORD Solutions. You can also connect with us on Twitter at https://twitter.com/ordsolutions.
With this file you will be able to print Dual Drive Gear Ninjaflex extruder hole drilling template with your 3D printer. Click on the button and save the file on your computer to work, edit or customize your design. You can also find more 3D designs for printers on Dual Drive Gear Ninjaflex extruder hole drilling template.
