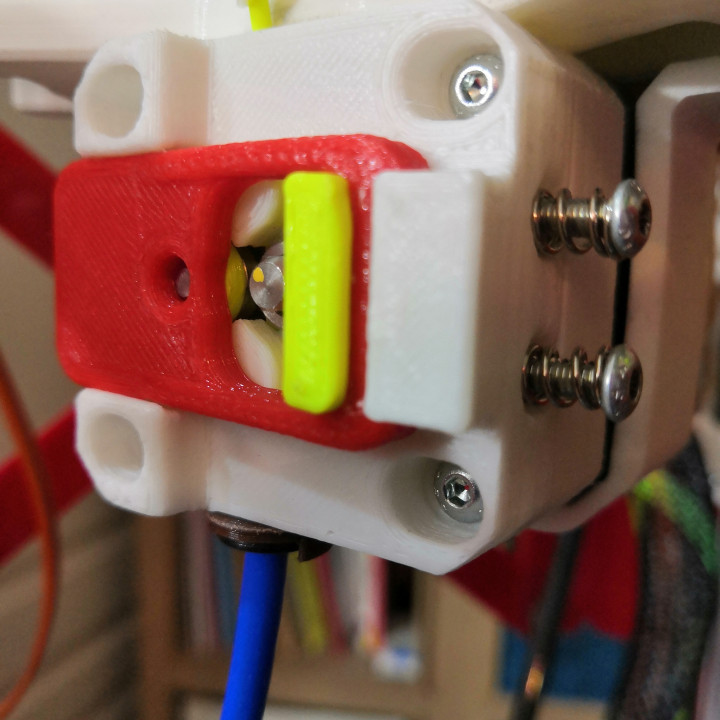
Dual Drive Clap Extruder
myminifactory
I can provide you with a summary of the steps and instructions provided in the text: 1. Assemble the extruder by following the video instructions. 2. Install the metal shaft, roller bearings, and notched wheel on the sliding cover. 3. Place the ring at the top to keep the axle in place. 4. Mount the second toothed wheel on the motor shaft and adjust its position so that the hollow of the toothed wheel is aligned with the axis of the filament passage. 5. Position the sliding cover inside the first carter. 6. Cover all of this with the main carter. 7. Insert the lever into its housing and put it in position 'filament loading' (vertically). 8. Approach the four fastening screws without tightening them. 9. Load a piece of filament into the extruder. 10. Slide the extruder up to tighten the filament between the two toothed wheels, and then back up just enough to release the filament. 11. Tighten the four crankcase fixing screws holding this position. 12. Move the lever to the 'filament drive' position (flat). 13. Position the two tensioning screws with their springs. Screw them alternately until the screw heads are about 5mm from the housing. If you have any questions or need further clarification, feel free to ask!
With this file you will be able to print Dual Drive Clap Extruder with your 3D printer. Click on the button and save the file on your computer to work, edit or customize your design. You can also find more 3D designs for printers on Dual Drive Clap Extruder.
