DSLR Time Lapse Trigger
myminifactory
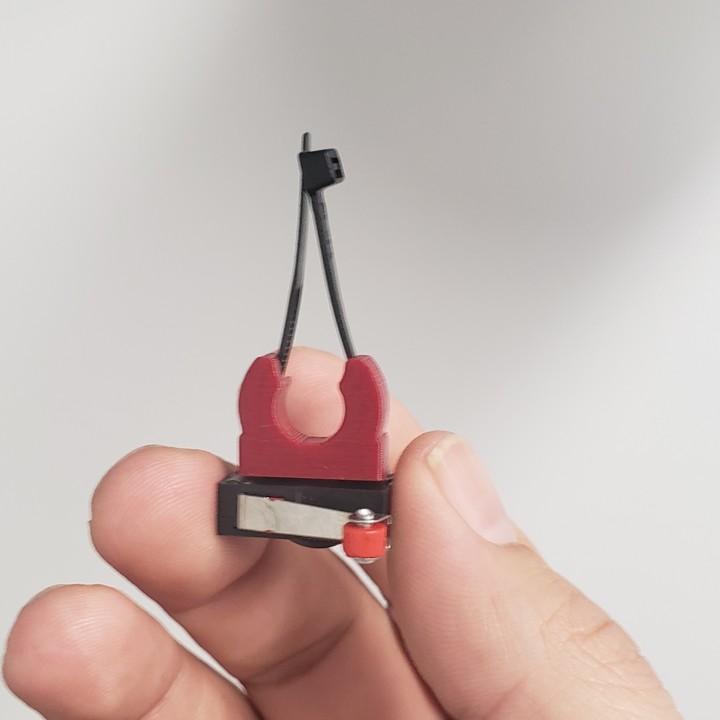
This mount makes it possible to take time-lapse photos by having the print head move to the right after each layer and capture an image. To set this up, you'll need to figure out how to wire it. In my case, I used a Velleman FreeWave Plus remote, which I modified by soldering wires to the button to activate the camera trigger. The G-code I used for layer changes is as follows: G1 X246 Y205 F3000; Move away from the print G4 S0; Wait for move to finish G4 P900; Wait for 900ms Special thanks go to Vedran Marjanovic Wekster for helping me with the G-code. The switch will require a metal arm, which should be bent slightly to clear the P.I.N.D.A mount. You can use a zip tie from your Prusa build kit, as they usually come with extras. For an example of what this time-lapse setup looks like in action, check out Chris Frieze's Twitter post at https://mobile.twitter.com/chris_frieze/status/1078060626839252992.
With this file you will be able to print DSLR Time Lapse Trigger with your 3D printer. Click on the button and save the file on your computer to work, edit or customize your design. You can also find more 3D designs for printers on DSLR Time Lapse Trigger.