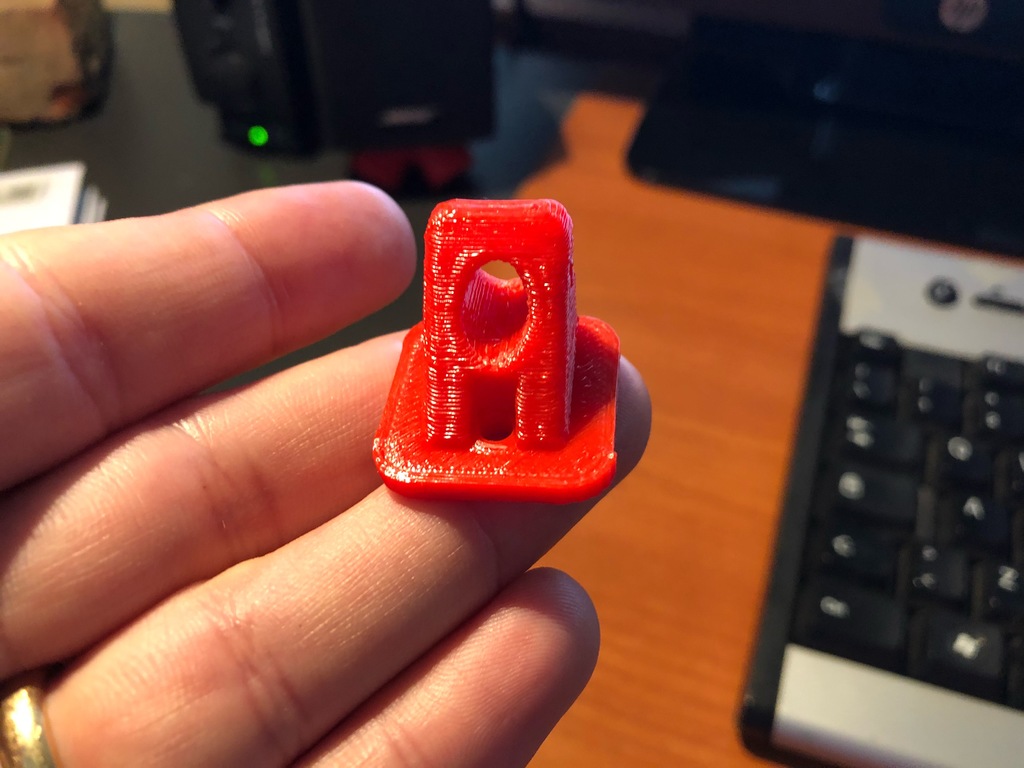
DS18B20 sensor mount
thingiverse
Mounting the DS18B20 Sensor is a Straightforward Process To begin mounting the DS18B20 temperature sensor, locate its 1.6mm mounting holes on both sides of the device. These small holes are designed specifically for securing the sensor to your desired platform using M2 screws. First, you will need to drill two holes in your mounting surface that align perfectly with the sensor's mounting holes. Be sure to maintain a precise distance between these holes, as this is crucial for proper alignment and secure attachment of the DS18B20 sensor. Once your mounting surface has the necessary holes, proceed by inserting an M2 screw into each hole on both sides of the device. Securely tighten these screws to firmly attach the DS18B20 temperature sensor to its mounting platform. For added protection against environmental factors such as moisture and extreme temperatures, consider applying a thin layer of thermal paste to the back of the DS18B20 sensor before attaching it to your mounting surface. This will enhance heat transfer between the device and the surrounding environment, ensuring accurate temperature readings at all times.
With this file you will be able to print DS18B20 sensor mount with your 3D printer. Click on the button and save the file on your computer to work, edit or customize your design. You can also find more 3D designs for printers on DS18B20 sensor mount.
