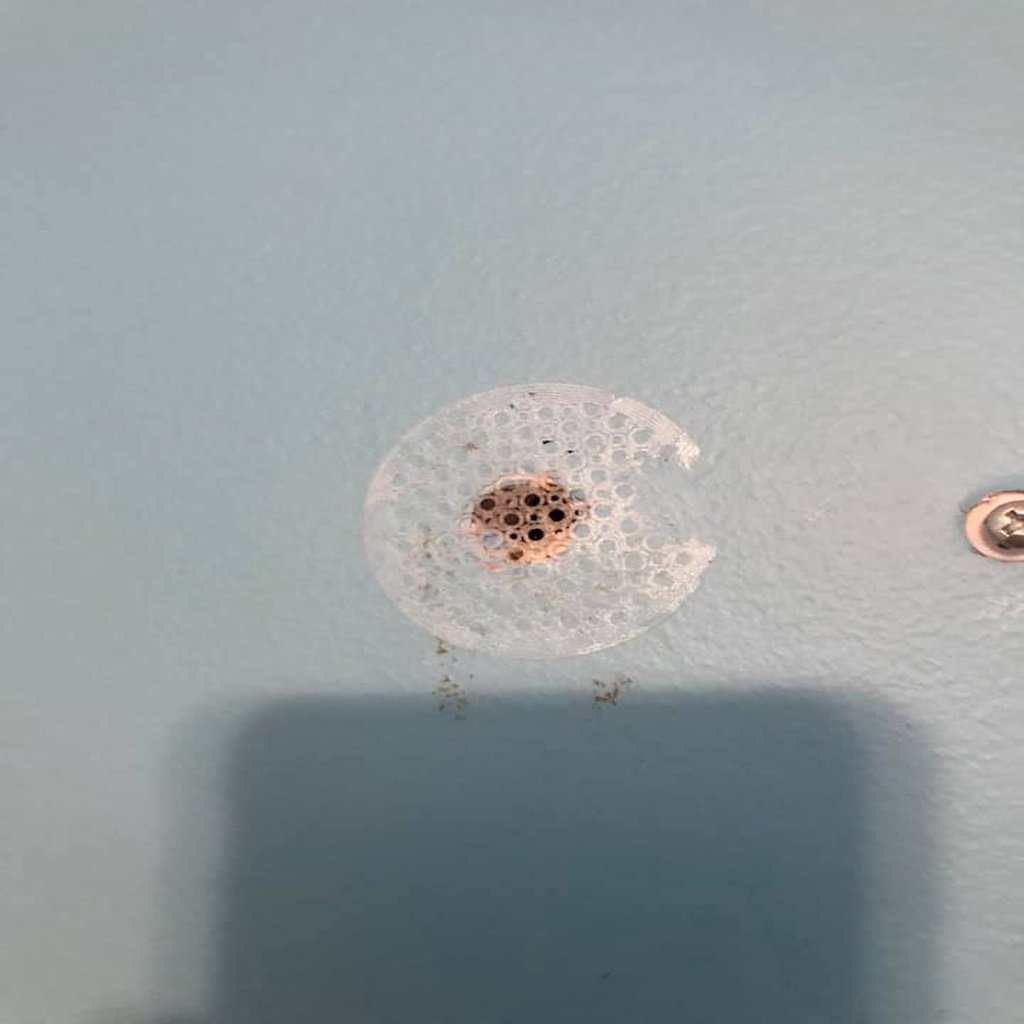
Drywall Patch
thingiverse
I'm pretty proud of what I've created, even if it's not the most exciting thing ever made. It shows just how versatile these printers can be in our daily lives. I had a small hole in my drywall that needed fixing, and since I didn't have any patches on hand, I decided to design and print one using transparent PETG. The holes were spaced 2mm apart, with 4mm between them for a perfect center-to-center alignment. The patch was incredibly thin at just 0.2 mm, making it a quick print job that took no time at all. However, one edge stuck way too well to my TH3D build plate, but it still got the job done! To attach it to the wall, I simply coated the back with spray adhesive or applied a thin layer of drywall mud/plaster, followed by the patch and another thin layer on top. Since it's so slim at 0.2mm, it barely sticks up, making feathering the repair super easy. A pro gave me some valuable advice - use a hammer or tool to sink the edges of the mesh below the level of the drywall (before applying mud). Trust me, it'll look way better in the end! I've recently added new square and rectangular patches, as well as ones designed specifically for repairing drywall around single and double gang switch boxes and round ceiling boxes.
With this file you will be able to print Drywall Patch with your 3D printer. Click on the button and save the file on your computer to work, edit or customize your design. You can also find more 3D designs for printers on Drywall Patch.
