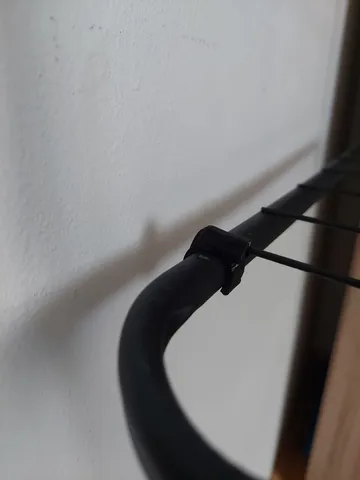
Drying rack wire fix
prusaprinters
Small part to fix loosen wire in cloth drying rack. Designed for dimensions: Frame diameter 14 mmWire diameter 2mm InstalationAttach part to main frame. Remove paint from end of the wire, you can use file to make surface of wire more rought. Than use candle or lighter to heat up a wire and insert it in to ther wire holder. Insert wire as deep as possible to avoid sagging of wire. Be carefull when working with heated wire. Reheat wire if needed, to get deeper in to the part. DimensionsModel size is 25 x 20mm, height 10mm. Print settingsModel is printable without supports. I recommend to use 0.15 mm layer height since model is really small. I used PETG which is flexible and strong enought. Do not use PLA, all my parts broke within a week. Version V1 Longer wire holeMove hole in frame griper towards cloths Add rib to reinforce frame gripper My workDo not hesitate to write me with any question. Also check out my other models.
With this file you will be able to print Drying rack wire fix with your 3D printer. Click on the button and save the file on your computer to work, edit or customize your design. You can also find more 3D designs for printers on Drying rack wire fix.
