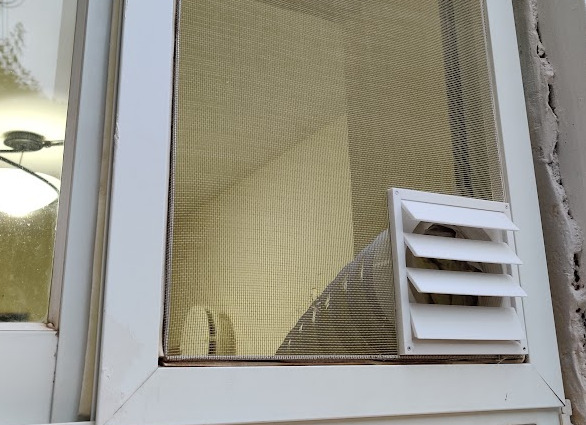
Dryer Vent With Auto Cover
prusaprinters
<p>Printed with PETG.</p><p>The <i>base</i> requires build plate supports. See update below.</p><p>The <i>frame</i> can use build plate support as well, but it's expected to work without it.</p><p><strong>Assembly:</strong></p><ol><li>Put the <i>flaps </i>on the <i>base</i>, and cover with the <i>frame</i> (consider using a bit of glue to connect the <i>frame to </i>the <i>base</i>. That should help with the assembly).</li><li>Push the tube of the <i>base </i>through a hole in the window net.</li><li>Connect the <i>base_connector</i> to the <i>base</i>, from the other side of the window.</li><li>Use 4 M3 screws to connect all parts.</li></ol><p><strong>Update:</strong></p><p>Splitting the base into 2 separate parts will avoid the need for supports for it.</p><p>I've added <i>base_v2.stl</i> with the split. Note that it's untested.</p><p> </p>
With this file you will be able to print Dryer Vent With Auto Cover with your 3D printer. Click on the button and save the file on your computer to work, edit or customize your design. You can also find more 3D designs for printers on Dryer Vent With Auto Cover.
