Drop down bracketry for sliding hardware rails
prusaprinters
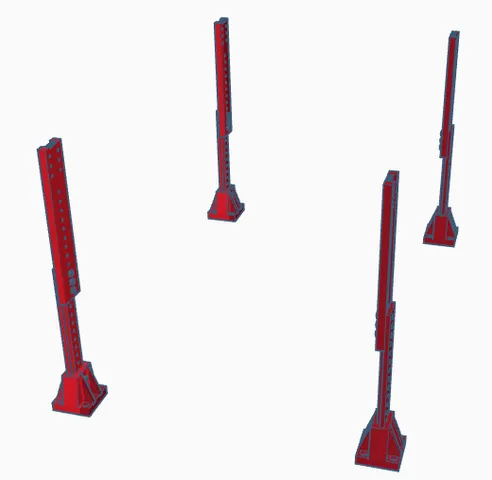
I created this to increase my workspace below my workbench for a soldering station originally. I used heavy duty hardware sliding rails that you might use for a keyboard or something similar but this adds enough room to allow a desktop soldering station and electronic power supply, etc…. Select the length you need and use the screws to clamp the printed rail bracket extensions together. You will need; - 3mm cap or button screws x 20mm and nuts x 2 for each holder = 8- 3mm cap or button screws x 16mm and nuts 2 for each rail bracket extension = 8- Use hardware provided by kit to attached rail bracket extensions to hardware rails- 16 counter sunk wood screws(there are some provided in kit, but you may need to use other, more appropriate lengths depending on weight you're holding up)- 1 kit from amazon linked below Location of the rails I used:https://www.amazon.com/gp/product/B07GJ838R8/ref=ppx_yo_dt_b_search_asin_title?ie=UTF8&psc=1
With this file you will be able to print Drop down bracketry for sliding hardware rails with your 3D printer. Click on the button and save the file on your computer to work, edit or customize your design. You can also find more 3D designs for printers on Drop down bracketry for sliding hardware rails.