Dronie Trophy 2015
pinshape
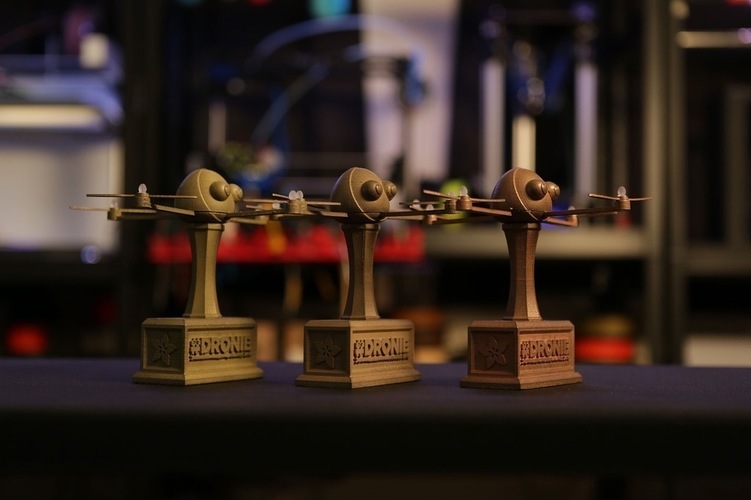
Summary: https://www.youtube.com/watch?v=_KCvDN2CBWw These files are for the Drone Trophy, designed by Noe Ruiz and Bruce Yan. "Dronie" is a friendly, cuddly cartoon character resembling a gumdrop. The parts were designed to print in metal filament, with loose tolerances to compensate for expansion when printing with bronzeFill. Instructions: The parts have a snap fit design that allows for some movement due to the loose tolerance. I sliced these parts with a bit more infill and outline overlap to ensure a strong surface. Extra top and bottom layers help close off any gaps while additional shells provide extra durability against tumbling. Large parts can be difficult to remove from the build plate, so I recommend using two spatulas - one to peel back the corner and another to slide underneath carefully. Printing at 100 microns on the Type A Machine works well, especially with bronzeFill. I set printing speeds around 40mm/sec to maintain surface quality. Some parts are easier to remove than others, so do it slowly and carefully to avoid any damage or injury. These parts tend to come out with stringy bits due to retraction and oozing, but they can be cleaned up using diagonal flush snips and a hobby knife. I let the parts tumble for about 1-2 hours using stainless steel screws as the medium. Using different sized screws helps polish smaller details. The parts came out looking polished and have that bronze cast look, feeling just like metal - the weight of this stuff is really cool. For making the prop bits, we used the Ember Printer from Autodesk. These tiny parts are perfect for DLP or SLA printers and they came out with amazing detail in clear resin. To secure the tower piece to the base of the trophy, I used E6000 adhesive. The bottom part has recessed fittings for the prop arms, which just snap into place. The tolerances came out pretty good with an offset of 0.4mm, giving it a slight snap fit. A bit of E6000 adhesive will permanently bond these parts together. I used a clamp to hold it tightly in place while the adhesive cured. For the propellers, we wanted them to spin freely, so I designed it in several parts. The prop piece has a hole in the middle for a studding that can be inserted and held in place with a lock nut. The studding piece has a cap on top, and there's a cavity on the bottom of the arm for the lock nut to snap into - we'll just glue it in place. And that's how to make the props spin freely. I thought it would be cool to use magnets so the Dronie could come off the trophy base, giving it some freedom. The magnets loosely fit into the parts and are held in place with E6000 adhesive. And now we have Dronie - a 3D printed Trophy in metal filament. If you're thinking about using metal filaments in your next 3D printed project, check out this stuff from colorFabb!
With this file you will be able to print Dronie Trophy 2015 with your 3D printer. Click on the button and save the file on your computer to work, edit or customize your design. You can also find more 3D designs for printers on Dronie Trophy 2015.