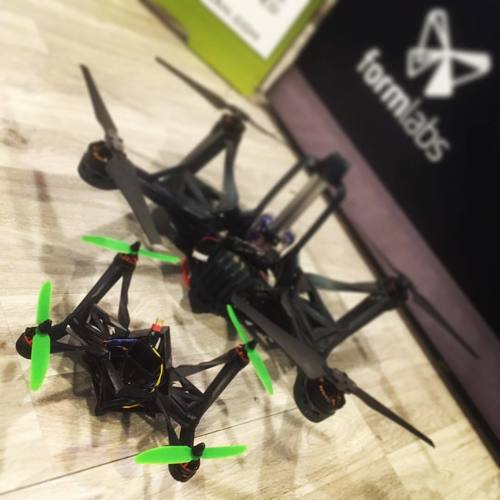
DRONE - AfterByte MINI
pinshape
This text appears to be a guide for assembling and flying a drone, specifically a multirotor drone with carbon fiber propellers. Here's a breakdown of the steps: **Step 1: Purchase Components** * 9.99 x Carbon Fiber Propellers = $7.36 * 1x Naze32 Flight Controller = $19.99 * Total cost: $113.34 The guide mentions that if this is your first drone, you will also need a Flight Remote and Battery Charger. **Step 2: Body Assembly + Motor Wiring** * The body of the drone needs to be assembled using epoxy. * The motor wires are cut and soldered to a guide wire (1m). * The guide wire is then run through the motor cradle hole, allowing the motor wires to follow with little resistance. **Step 3: ESC + Logic Wiring** * The ESCs (Electronic Speed Controllers) are soldered directly to the motor wires. * The motor direction can be changed by crossing any two motor wires. * The logic wiring and battery wiring remain to be connected. **Step 4: Final Assembly** * The guide assumes that the Flight Remote and Battery Charger have already been purchased. * The final step is to connect the logic wiring and battery wiring, which completes the assembly of the drone. **Step 5: FLY!!!!!** * The guide encourages the reader to fly their new drone, but also warns them not to crash it. It suggests practicing with a $30 micro drone before flying a more expensive drone like this one. Overall, this guide provides a step-by-step instruction for assembling and flying a multirotor drone with carbon fiber propellers.
With this file you will be able to print DRONE - AfterByte MINI with your 3D printer. Click on the button and save the file on your computer to work, edit or customize your design. You can also find more 3D designs for printers on DRONE - AfterByte MINI.
