Drilling guide for mounting IKEA ATTEST handles onto doors
thingiverse
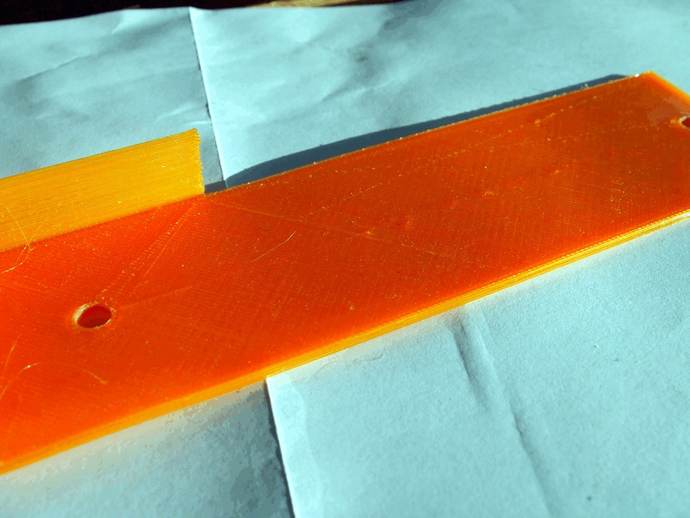
This guide explains how to install IKEA ATTEST door handles using a 5mm drill bit at 123mm distance screw points. Initially marked as work-in-progress, the design has evolved to include a full-length wall for stability. Printable STL files are available for both versions, with images demonstrating installation on doors and drawers. Simply place the guide against the door edge, mark and drill the holes before screwing in the handles. Enjoy your newly installed handles! The guide is printable without overhangs or support structures. Recommended printer settings include 0.35 layer height, 3 perimeters, 3 solid layers on top and bottom, 40% fill density, and more. Follow these instructions to complete your handle installation with confidence.
With this file you will be able to print Drilling guide for mounting IKEA ATTEST handles onto doors with your 3D printer. Click on the button and save the file on your computer to work, edit or customize your design. You can also find more 3D designs for printers on Drilling guide for mounting IKEA ATTEST handles onto doors.