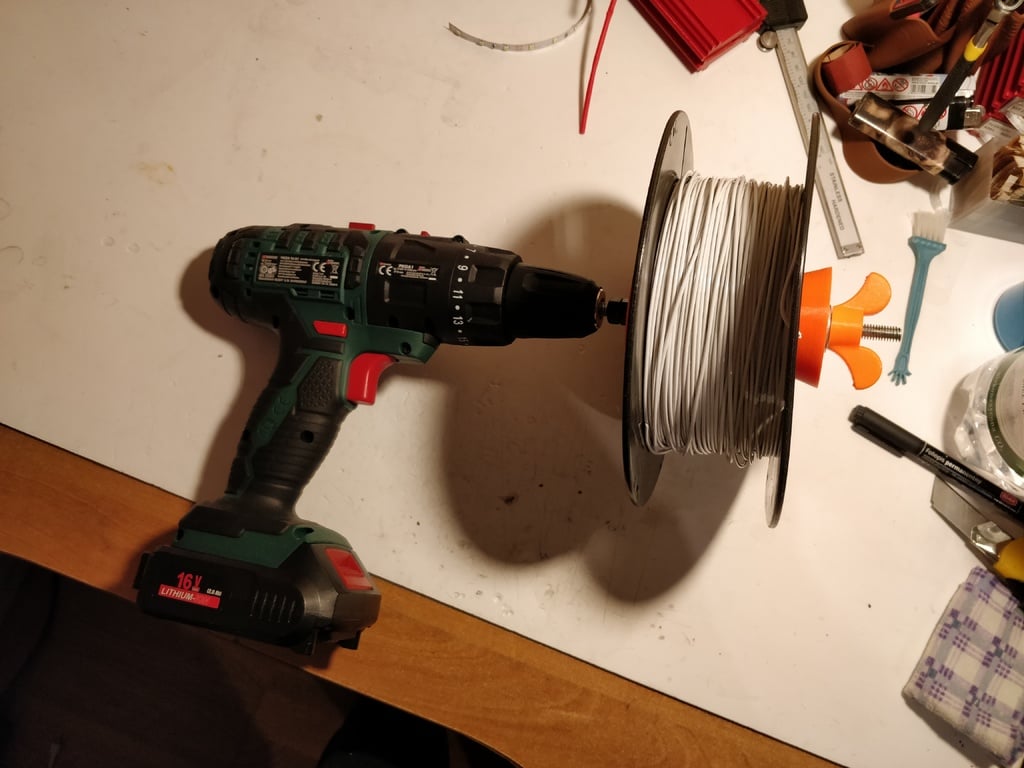
Drill Spool winder
thingiverse
For this project to succeed, you need to print two copies of Winder.stl and optionally M8 Thumbscrew.stl (you can get by without it). Hardware required: - Drill - M8 threaded rod (15-20 cm) - 5x M8 nuts (or 3x M8 nyloc nuts) - 3x M8 large OD nuts Step 1: Screw two nuts to one end of the rod, with the first about 3 cm from the end. This end will be held in the drill chuck. Step 2: Tighten these nuts against each other. Step 3: Add a washer. Step 4: Place one Winder with its larger part on the washer. Step 5: Add another washer. Step 6: Screw a nut and tighten it against the washer and the Winder. Step 7: Add another nut, tightening it against the first and the assembly is complete.
With this file you will be able to print Drill Spool winder with your 3D printer. Click on the button and save the file on your computer to work, edit or customize your design. You can also find more 3D designs for printers on Drill Spool winder.
