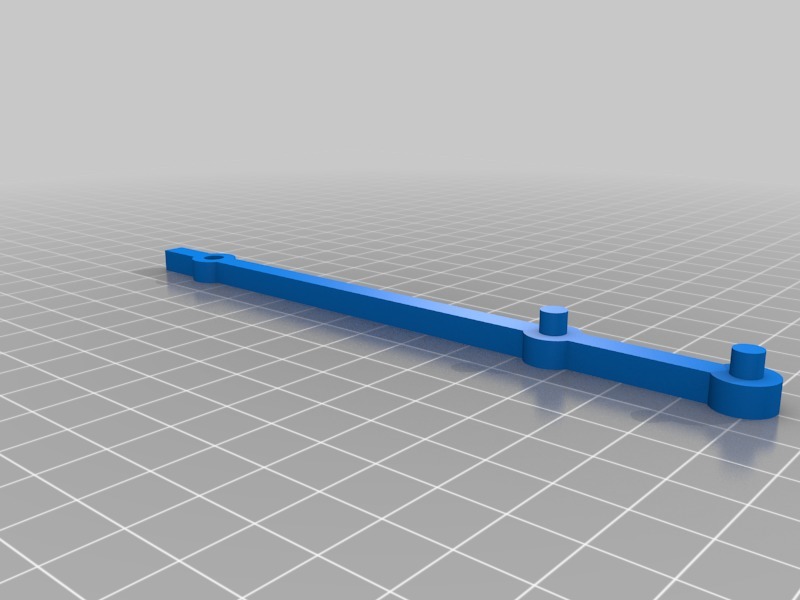
Drill Guide for Target Room Essentials 3-Shelf Bookcase
thingiverse
Drill Guide: Adding a 4th Shelf to Your Room Essentials 3-Shelf Bookcase Kit from Target. Installing a 4th shelf on your Room Essentials 3-Shelf Bookcase kit from Target is a DIY-friendly project that requires minimal tools and expertise. Step 1: Measure the Existing Shelves Measure the width of each existing shelf to ensure accuracy when cutting new shelf boards. Take note of any irregularities or obstructions. Step 2: Cut New Shelf Boards Cut four new shelf boards to size, using a miter saw or circular saw for precise cuts. Sand the cut edges to smooth them out. Step 3: Assemble the 4th Shelf Assemble the 4th shelf by attaching the shelf board to the bookcase frame using screws. Use a level to ensure the shelf is perfectly level. Step 4: Install the 4th Shelf Install the 4th shelf in the desired location, taking care not to obstruct any existing shelves or structural elements of the bookcase. Tips and Considerations: When adding a 4th shelf, consider the weight capacity and stability of your bookcase. Ensure that the added shelf does not compromise the overall structure of the unit. By following these simple steps, you can easily add a 4th shelf to your Room Essentials 3-Shelf Bookcase kit from Target, expanding its storage capacity and functionality.
With this file you will be able to print Drill Guide for Target Room Essentials 3-Shelf Bookcase with your 3D printer. Click on the button and save the file on your computer to work, edit or customize your design. You can also find more 3D designs for printers on Drill Guide for Target Room Essentials 3-Shelf Bookcase.
