Drill Guide for blind holes
prusaprinters
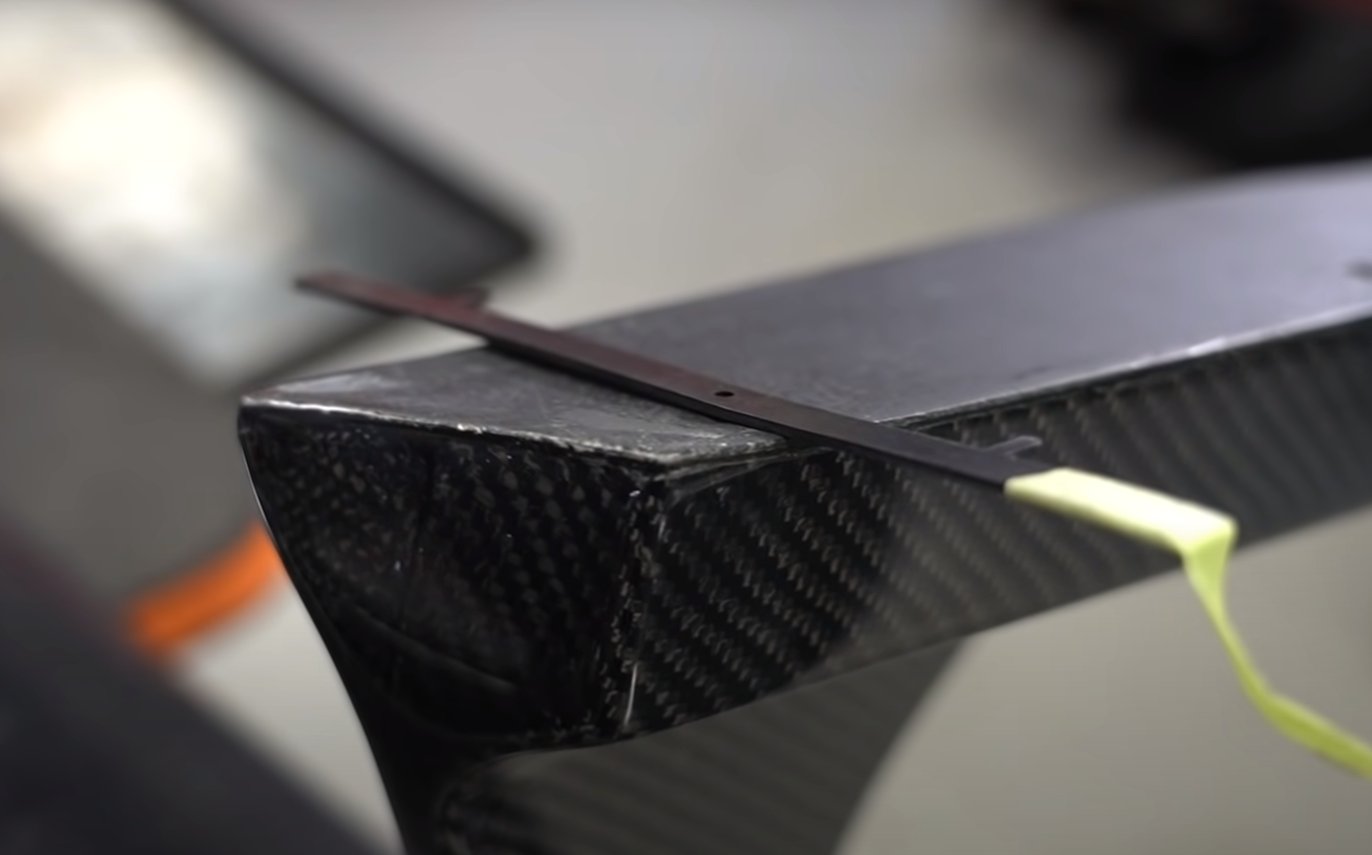
<p>When you need to transfer the blind hole locations from one part to another surface for mounting. </p><p>Nip the tip of the DG to length. Put the DGs into the holes of whatever you're mounting, place it where you want it on the wall and tape the DG to the wall, pull your part away and you're left with drill guides taped to the wall in the exact position you need to drill. </p><p>Like in the video below at 2:34 when they're mounting the spoiler on a car. Push the “transfer wings” into the part you're mounting, align it perfectly, tape the wings in place, pull the part off, nip the studs, and mark your location with a punch, or drill directly through the drill guides.</p><figure class="media"><oembed url="https://youtu.be/cyn3W7Jd6EY?t=154"></oembed></figure><p> </p><p>Example 2: Mounting a power strip on the wall. Push two DGs into the back of the power strip, figure out where you want to mount it, tape the DGs to the wall, pull the power strip straight away, nip the posts on the DGs, mark your locations through the holes, remove the template, drive your screws, and mount the strip.</p><p>I'm providing two sizes, for different sized holes. The 3mf has 4 of both sizes, so it says 1 hr to print all 8, but they're really about 7 minutes each. </p>
With this file you will be able to print Drill Guide for blind holes with your 3D printer. Click on the button and save the file on your computer to work, edit or customize your design. You can also find more 3D designs for printers on Drill Guide for blind holes.
