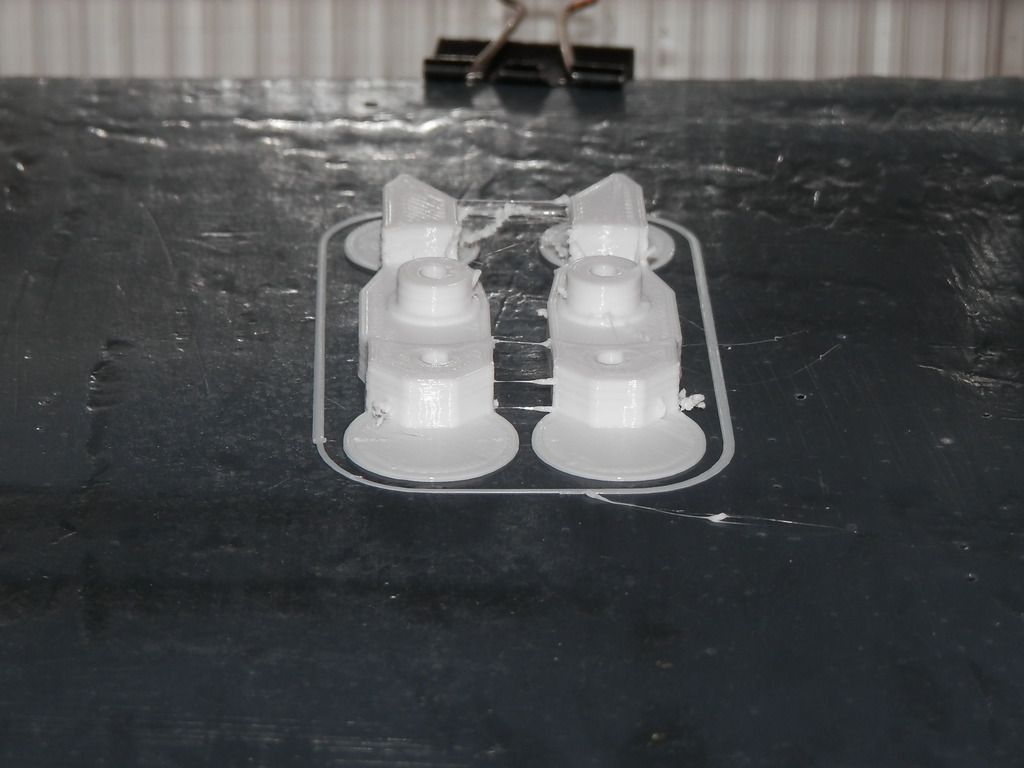
Dried PVAc Bed V2.1 for PLA Printing
thingiverse
This is a print bed perfect for PLA printing. ## Changes from V2 - It can now be printed without a raft. However, if you're working on large models, you may need additional helper disks to ensure proper adhesion. - This update does not reduce the print bed's usable space. ## Requirements - Wet sandpaper (150 grit) or a sander is necessary for flattening and thinning the PVAc layer. - PVAc glue is essential for bonding the new surface to the existing one. - Additional wet sandpaper (400 grit) will be needed for further smoothing. - Thin double-sided tape is required, with heat-resistant varieties being ideal for high-use heated beds. ## Steps 1. Apply a thin layer of double-sided tape to the print bed. 2. Remove the protective covering from the tape to expose its adhesive surface. 3. Place wet sandpaper (400 grit) on top of the tape. 4. Coat the sandpaper with PVAc glue, making sure to cover it evenly. 5. Smooth out the glue to ensure a flat surface. 6. Allow the glue to dry completely before proceeding. 7. Apply additional PVAc glue to any dented areas of the dried layer. 8. Wait for this second coat to dry as well. 9. Use wet sandpaper (150 grit) or a sander to thin and smooth out the PVAc layer, ensuring it's even and flat.
With this file you will be able to print Dried PVAc Bed V2.1 for PLA Printing with your 3D printer. Click on the button and save the file on your computer to work, edit or customize your design. You can also find more 3D designs for printers on Dried PVAc Bed V2.1 for PLA Printing.
