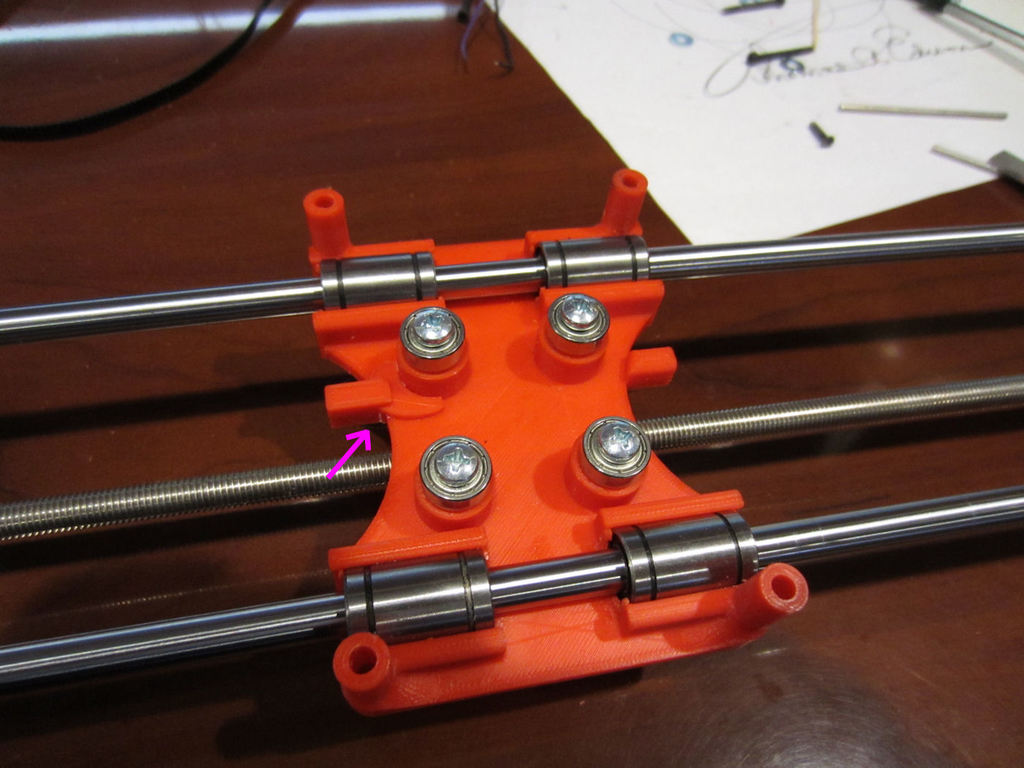
Drawing Bot Bottom Clam Shell Switch Bumper
thingiverse
I designed a drawing robot that functions flawlessly, but I'm now working on integrating the limit switches. According to my research, two limit switches are required on the X-axis, yet there's only one bumper on the lower clamshell to trigger one switch. To address this issue, I created an additional object that can be attached to the lower clamshell using glue, effectively creating a second limit switch bumper. If you've already printed the clamshell, simply add this component; otherwise, print the entire bottom clamshell with both bumpers included. This modification is part of a larger remix project that incorporates the new bumper into the redesigned printer's lower clamshell. You can find the original design on Thingiverse at https://www.thingiverse.com/thing:1517211. When assembling the limit switches, use Acetone for ABS and Krazy Glue (CA) for PLA. The switches should be inserted into the pockets where the belt runs through at each end of the X-axis.
With this file you will be able to print Drawing Bot Bottom Clam Shell Switch Bumper with your 3D printer. Click on the button and save the file on your computer to work, edit or customize your design. You can also find more 3D designs for printers on Drawing Bot Bottom Clam Shell Switch Bumper .
