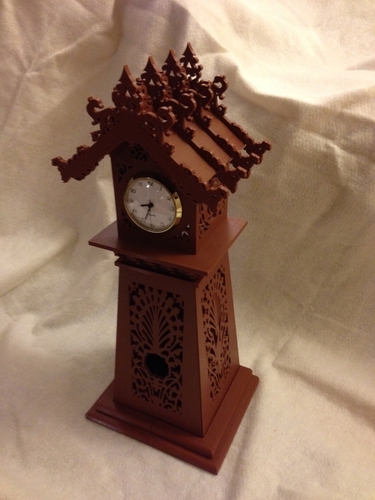
Dragon Clock
pinshape
I used to create intricate scrollsaw clocks as wedding gifts. For my sister-in-law, I opted for a more modern approach and 3D printed one instead. Check out the video: http://youtu.be/dD738sTenak. To replicate this project, follow these steps: The STL files are surprisingly small compared to what I printed. To achieve the desired size on my Replicator 2, I scaled them up by a whopping 330%. At this scale, you'll need a 2 3/4 inch clock insert. Keep in mind that scaling significantly differently will require a different clock size. Most components are printed once, except for some brackets. To ensure accuracy, I used PLA for all the parts. Makerware came in handy for slicing, as it helped prevent large flat pieces from warping and made raft removal easy. Since the details are on top, you can print at low resolution – I opted for 0.34mm. Tramming is crucial when working with big pieces; they must be perfectly aligned to fit together seamlessly. On the bases, I used Sugru to secure them in place, while standard school white glue worked just fine for the rest of the assembly. This project is based on a pattern from Wildwood Designs, where you can also purchase clock inserts: http://www.wildwooddesigns.com/Dragon-Clock-Plan-P1249.aspx.
With this file you will be able to print Dragon Clock with your 3D printer. Click on the button and save the file on your computer to work, edit or customize your design. You can also find more 3D designs for printers on Dragon Clock.
