Door support (anti-sag) for 3D printer enclosure
thingiverse
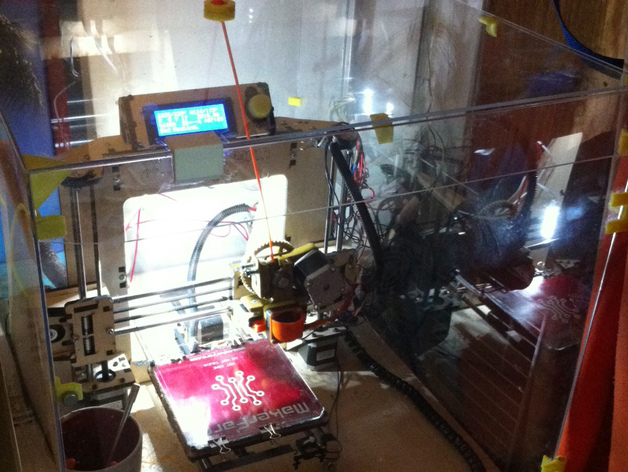
I constructed Schlem's 3D printer enclosure in a distant garage corner. The door sagged about three-quarters of an inch, so I devised a simple support bracket and adhered it with superglue on the exterior. Clamping was necessary during drying due to cyanoacrylate usage on acrylic. Thicker acrylic (0.100 inches) might have caused sagging. The Prusa i3 from MakerFarm is used with this enclosure, and I slightly changed Schlem's plans by positioning filament ingress on top. I only shared the door hanger STL and FreeCAD source instead of duplicating the original files. Superglue was my preferred choice for easy application compared to two-part epoxy. It worked well, but strong pressure and a 90-second hold were needed when gluing ABS against smooth acrylic. Spring clamps helped in these situations. Gluing ABS to ABS took only a few seconds. Be cautious when holding pieces in place as superglue adheres to skin too. To avoid issues while cutting holes in acrylic using a hole saw, create a guide from 1/2-inch plywood and clamp it with the acrylic between it and another piece of plywood or particle board. This method ensures clean, crack-free cuts.
With this file you will be able to print Door support (anti-sag) for 3D printer enclosure with your 3D printer. Click on the button and save the file on your computer to work, edit or customize your design. You can also find more 3D designs for printers on Door support (anti-sag) for 3D printer enclosure.