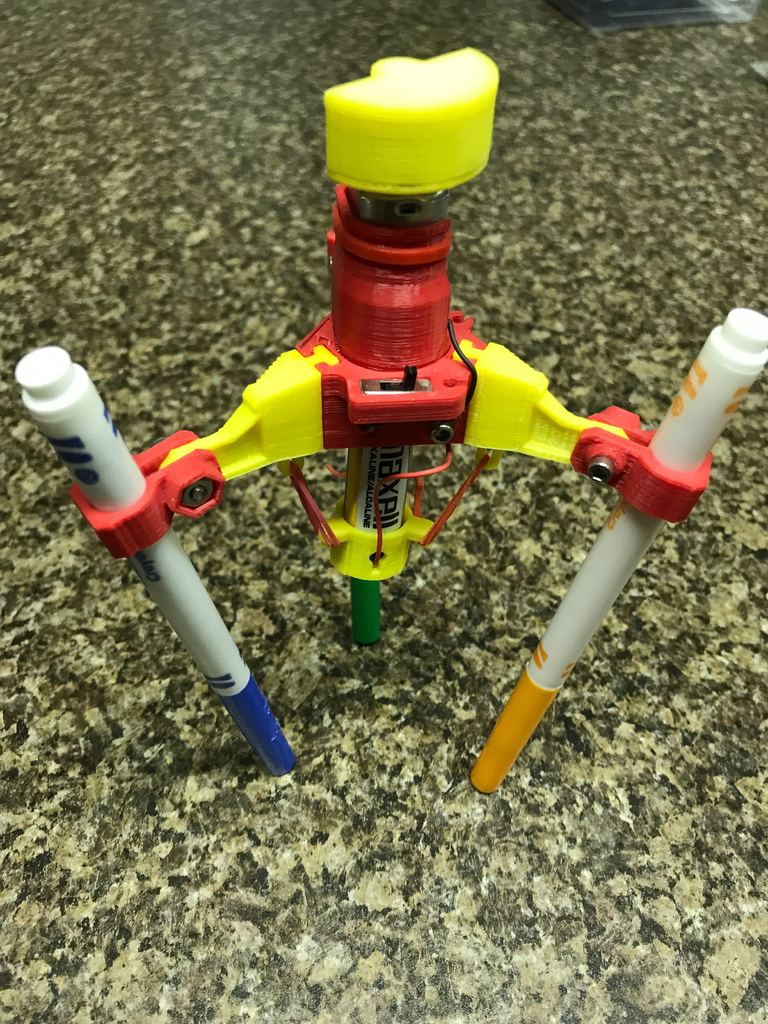
Doodle-Bot
thingiverse
A Motor-Driven Drawing Machine. To assemble the machine, some soldering and gluing are required beforehand. You must first attach the elastic connectors to the arms using glue, then fill the counter weight with putty, clay, sand or a similar substance before attaching the cap with glue. To secure the counter weight tightly onto the motor shaft, a small amount of glue may be necessary. Next, solder wires with loops on one end to the motor and switch (refer to attached picture for details). You will also need: * M3 screws and nuts * Thin wire (black/red) * A piece of thicker wire or something round and conductive to act as a battery connector * A switch (as shown in the picture) * A 3v to 5v motor * Markers * Small elastics * Super glue, solder, and a soldering iron The loops and screws are used for making electronic connections; however, you can skip this step if desired and wire everything directly. The instructions in the PDF assume that all necessary soldering and gluing have been completed beforehand. To facilitate adjustments, I've included some Sketchup files. If anything appears to be out of place, please let me know. For any questions or concerns, feel free to ask, and I'll do my best to provide assistance.
With this file you will be able to print Doodle-Bot with your 3D printer. Click on the button and save the file on your computer to work, edit or customize your design. You can also find more 3D designs for printers on Doodle-Bot.
