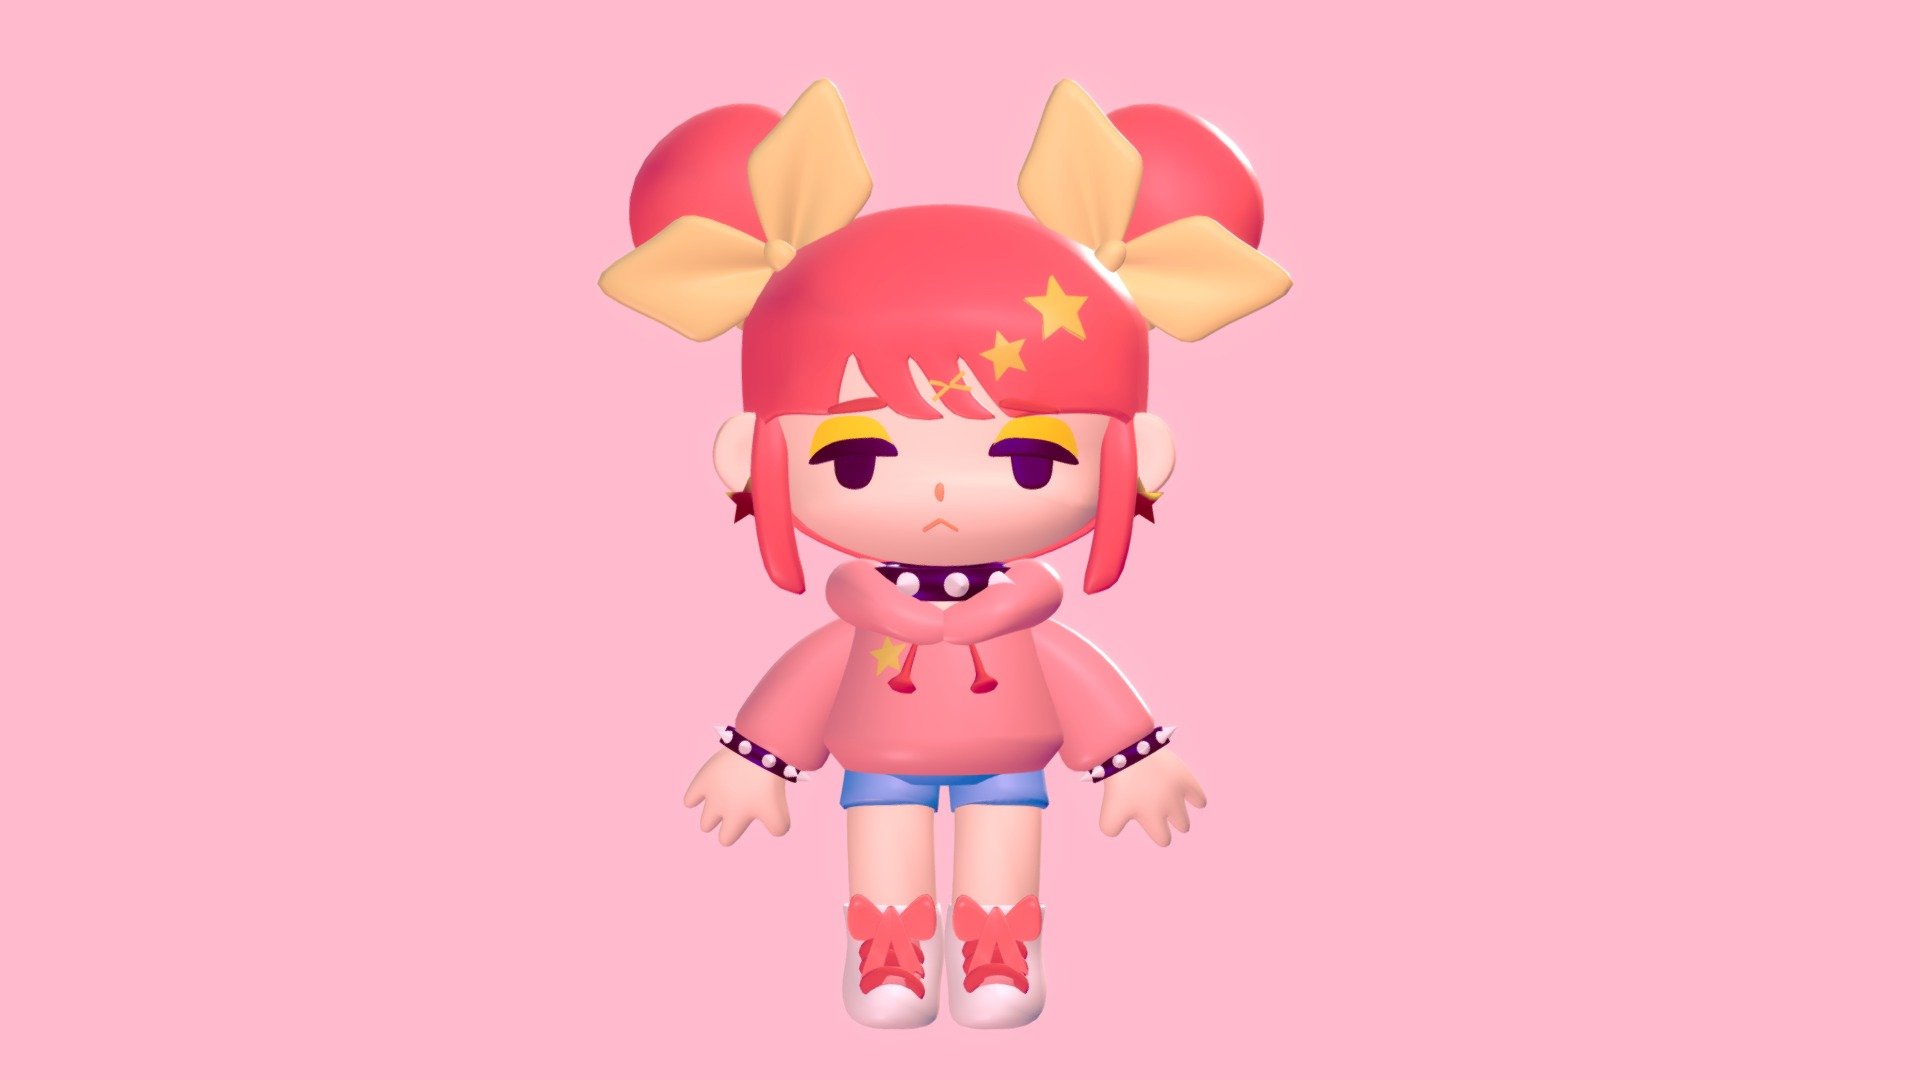
Doll
sketchfab
The first step is to create a new project by clicking on "File" and selecting "New". This opens up a window where you can choose the type of project you want to start with, such as a model or an animation. For this tutorial, we will be focusing on creating a 3D character, so select the "Modeling" option and click on "Create". Next, navigate to the "Object Mode" tab in the top toolbar. This is where you can manipulate your objects in 3D space. You should see a blank workspace with no objects selected. To create a new object, go to the "Tool Shelf" on the right-hand side of the screen and click on the "Mesh" tool. This will allow you to start building your character from scratch. Click and drag the mouse to draw a simple cube shape in the 3D space. Don't worry too much about getting it perfect at this stage, as we can refine our model later. With the cube selected, go to the "Edit Mode" tab in the top toolbar. This allows you to edit the individual vertices of your object. Click on any vertex to select it and then use the "Move" tool to move it around. You can also use the "Scale" tool to resize the entire object. Now that we have a basic cube shape, let's start adding some details to our character. Go back to the "Object Mode" tab and select the cube. In the "Tool Shelf", click on the "Loop Cut" tool and then click and drag to create a new edge loop around the middle of your object. This will give you a starting point for creating the body of your character. Next, go to the "Edit Mode" tab again and select one of the vertices on either side of the new edge loop. Use the "Move" tool to move it slightly inwards towards the center of the object. This will create a slight indentation that we can use as the base for our character's face. With your character starting to take shape, let's add some details such as eyes and a mouth. Go back to the "Object Mode" tab and select all of the vertices on one side of the new edge loop. In the "Tool Shelf", click on the "Loop Cut" tool again and then click and drag to create another new edge loop around the top of your object. This will give you a starting point for creating the eyes. Next, go to the "Edit Mode" tab again and select one of the vertices at the top of your object. Use the "Move" tool to move it slightly inwards towards the center of the object. This will create a slight indentation that we can use as the base for our character's eye socket. Repeat this process on the other side of the new edge loop to create the second eye. Then, go back to the "Object Mode" tab and select all of the vertices around the middle of your object. In the "Tool Shelf", click on the "Loop Cut" tool again and then click and drag to create a new edge loop around the bottom of your object. Finally, go back to the "Edit Mode" tab and select one of the vertices at the bottom of your object. Use the "Move" tool to move it slightly inwards towards the center of the object. This will create a slight indentation that we can use as the base for our character's mouth. With these basic details in place, you now have a simple 3D character model using Blender 3D. You can refine your model further by adding more details and adjusting the proportions to suit your needs.
With this file you will be able to print Doll with your 3D printer. Click on the button and save the file on your computer to work, edit or customize your design. You can also find more 3D designs for printers on Doll.
