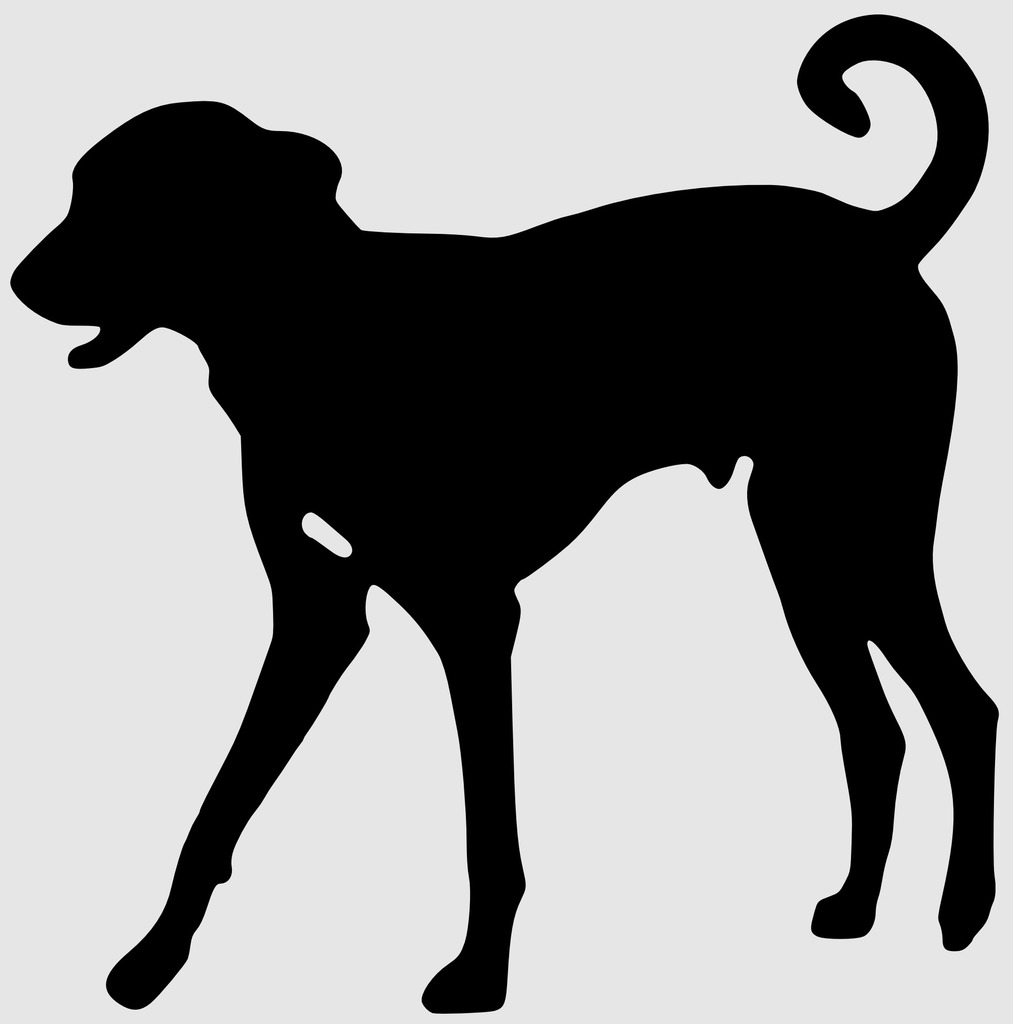
Dog silhouette SVG
thingiverse
Creating a dog silhouette SVG is a great way to visualize your pet's shape and experiment with turning it into an STL file using Tinkercad. To start, open Tinkercad and create a new project by clicking on the "+" icon at the top left corner of the screen. Draw a rectangle that represents the dog's body by dragging the cursor from one corner to the other while holding down the Shift key. Release the mouse button when you reach the desired size. Next, draw two smaller rectangles for the ears and attach them to the head using the "Union" tool. You can find this tool under the "Modelling" menu or by pressing the 'U' key on your keyboard. Now it's time to add some details like eyes, nose, and mouth. Use the "Push/Pull" tool to create a circle for the nose and two smaller circles for the eyes. Don't forget to add a small rectangle for the mouth. Use the "Move" tool to position all the elements correctly and adjust their size as needed. When you're satisfied with your design, click on the "Export" button at the top right corner of the screen and select STL from the dropdown menu. Tinkercad will then generate an STL file that you can use to 3D print your dog silhouette. Make sure to check the scale settings before printing to ensure your model is the correct size.
With this file you will be able to print Dog silhouette SVG with your 3D printer. Click on the button and save the file on your computer to work, edit or customize your design. You can also find more 3D designs for printers on Dog silhouette SVG.
