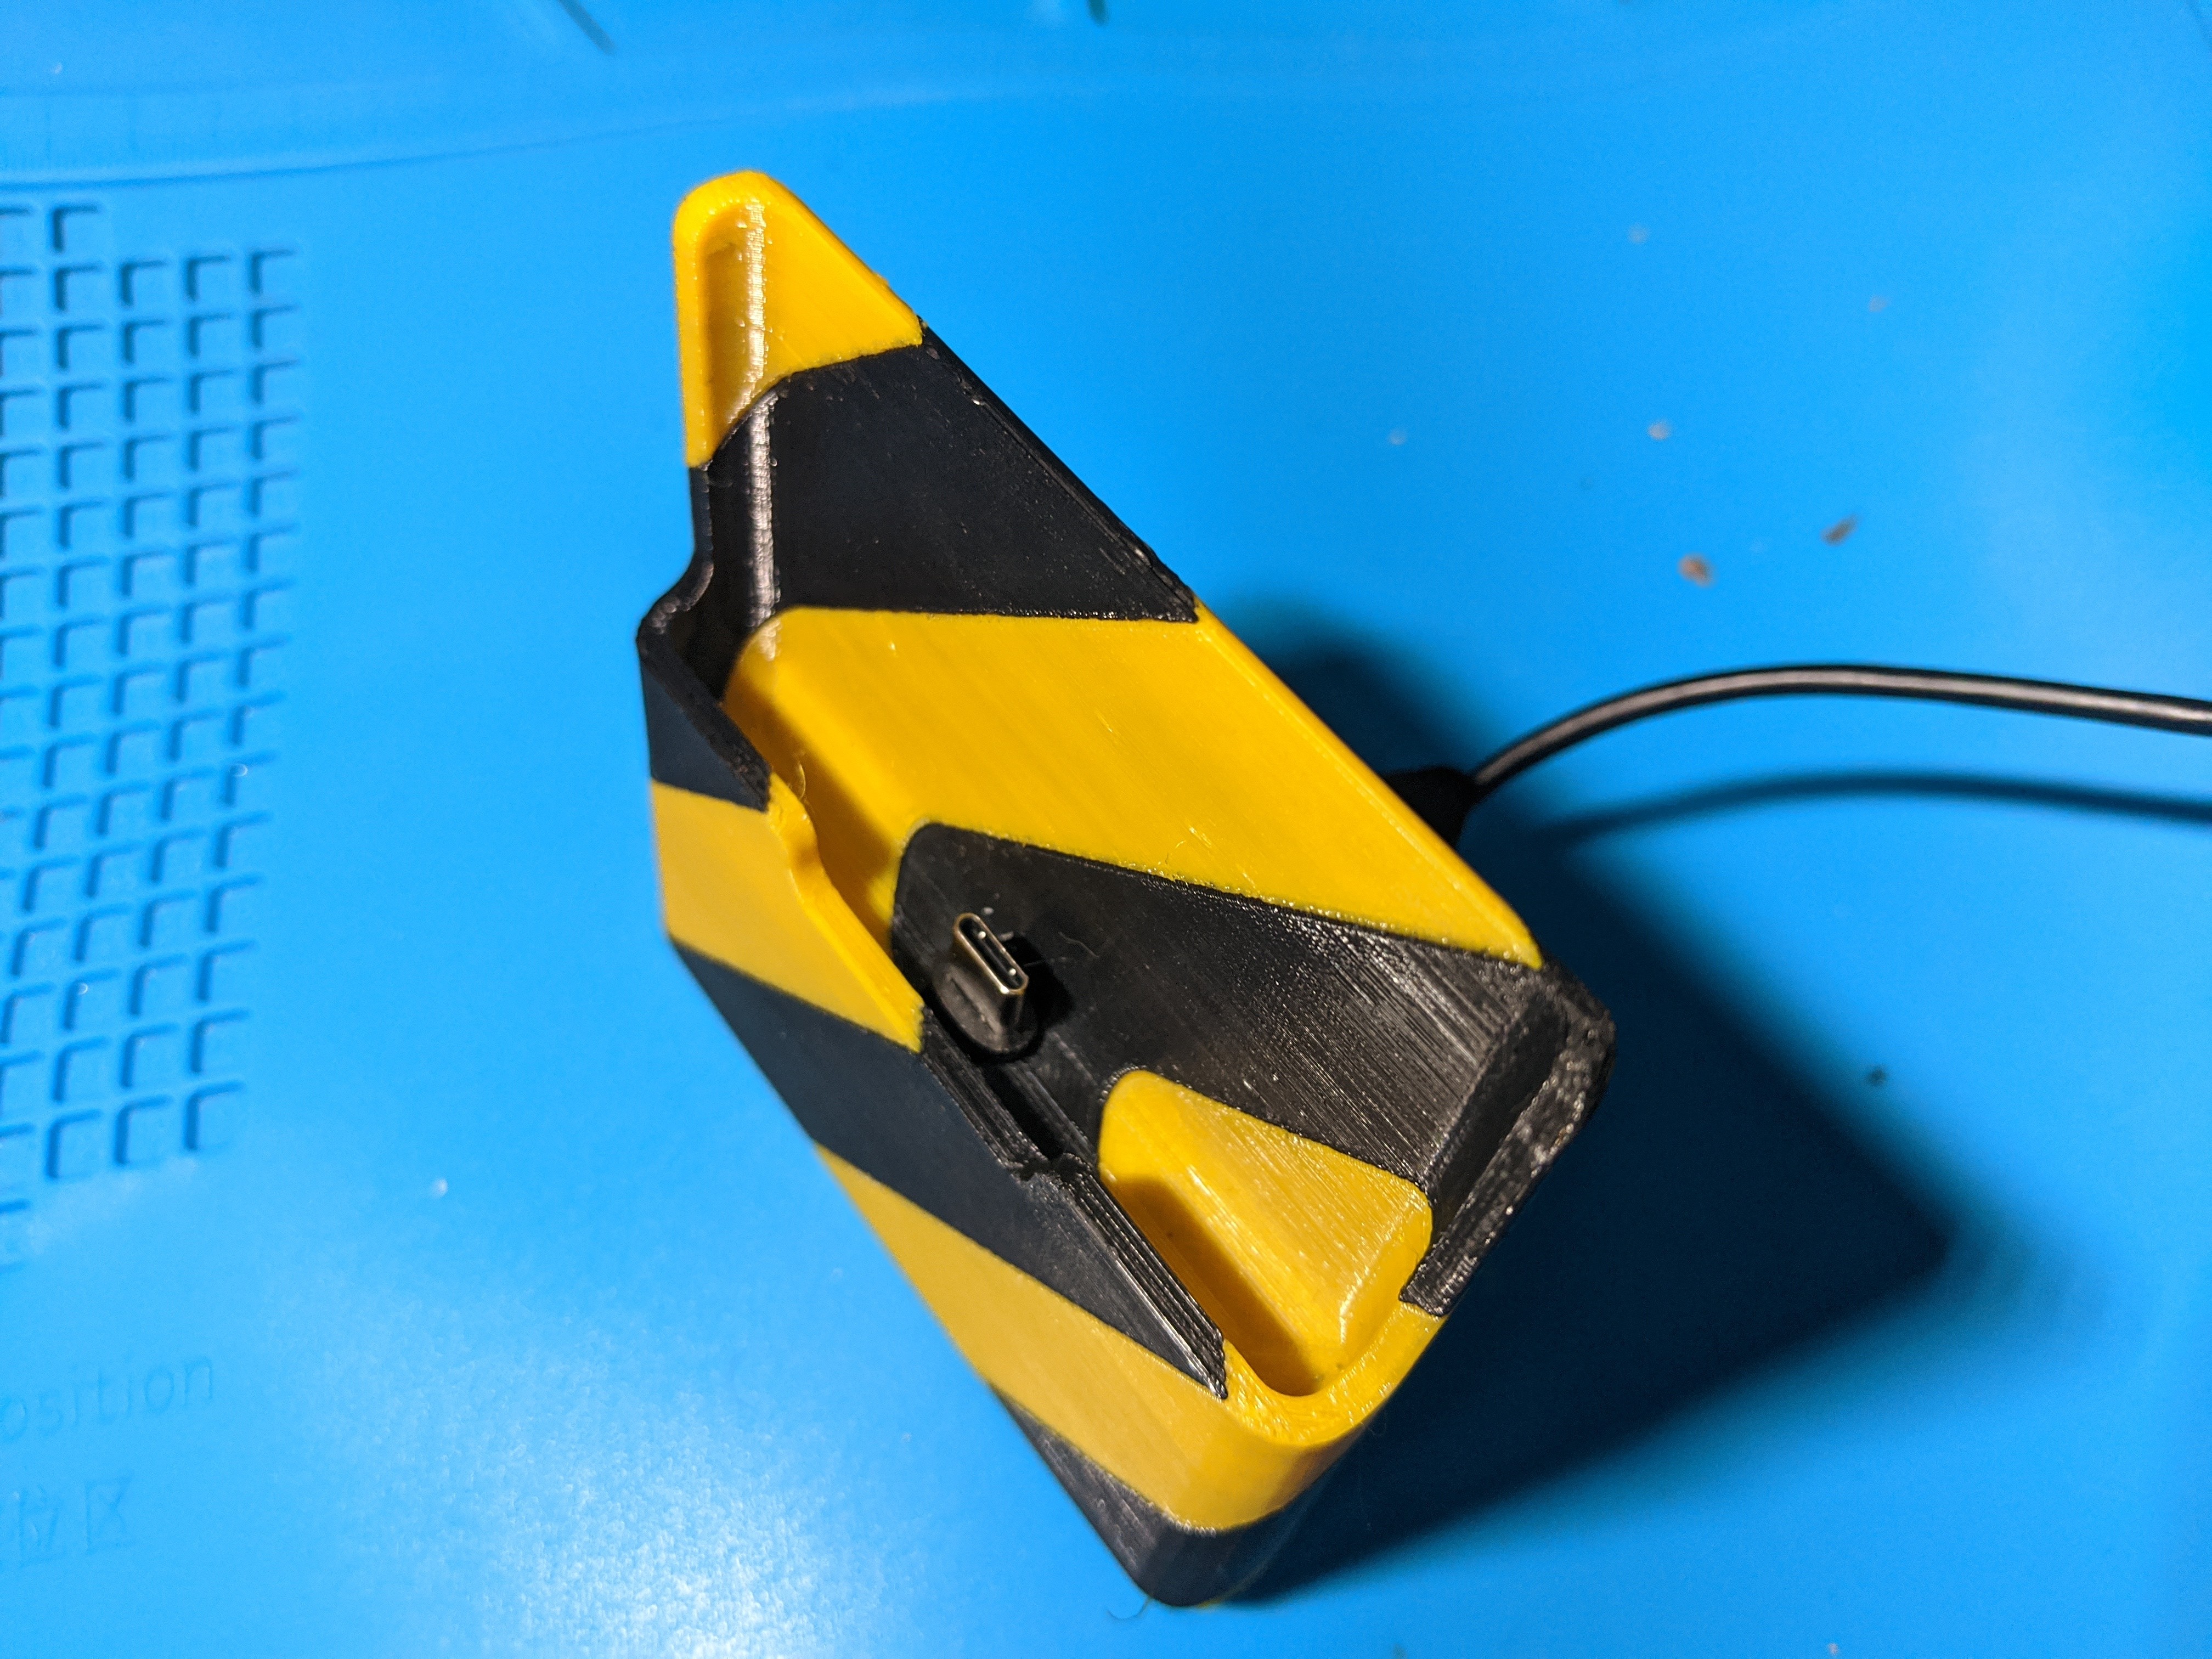
Dockitall Parametric Charging Dock (with Multi-Material Option)
prusaprinters
<p>This is a parametric design I made to have a dock I could place my Google Pixel 2 XL into now that I can't just use wireless charging. (I'm still holding out for a Pixel 5 XL that has it.)</p> <h3>Original phone and cable (not included)</h3> <p>The included model was designed to fit <a href="https://www.amazon.com/gp/product/B01GGKZ1VA/">an AmazonBasics USB-C cable</a>, and a Google Pixel 2 XL in a <a href="https://www.amazon.com/gp/product/B0756884QS/">slim TPU case</a>. The base is designed to fit an ordinary 80cm equilateral triangular anti-slip pad to stick it to your desk - <a href="https://www.amazon.com/dp/B07CTQST6R">here</a> is a package on Amazon with one.</p> <h3>Parameters</h3> <p>These parameters (as seen in the SCAD file linked as source):</p> <h3>The phone / case</h3> <ul> <li>Device with an 80x10mm footprint<ul> <li>footprint corners have bevels of 3mm radius around the front and 5mm radius around the back</li> </ul> </li> <li>device face<ul> <li>outside profile has a bottom corner radius of 8mm</li> <li>the front of the device is wrapped around for 4mm (to the edges of a ~72mm screen)</li> <li>the screen has a corner radius of 5.5mm (or less - this is the outer radius we surround)</li> <li>the screen is 10mm from the edge (lip_height)</li> <li>there is a 32mm wide speaker 6mm from the screen (lip_cleft_width,lip_cleft_height)</li> </ul> </li> </ul> <h3>The USB cable</h3> <ul> <li>the plug<ul> <li>head is 10.7x5mm, with perfectly round corners (or at least close enough to fit)</li> <li>sits 16.5mm beneath the surface (being 18mm long, minus 1.5mm to raise it to where the phone sits in the case)</li> </ul> </li> <li>cable track going out the back is 4.2 mm</li> </ul> <h3>Etcetera</h3> <p>The baked model has other discretionary parameters not included here.</p> <p>If you'd like to tweak these before printing to better fit your on-hand hardware, see "Customizing the SCAD file" below.</p> <h3>Assembly</h3> <h3>Through-hole: hourglass design (default)</h3> <p>This design assumes that your plug is not that much wider than your device is thick: if that isn't the case, when customizing the SCAD file (described below), you might need to go for the "Open channel" design (described in the next section).</p> <p>To insert the cable in this design, turn it diagonally into the figure-eight-shaped hole in the bottom, push/pull it through (if doing this requires too much force, see "Customizing the SCAD file" to add tolerance to that channel / adjust its size for your cable's head/plug).</p> <h3>Through-hole: open-channel design</h3> <p>If you customize the model to use the "Open channel" style, then simply push the cable through the hole in the back. If the full plug / head can't get through (to the point that you can pull cable through freely), you may need to customize the plug measurements and try again (see note below about testing modules to perform focused experiments with this).</p> <h3>Seating the cable and dock</h3> <p>Once the plug is through, rotate it into the horizontal slot, then push/pull it into place until it fits against the bottom of the channel.</p> <p>Thread the cable through the channel in the base, then place the sticky pad on the base to hold it in place (both the cable in the base, and the base to the desk).</p> <h3>Print instructions</h3><h3>Using the models here</h3> <p>A "onepiece" model is included for single-material printing. The parameters of this model (and the MMU models) are rendered here from the parameters described above.</p> <p>I've tested the MMU version (in an earlier revision with minor differences) on an MK3S/MMU2S, in yellow and black PETG (needing a lot of</p> <h3>MMU</h3> <p>MMU owners can use the a_stripes, b_stripes, and base_plate models to print the dock in two different colors of diagonal stripe, as well as the base (which may share a material with one of the stripe colors, if desired).</p> <h3>Customizing the SCAD file</h3> <p>You'll need a relatively new version of OpenSCAD to be compatible with the implementation of curves used in this file: you can follow the installation instructions / download it from <a href="http://www.openscad.org/downloads.html">http://www.openscad.org/downloads.html</a></p> <p>Once you have OpenSCAD, download "dockitall.scad" from here and open it up.</p> <h3>Variable customization</h3> <p>The customizable variables are at the top of the file, under Thingiverse-Customizer-like headings.</p> <h3>Module selection</h3> <p>Module rendering is done by uncommenting a final call at the bottom of the file (under the "Entry points" block heading).</p> <h3>Test models</h3> <p>If customizing the variables in the model for your own, rather than having to print entire sacrificial drafts as you dial your measurements in, you can print small pieces to test your settings by rendering the test_dockblock and cable_test modules.</p> <p>When printing test_dockblock, you can customize the region of the model that you test with the test_bottom and test_height parameters.</p>
With this file you will be able to print Dockitall Parametric Charging Dock (with Multi-Material Option) with your 3D printer. Click on the button and save the file on your computer to work, edit or customize your design. You can also find more 3D designs for printers on Dockitall Parametric Charging Dock (with Multi-Material Option).
