DNA-sequencing nanopore
prusaprinters
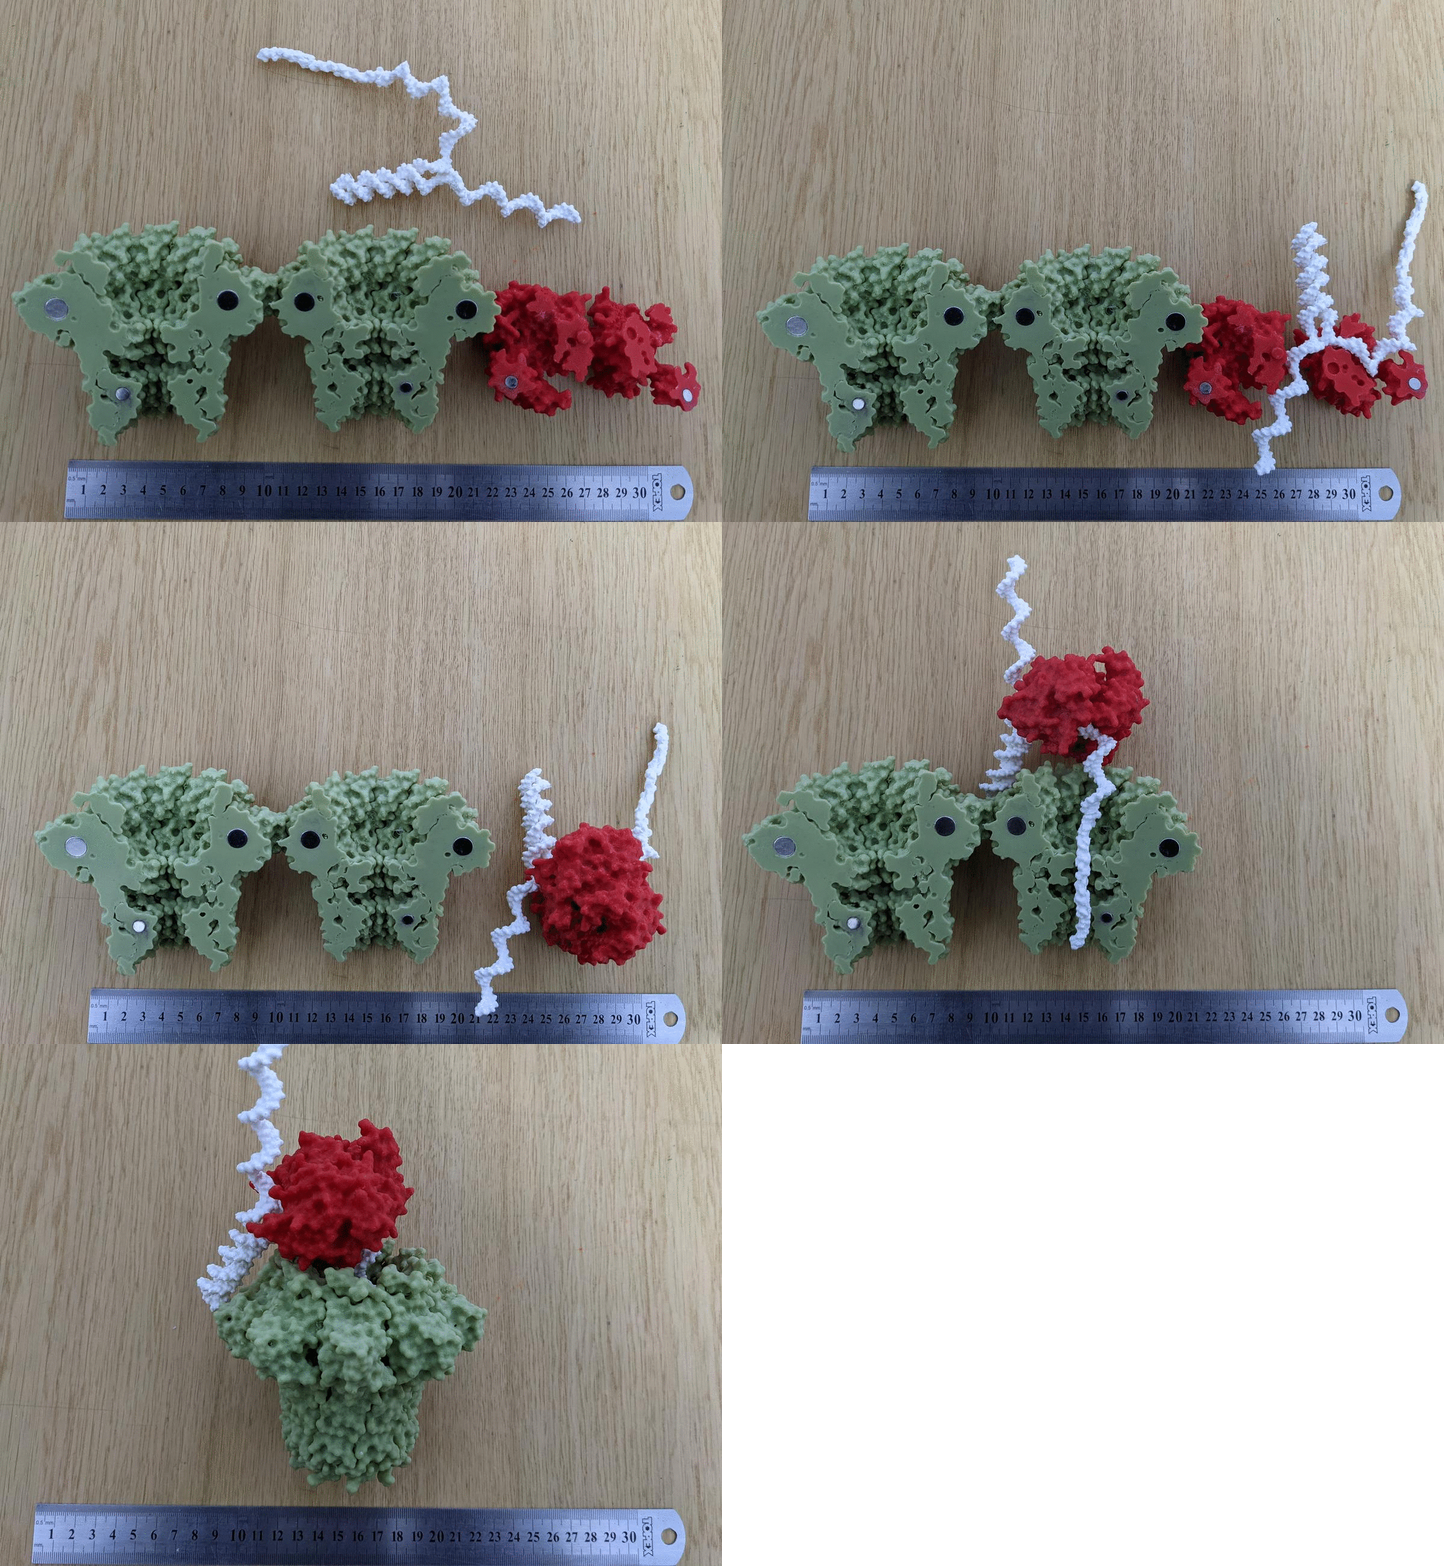
<p>Molecular surface representation of a nanopore (PDB ID <a href="https://www.rcsb.org/structure/6si7">6si7</a>) together with the bacteriophage phi29 DNA polymerase (PDB ID <a href="https://www.rcsb.org/structure/1xhz">1xhz</a>) and a piece of DNA. The nanopore and polymerase are sliced in half and have locations for magnets, while the DNA is printed in flexible TPU. The whole complex can be assembled and disassembled really easily. Got my inspiration from the PDB 101 <a href="https://pdb101.rcsb.org/motm/261">Molecule of the Month</a> page. These are great for explaining how the sequencing is performed in an ONT MinIon. </p><p>Segmentation Software: Prusa Slicer</p><p>3D Modeling/CAD Software: ChimeraX</p><p>Printer Technology/Material: Polylactic Acid (PLA)/Flexible</p><p>Printer Make/Model: Creality Ender 5 Pro</p><p>Print Units: mm</p><p>Scale At Given Print Units: 100x</p><p>Pre- and Postprocessing Instructions </p><p>Printed at 0.2 resolution with 2 wall lines and 5% infill. Extensive supports are required but were rather easy to remove. All DNA molecules were printed at 70%. The DNA from PDB ID 4ocb was printed, re-heated afterward with a heatgun, reshaped in order to fit through the pore, and then finally glued to a larger single-stranded DNA molecule. The single-stranded DNA pieces were heated and shaped so that it will fit through the polymerase. The double-helix was printed, but not used as it can be reconstituted from the single strands really nicely. Small magnets were glued into the dedicated slots with plain plastic glue. </p>
With this file you will be able to print DNA-sequencing nanopore with your 3D printer. Click on the button and save the file on your computer to work, edit or customize your design. You can also find more 3D designs for printers on DNA-sequencing nanopore.
