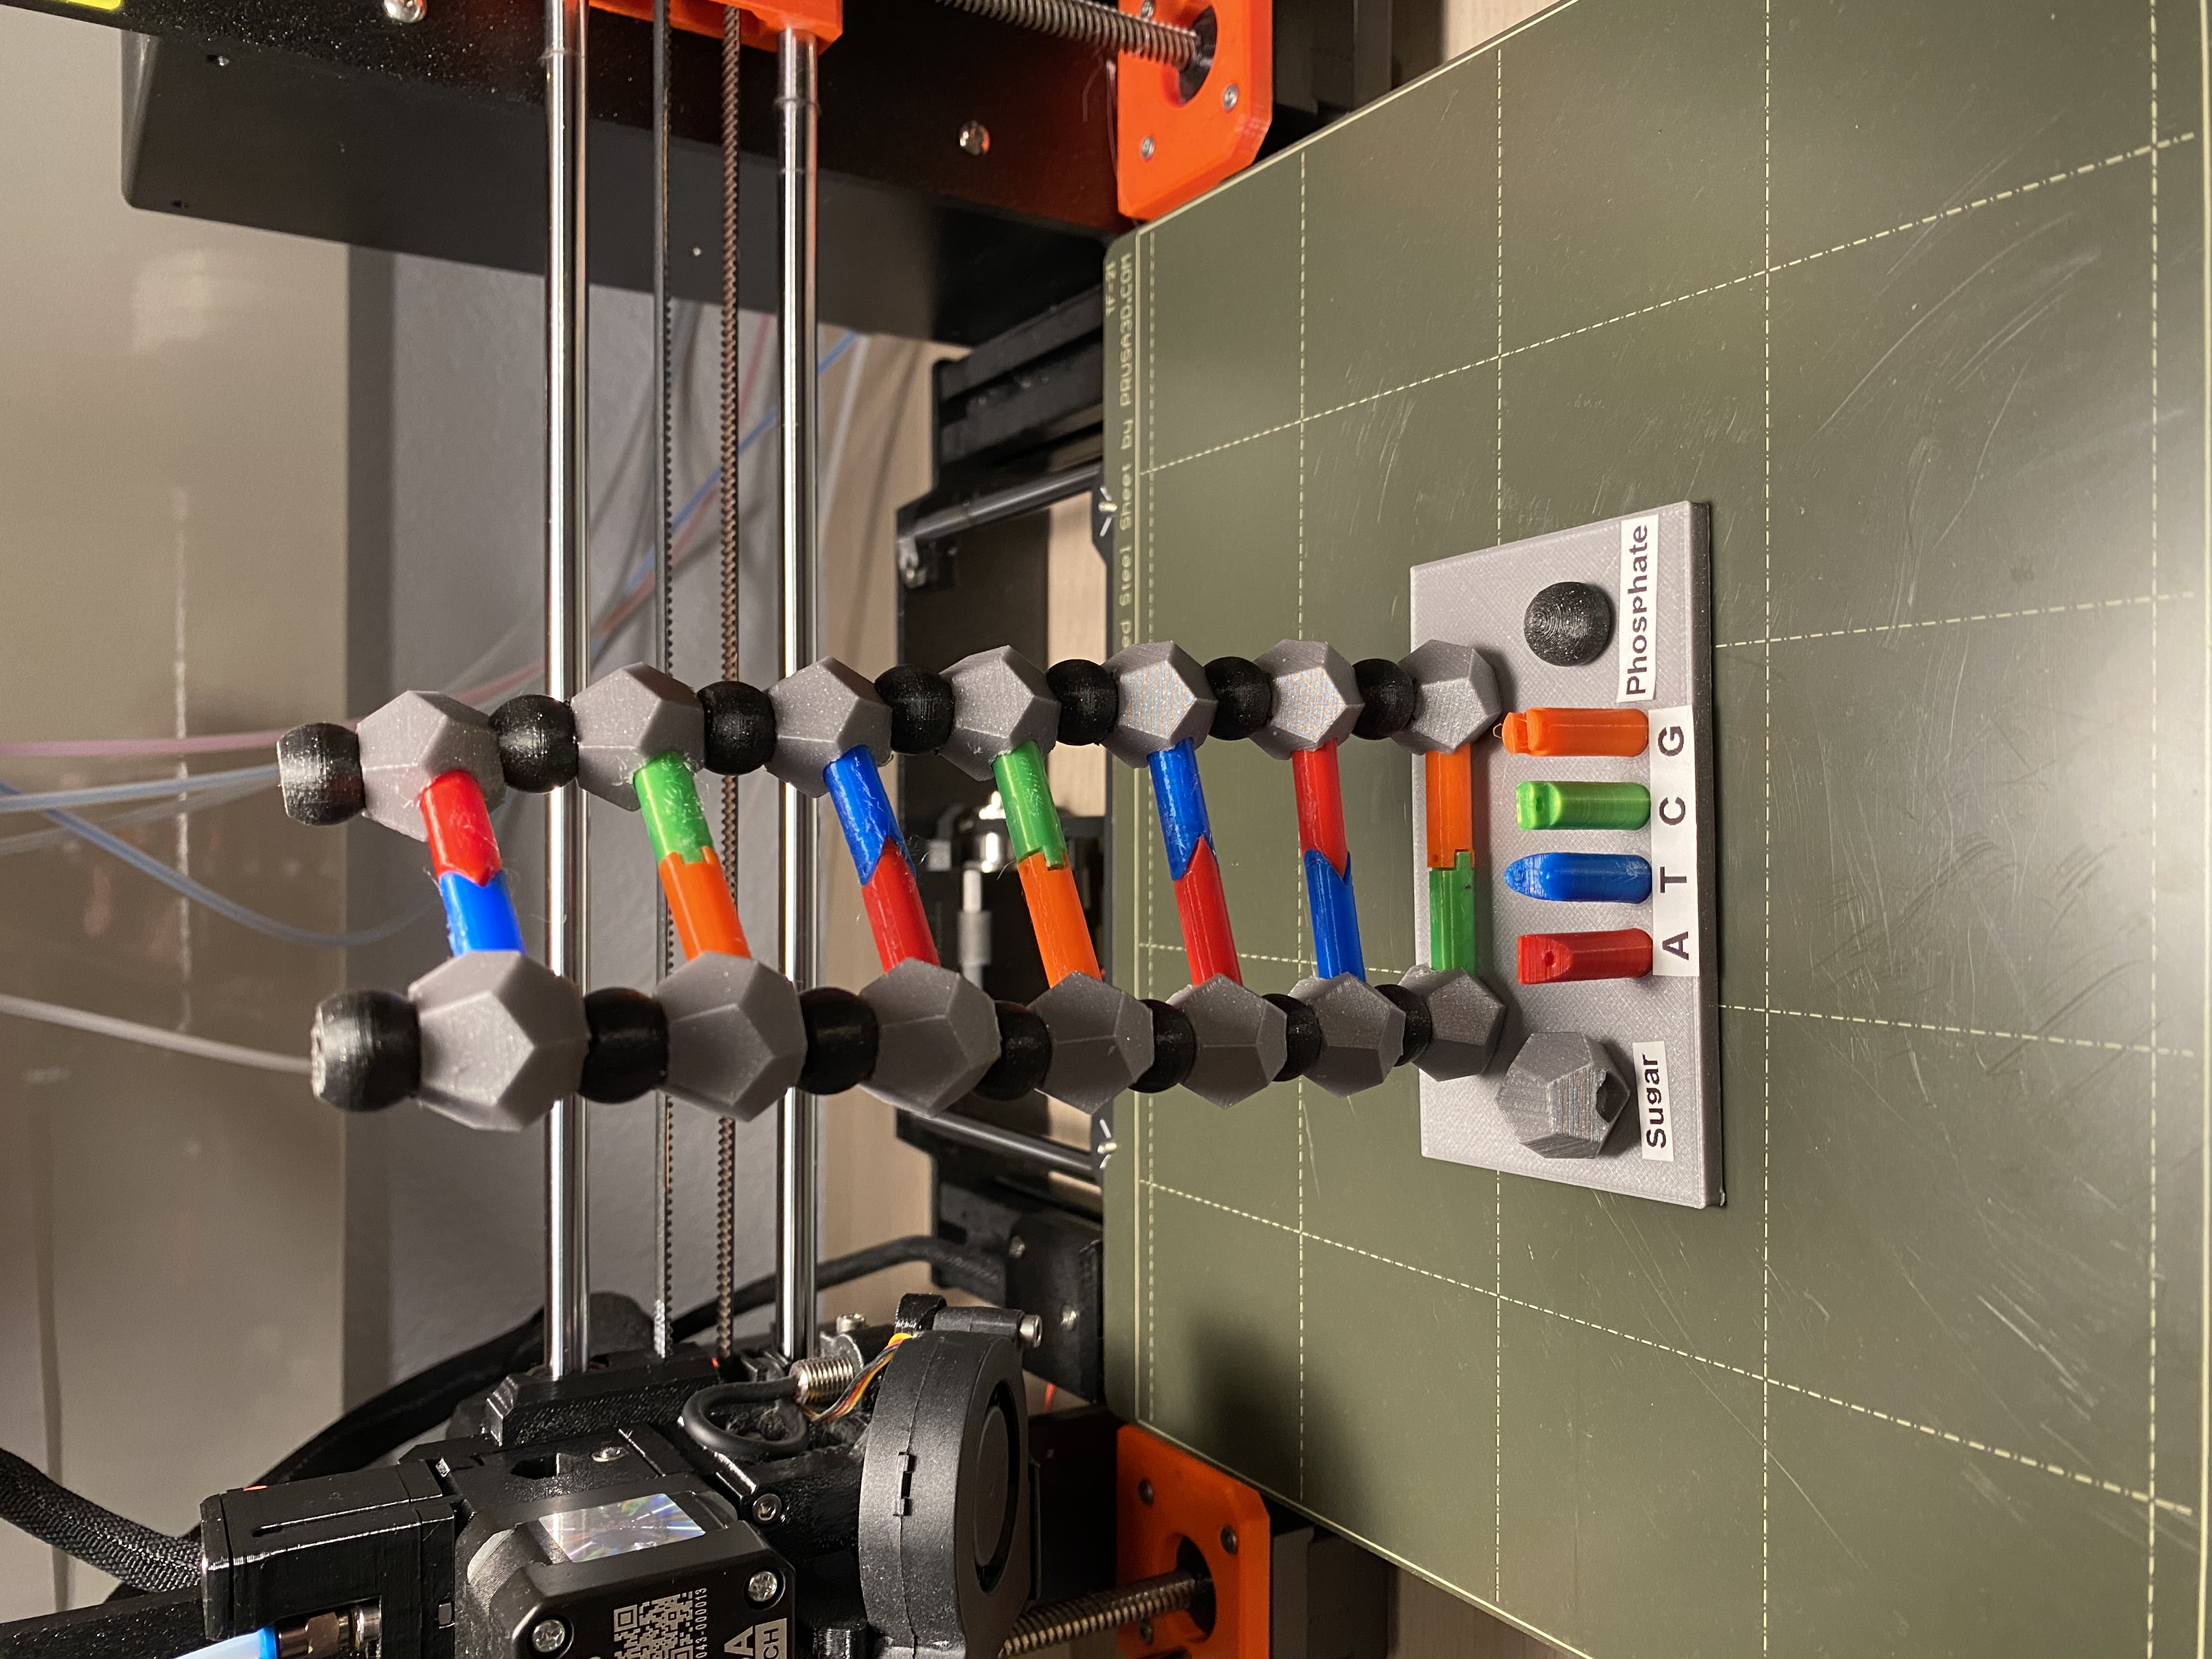
DNA Model
prusaprinters
<p>This Model is my first version of a DNA strand. I am making a version 2 that will improve on almost all of the design features. </p><p>When assembling this design, you need to print the double helix model. I do not suggest slicing your own models because the original files are a little finicky in their placement in the slicer. This model has failed for me mid print a few times so I suggest watching it in case something happens to it. This should be fixed in the second version. </p><p>You need to print each base .gcode once. </p><p>Once all support material is removed you can insert the bases into their appropriate slots. They are a tight fit so I recommend using pliers. I used superglue to connect all of the bases together. </p><p>Once the whole model is connected, you can glue it onto the base. </p><p> </p><p>I have provided single material prints and MMU prints to negate software issues. </p><p> </p><p>I have slightly edited the model from the one in the image. This is my first model as I am learning more about 3D modeling. </p><p>Edit: I have included the STL files for the Print so you can slice your own. The Double Helix models needed to be printed once each, and you can keep the parts together or separate them for single or multi-material printing. I print these parts at around 0.2mm to 0.15mm layer thickness and with supports set to everywhere. You will need to clean the supports out of all of those holes unless you use support blockers of some kind. </p><p>The DNA bases can be printed as many times you would like for your own combinations. You will need to print base T the same amount as base A, and base C the same amount as base G. </p>
With this file you will be able to print DNA Model with your 3D printer. Click on the button and save the file on your computer to work, edit or customize your design. You can also find more 3D designs for printers on DNA Model.
