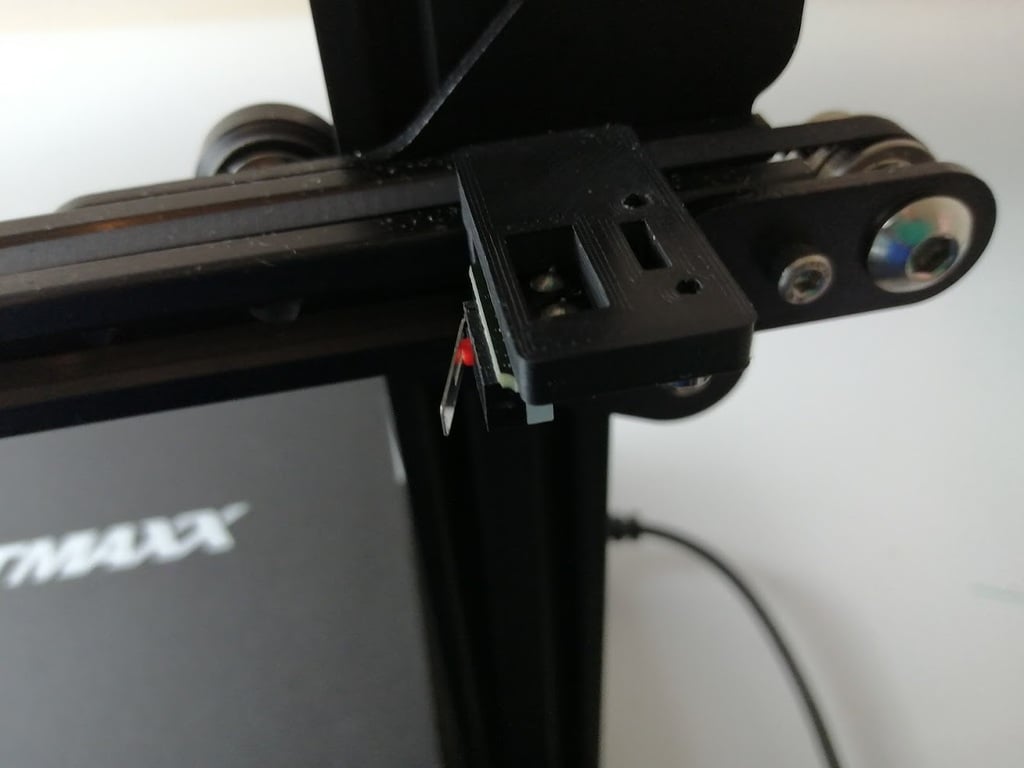
DLSR time lapse trigger bracket 2020 extrusion ender creality lotmaxx
thingiverse
This bracket holds a standard Cerality style endstop that can be positioned at the end of the X-axis to trigger a DSLR camera for timelapse photography of your prints. Tested on Ender 3 and Lotmaxx SC-10, but should work on most printers using 2020 extrusion for the X-axis. Parts needed: 1x Cerality style endstop 2x M3x5 bolts (to attach the endstop to bracket) 2x M3 T-nuts 2x M3x10 bolts (to attach the bracket to 2020 extrusion) Resistors for your camera's remote trigger A range of wiring schematics for different cameras' remote triggers can be found here: http://doc-diy.net/photo/remote_pinout/ Example change layer code: G90; Absolute Positioning G1 F9000 X236 Y240; Quick Move G1 F1000 X238; Shutter Bump G4 P700; Hold G1 F9000 X236; Quick move This code is for my Lotmaxx SC-10, for other printers you will need to change the X & Y values to match your build volume. https://youtu.be/vDxkmtva1Xw
With this file you will be able to print DLSR time lapse trigger bracket 2020 extrusion ender creality lotmaxx with your 3D printer. Click on the button and save the file on your computer to work, edit or customize your design. You can also find more 3D designs for printers on DLSR time lapse trigger bracket 2020 extrusion ender creality lotmaxx.
