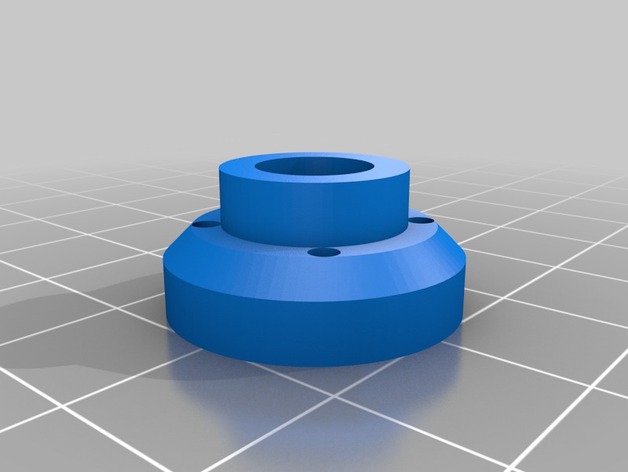
dji inspire arm lifting mechanism
thingiverse
I have modified the arm lifting mechanism to incorporate a rugged nut for an 8mm trapezoidal lead screw - a configuration commonly used in many 3D printers. Additionally, there are openings to run wires for the limit switches. You can view the uncomplicated wiring diagram on rcgroups, which provides a straightforward solution to connect the limit switches to the servo without resorting to complicated systems or microcontrollers like Arduino. This solution merely requires the addition of two diodes and some wire. http://www.rcgroups.com/forums/showthread.php?t=2327044 The rod adaptor screws onto a round servo arm, while the 8mm rod fits into it snugly. To accomplish this, you will need to employ a rotary tool (such as a Dremel) to engrave a flat spot on the 8mm rod. A hole for a 2mm setscrew is also provided. As for the front and back parts that slot into the frame, some filing or sanding may be necessary. This was intentionally done to eliminate slack from the system.
With this file you will be able to print dji inspire arm lifting mechanism with your 3D printer. Click on the button and save the file on your computer to work, edit or customize your design. You can also find more 3D designs for printers on dji inspire arm lifting mechanism.
