DJI/Caddx Air Unit Gimbal Sled Mount
thingiverse
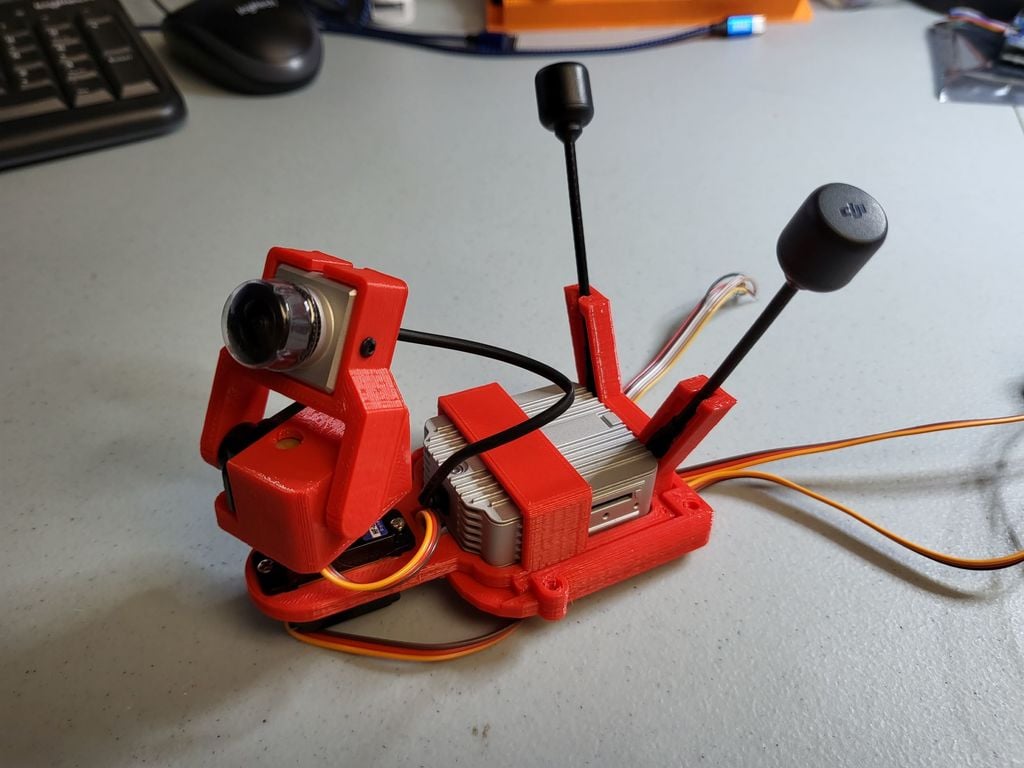
This is a set of parts to mount a Caddx Air Unit and gimballed servos on the front of an RC plane via a removal sled. This allows reuse of the expensive camera system on multiple planes. https://youtu.be/-2Ksvu3-FmI ## Features - Sled that makes removal of all the expensive parts easy - Pan and Tilt movement - Wires are routed to the bottom of the system - Fixed angle antenna guides ## Components 1) Base - this will screw/attach and remain fixed to each plane 2) Sled - the component that slides into and out of the base, holds the air unit, and the pan servo. 3) Pan - the component that rotates horizontally and holds the tilt servo 4) Tilt - the tilting mount for the camera ## Servos The servo attachments are sized for 9g servos. But servos even in the same category seem to come in slightly inconsistent dimensions which makes fitting to models frustrating. These are the exact servos that were used: https://www.amazon.com/gp/product/B08Z386Y3P/ref=ppx_yo_dt_b_search_asin_title?ie=UTF8&psc=1 Assembly also uses the plastic lever arms that come with the servos. ## Instructions This can be tricky to assemble so here are the steps: - Slide the sled onto the base to test the fit - Remove the sled - Attach the wires to the Air Unit and hold them along the bottom - Slide the Air Unit halfway into the sled making sure not to pinch the wires. There is a conduit for the wires to fit into. - Attach the antennas to the Air Unit - Slide the Air Unit all the way back lining the antenna into the guides - Run the Air Unit wires through the hole in the bottom of the sled. - Attach and screw in the first servo to the sled - Take one of the servo lever arms and trim the plastic that protrudes upwards where the screw enters so the top surface is completely flat. - Attach it to the servo pointing backwards, place the Pan Component on top, and screw it on from the inside. Note that the stock screws are going to be too short for this. You will need a 6mm M2 screw. - Slide the second servo into the Pan Component, guiding the wire in first through the slot made for this purpose. Screw it on. Guide the wire backwards and through the same sled slot that the Air Unit wires were fed. - Attach the Tilt Component across the Pan Component. Once the servo gear is through the arm hole, use another servo lever arm screwed on to fix it in place. - Feed the camera wire through the slot and screw the camera into place. - use a wire wrap to group the wires together below. ## Head Tracker For the head tracker I used this open source project which uses low cost arduino boards and routes the movement through your radio trainer port: https://headtracker.gitbook.io/head-tracker/
With this file you will be able to print DJI/Caddx Air Unit Gimbal Sled Mount with your 3D printer. Click on the button and save the file on your computer to work, edit or customize your design. You can also find more 3D designs for printers on DJI/Caddx Air Unit Gimbal Sled Mount.