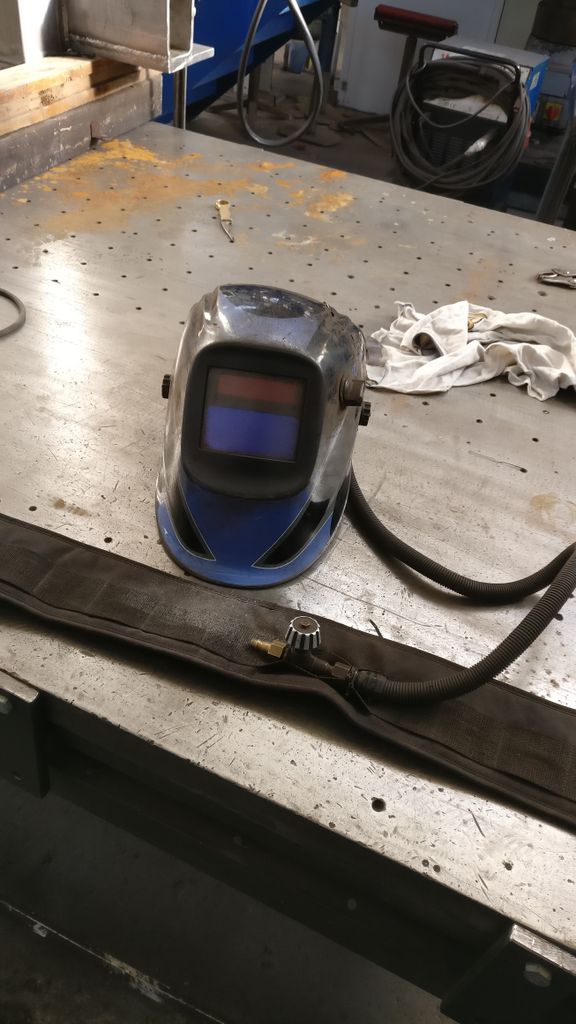
DIY Welding Helmet Ventilation/ Schweißhelmbelüftung
thingiverse
Welding fumes can severely damage your health, particularly when welding stainless steel. My colleague and I decided to create our own 3M speedglass-style ventilation system powered by our workshop's compressor. Here's how you can make one: First, find a pressure regulator (available on eBay), an old belt, some zip ties, a flexible hose with a 19mm inner diameter, and either double-sided tape or Velcro. Next, attach the hose to the printed part, then connect the other end to the pressure regulator. You may need extra fittings for this step. Now, secure the regulator to the belt using any necessary tools. Finally, glue or tape the printed part inside your welding helmet above the darkening module (see image). Use zip ties to attach the hose to the helmet and provide strain relief. Congratulations – you now have a crude but functional ventilation system that protects you from welding fumes. During summer months, this system can also be refreshing by blowing cool air into your helmet, which helps prevent fogging. A quick tip: To reduce noise caused by escaping air, try stuffing some cloth or carbon filters into the tube or printed part.
With this file you will be able to print DIY Welding Helmet Ventilation/ Schweißhelmbelüftung with your 3D printer. Click on the button and save the file on your computer to work, edit or customize your design. You can also find more 3D designs for printers on DIY Welding Helmet Ventilation/ Schweißhelmbelüftung.
