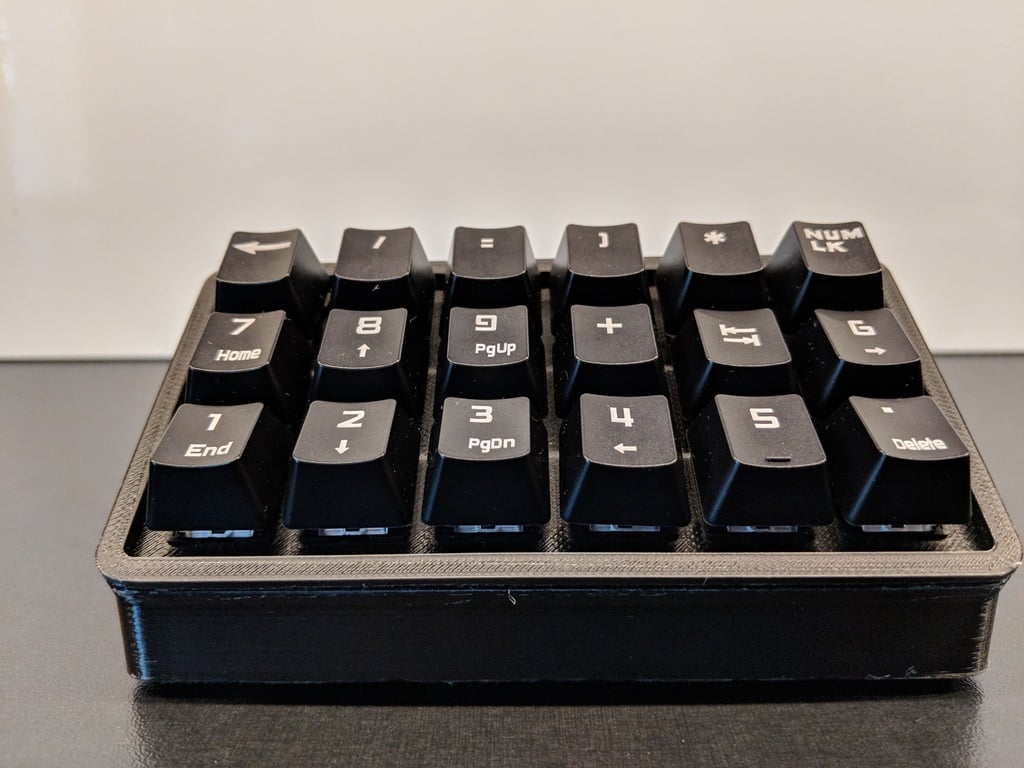
Diy Stream Deck : Arduino Serial Keyboard
thingiverse
The last few days I was crafting this innovative shortcut keyboard that can press keys or launch programs. It's all built out of a USB Mechanical Numpad, an Arduino, and a 3D Printed Case. ------------------------------------ What you need: - Mechanical Numpad: https://amzn.to/2O6ameQ (de) / https://amzn.to/2TmKz5Z (us) - Arduino Uno - Pulldown Resistors - 3D Printed Case I actually used a different Mechanical Numpad from Amazon, but it turned out that the one I used jumped in price and then just vanished. ----------------------------------------- How to assemble: First of all, you'll need to disassemble the Mechanical Numpad or get some Mechanical Key switches and Key caps. Then, start pressing the Key switches into the top part of the Case and begin soldering one pin of every switch in each row to a ground bar. When you have a ground bar on every row, connect all ground bars together and hook them up to the ground of the Arduino. If you want to use Pulldown resistors, solder them from the free pin of a switch to via the resistor to the ground bar. Whether you used Pulldowns or not, you need to connect the opposite pin to the ground bar to one Arduino pin. How you wire it up doesn't matter; you can change the Arduino program to fit your wiring. At last, you'll need to solder a USB cable to the Arduino Uno. I used the one that came with the Numpad from Amazon (that's why there is the rectangular hole in the back), but you can use any USB cable you have laying around just check to connect it correctly. ----------------------------------------- The program: You can find the Arduino Sketch under Thing Files inside the "Arduino Sketch.txt". In the Arduino Sketch, you'll need to change the Button pins to the ones you used. Button1 needs to be on the bottom left switch on your keyboard, then it counts up to the right side until Button6 and then goes up one row. When you're done, you can upload the sketch and continue with installing the program. The program to assign the Button presses to Shortcuts etc is also under Thing Files in the folder "Serial Keyboard Emulator". In this program, connect your Arduino via Serial in the Top right corner and then start assigning buttons to do what you want. To assign a button, just press on it and the "ButtonAssign" window will pop up. In this Window, you can select what the button should do when pressed. Via the Press Key function, you can press single keys like "s" or multiple keys like "Hello" or shortcuts like "^%*" (Ctrl + ALT + *). You can find the Key to Code assignments under Thing Files or here: https://bit.ly/2PZXmcz. Via start program / website, you can select a program path or type in a website to start. With the help of the Media Control, you can play/pause, play the next track, and play the previous track. With the Volume Control, you can set the Volume to a specific number like "50" or Increase/Decrease the Volume by a specific number like +/- "5". ----------------------------------------- In the Change of a little tip of 5€, you could get an extended version of the "Serial Keyboard Emulator" which adds functions to control your Hue lights (On/Off/Blink/Change Color with RGB/Brightness) And allows you to start the Program with Windows and let it Auto Connect to your Arduino. You will also receive a detailed description and Support to get the Hue Control working!
With this file you will be able to print Diy Stream Deck : Arduino Serial Keyboard with your 3D printer. Click on the button and save the file on your computer to work, edit or customize your design. You can also find more 3D designs for printers on Diy Stream Deck : Arduino Serial Keyboard.
