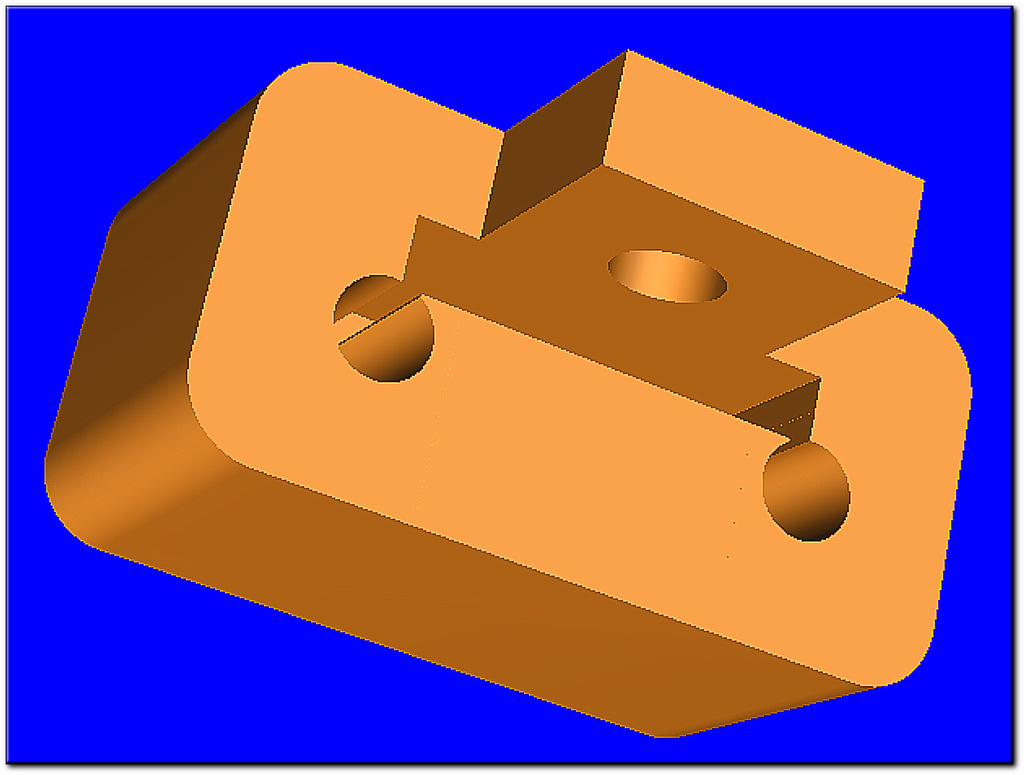
DIY Slide Rail EndCap.
thingiverse
You can build your own 12-inch section of slide rail for approximately $5 per foot. The main rail component utilizes a 12-inch Steel Zinc-Plated Corner Brace and two 12-inch long 1/4-inch diameter round Steel Rods. A 3D printed EndCap securely holds the two 12-inch Steel Rods next to the Steel Corner Brace, creating a slide rail. Standard Patio Door Bearings can be used to create a carriage that travels up and down the slide rail. All necessary parts are typically available at your local hardware store. To assemble the 3D printed EndCaps onto the rail, you will need 1/4 inch diameter Nuts, Bolts, and Washers. Steel Corner Braces come in straight bars and right angle corner brackets. They can be combined to create a sturdy frame for a 3D printer.
With this file you will be able to print DIY Slide Rail EndCap. with your 3D printer. Click on the button and save the file on your computer to work, edit or customize your design. You can also find more 3D designs for printers on DIY Slide Rail EndCap..
