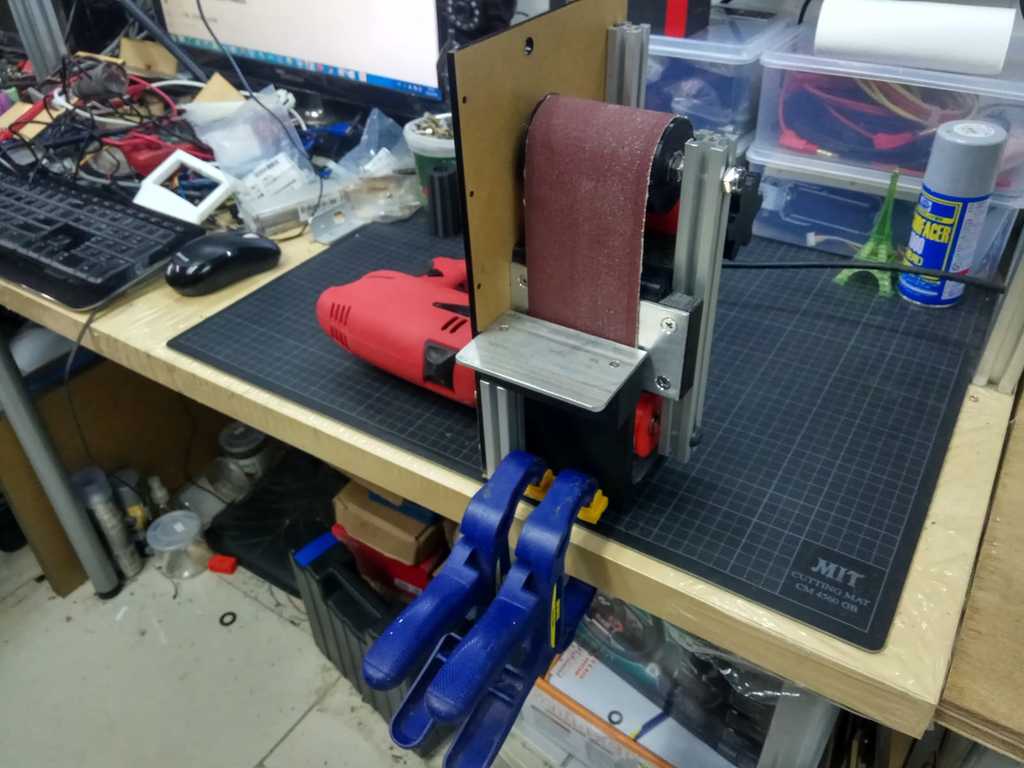
DIY Sander
thingiverse
I'll Convert an Electric Drill into a Sander. To transform your electric drill into a versatile power tool capable of handling various tasks, you can make some simple modifications. First and foremost, it's crucial to understand the fundamental differences between drills and sanders. Drills are designed for driving screws, drilling holes, or mixing materials, whereas sanders are meant for smoothing surfaces by removing tiny amounts of material. Given this understanding, we can start modifying your drill to resemble a sander. You'll need the following items: an electric drill, a wooden base, sandpaper, glue, and some basic tools like screwdrivers and pliers. Begin by taking apart the electric drill's housing. This will give you access to the internal components that drive the drill bit. Remove any unnecessary parts and set them aside for now. Next, attach the wooden base to the drill using screws or another suitable fastening method. Ensure it is securely attached to prevent movement during operation. Now, let's create a makeshift sanding pad by gluing some sandpaper onto the drill's bit holder. This will serve as the primary contact point between the tool and the work surface. Be sure to apply even pressure to ensure the sandpaper adheres properly. Finally, reassemble your electric drill with its new sander attachment. Ensure all components are securely fastened before powering it on for a test run. With your modified drill now functioning as a sander, you can tackle various tasks such as smoothing wood surfaces or removing old finishes.
With this file you will be able to print DIY Sander with your 3D printer. Click on the button and save the file on your computer to work, edit or customize your design. You can also find more 3D designs for printers on DIY Sander.
