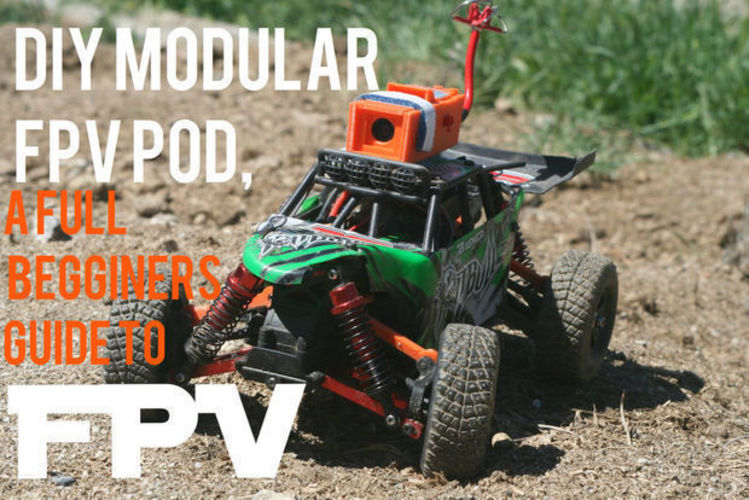
Diy Modular FPV Pod
pinshape
SummaryFPV is a highly enjoyable and practical aspect of the R/C hobby, but it can be a significant challenge to use, especially when attempting to utilize the same system across multiple models. This is why I created the 3D printed FPV pod! Here are some key features of the Pod: The FPV pod or just Pod for short, is designed to be used on any and all your models. The Pod can be easily moved from model to model with no tape, hot-glue, or other adhesives required. The Pod is fast and easy to assemble, thanks to convenient velcro straps and lightweight yet strong 3D printed parts that snap into place. The Pod features a modular camera mounting system, ideal for models where you cannot or do not want to mount your VTX and Camera next to each other. There are two main pieces to the Pod: the main pod and the camera pod. The camera pod nests inside the main pod for storage and regular mode. However, when needed, you can remove the camera pod from the main pod and extend it up to 210mm away. This project requires a basic understanding of soldering and a 3D printer, but other than that, no other tools are involved in making the Pod and everything that goes into it. Even if you don't own a 3D printer, but still want to try out FPV, feel free to read the Instructable. I will be showing how to use or upgrade your existing FPV system even without a pod. Now you might be asking what is FPV and why would I want it? Here's an excerpt from www.droneflyers.com that answers that question: "What FPV means is 'First Person View' which means a video camera is mounted on the vehicle and broadcasts the live video to the pilot on the ground so the pilot is flying the aircraft as if they were onboard the aircraft instead of looking at it from their actual ground position. FPV allows you to fly much higher and further than you can from looking at the aircraft from the ground." FPV control also enables more precise flying around obstacles, especially with vehicles like quadcopters which can easily fly indoors and through forests via FPV where you wouldn't be able to see obstacles from a fixed position. I'd like to give a big thanks to Banggood for sending me the awesome FPV gear I used in this project! Here are the links to the products they sent me: Camera: goo.gl/HQaQz4 Transmitter: goo.gl/NxkWVo Print Settings: Printer: Wanhao USA Duplicator i3 V.2 Resolution: 0.1mm Infill: 100% Notes: Printing the parts is straightforward, and if you have a 3D printer, I imagine you know how to use it. So I'll show the settings and all that basic stuff (and of course give the STL files). Here are the settings I used: FPV Pod: Infill: 30% Print Speed: 60mm/s Layer Height: 0.1mm Support: Yes, Type: lines FPV Camera Pod: Infill: 30% Print Speed: 60mm/s Layer Height: 0.1mm Support: Yes, Type: lines Pod Lid: Infill: 30% Print Speed: 60mm/s Layer Height: 0.1mm Support: Yes, Type: lines VTX Holder: Infill: 30% Print Speed: 60mm/s Layer Height: 0.1mm Support: Yes, Type: lines Front Cover: Infill: 30% Print Speed: 60mm/s Layer Height: 0.1mm Support: Yes, Type: lines
With this file you will be able to print Diy Modular FPV Pod with your 3D printer. Click on the button and save the file on your computer to work, edit or customize your design. You can also find more 3D designs for printers on Diy Modular FPV Pod.
