DIY Kayak Cart
thingiverse
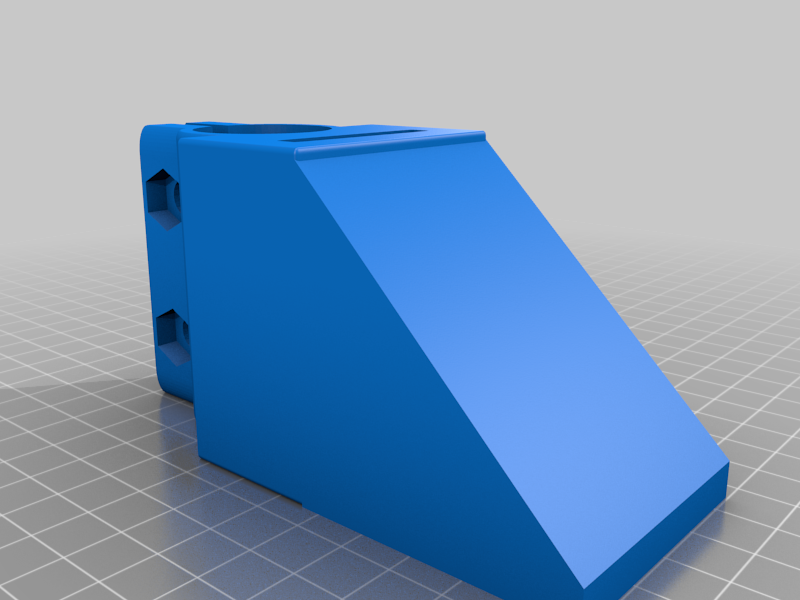
This is a part that you can use to make your own cheap, easy kayak card for rolling your kayak to and from the water! Best part is you don't have to put anything through your scupper holes (on sit on top kayaks) and risk damaging them. This is a work in progress and I have not tested this yet. If you are feeling brave then try it out and let me know how it goes or remix it! You will need 2 of the parts printed (one for each side). Other parts you will need to build it: 1x Length of 3/4'' PVC pipe. (how long depends on how wide your kayak is) 1x Length of threaded rod (slightly longer than the PVC) (thick is good but it should go through the lugs on your wheels) 2x Nylock nuts that fit your threaded rod. 2x wheels (cheap plastic wheels would work fine) 4x 1/2''washers (one for each side of each wheel) 1x Ratcheting strap 4x M8 nut and bolt How to build: 1. The printed part is made to slide onto the PVC and you can use the M8 nuts in the clamping holes to clamp them down. It is adjustable to the size (width) of your kayak. They should be arranged in opposite orientations so that the wedges on top contour to the sides of your kayak. 2. Slide the threaded rod through the PVC pipe so that it sticks out of each end and put a washer on each end. 3. Slide your wheels onto the ends of the threaded rod and add another washer to each end. 4. Secure the ends of the threaded rod with the nylock nuts. (do not tighten down on the wheels as this will prevent them from turning. 5. String the ratcheting strap through the slots on both printed parts. 6. ALL DONE! Just put your kayak across the cart so that it contacts both printed pieces and tighten the ratchet strap across the top. Now you can use the pull handle on the front of your kayak to roll it to the water!
With this file you will be able to print DIY Kayak Cart with your 3D printer. Click on the button and save the file on your computer to work, edit or customize your design. You can also find more 3D designs for printers on DIY Kayak Cart.
