DIY Joypad for Vintage Computers
prusaprinters
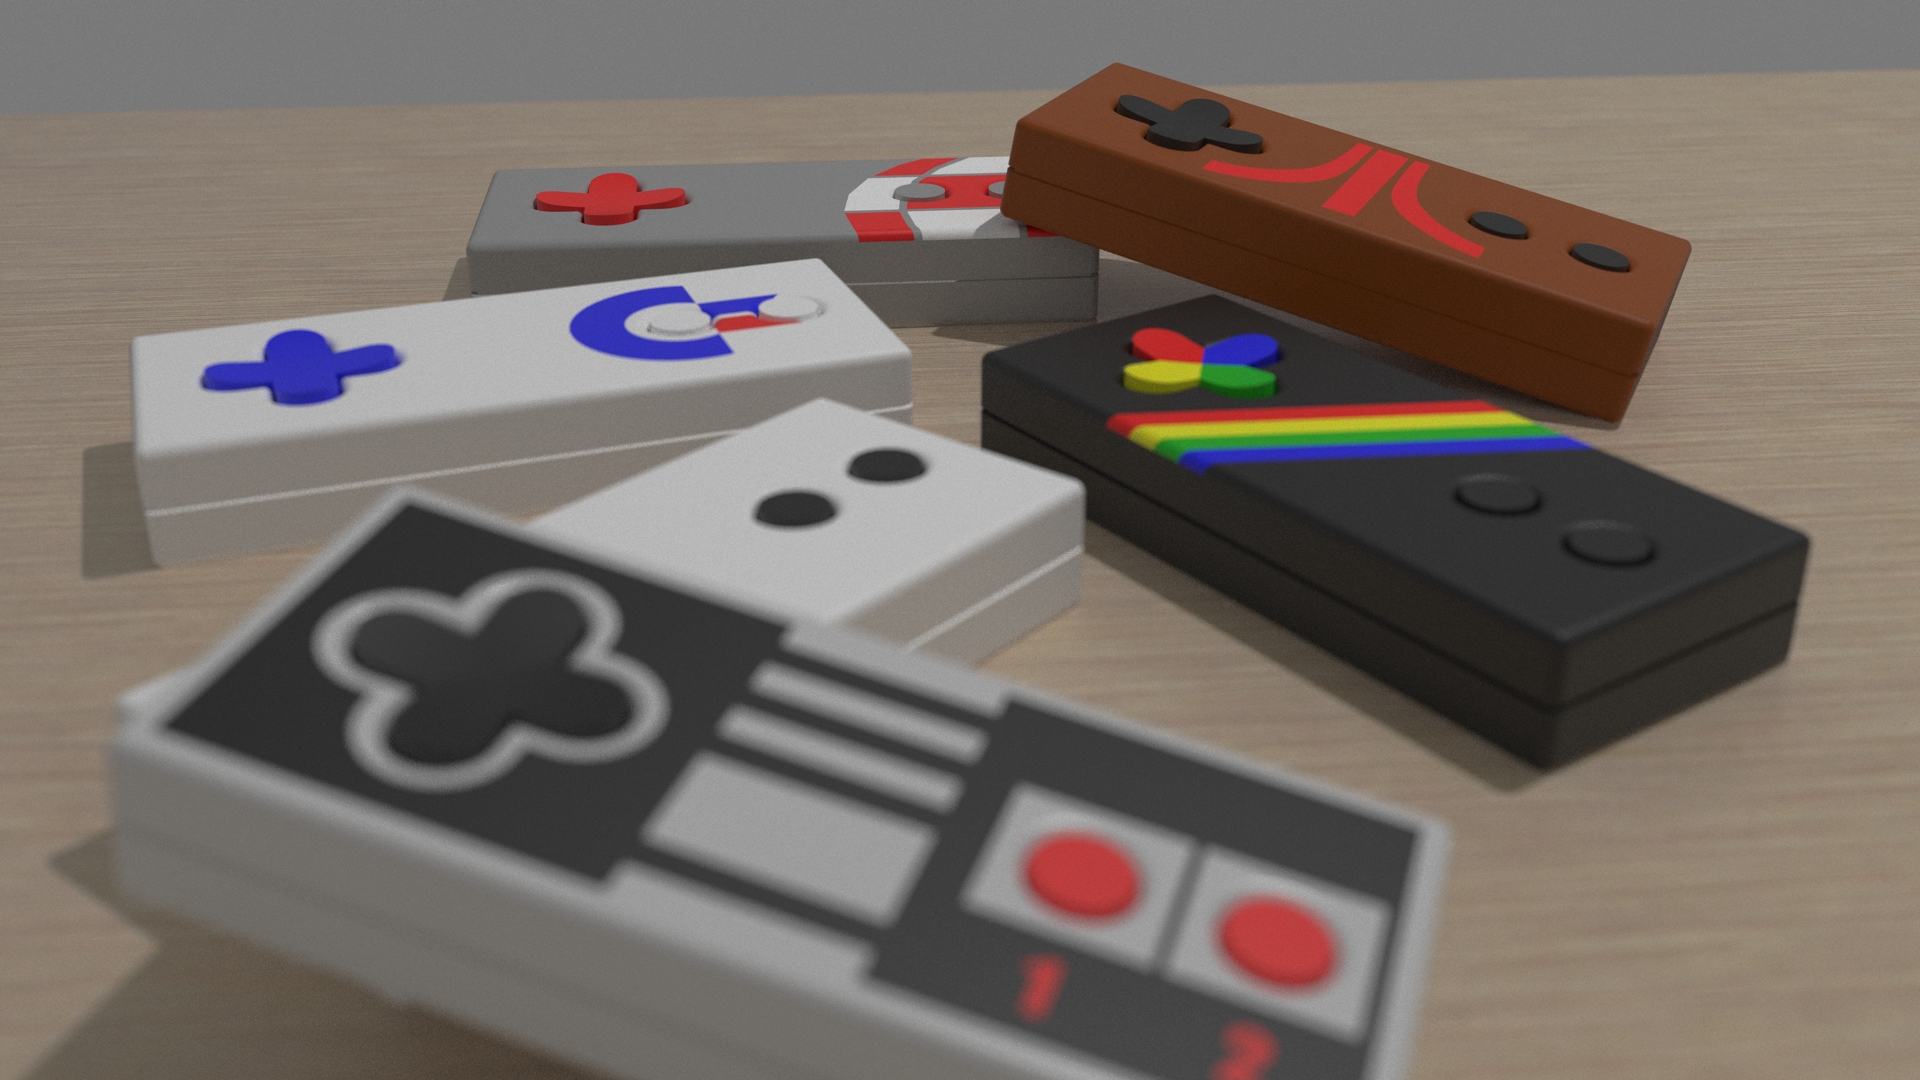
<p>This is a simple joy pad that can be used with many older computers with a 9pin joystick ports for example the C64, Atari, Spectrum, Amiga etc.</p> <p>There are several designs that can be printed if you have a MMU or some other multi-material system.</p> <p>It uses 6mm tactile switches (if anyone knows of tac switches that are silent please let me know!) which are directly supported in the case. NO PCB NEEDED!! :D The wires are directly soldered to the switches and the ground is linked between them.</p> <p>3MF files are provided where multi material printing is needed.</p> <h3>Print instructions</h3><p>Each joypad needs 5 printed parts:</p> <p><strong>Base</strong> (same for all)<br/> <strong>Front</strong> (may also have other parts for logos)<br/> <strong>D Pad</strong> (most use the common)<br/> <strong>Buttons</strong> (same for all)<br/> <strong>Strain Relief</strong> (same for all)</p> <p>Also needed:<br/> <strong>6 x</strong> 6mm tactile push switches.<br/> <strong>4 x</strong> 3mmx10mm self tapping screw<br/> <strong>2 x</strong> 3mmx6mm self tapping screw<br/> 6mm outside diameter 9 core cable (probably at least 2 meters)</p> <p><strong><em>To build</em></strong><br/> -Push the tactile switches into holders in the base part.<br/> -Each switch needs to be soldered to a wire in the cable. (Remember the colours used for each position. See photo for how I soldered mine)<br/> -One wire needs to be ground and connected to the other side of each switch.<br/> -The cable is then secured using the strain relief and the 2 x 3mmx6mm screws.<br/> -Place the front case half upside-down and insert the D-Pad and buttons.<br/> -Close the base half of the case on the upside-down front half and use the 4 x 3mmx10mm screws to secure it down.<br/> -The other end of the cable solder on a 9 pin D sub with the pinout for which ever computer you are using.</p> <p><strong>-Why 9 way cable?-</strong><br/> It was what I had on hand ;) Also some computers output 5V and I have been thinking about using a 555 timer or small ATTiny to run a autofire option - spaces for switches are left for this purpose.</p>
With this file you will be able to print DIY Joypad for Vintage Computers with your 3D printer. Click on the button and save the file on your computer to work, edit or customize your design. You can also find more 3D designs for printers on DIY Joypad for Vintage Computers.
