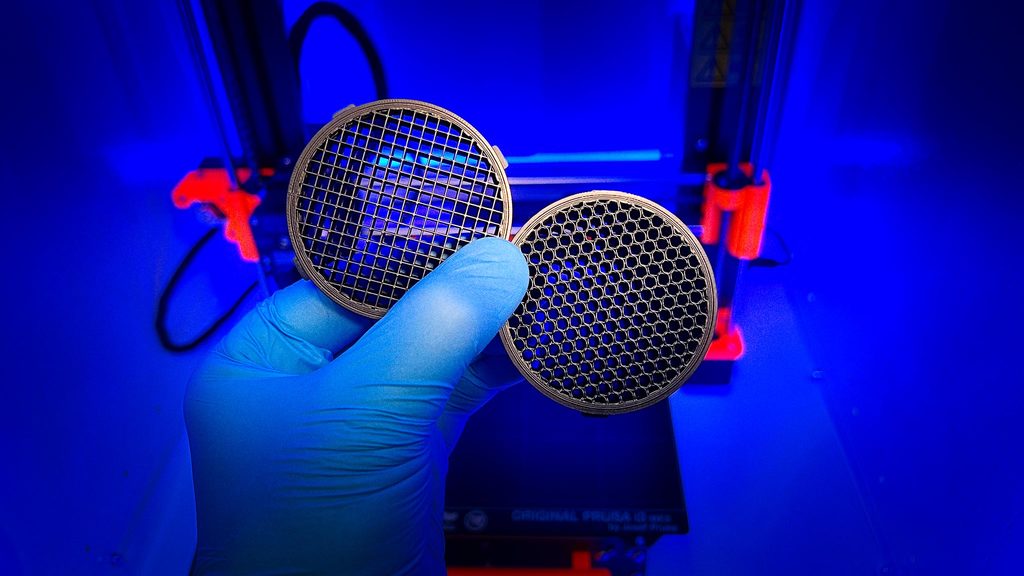
DIY Honeycomb Grid Godox AD200 / V1
thingiverse
I designed a 20° and 30° honeycomb grid compatible with the Godox AD200 / V1 flash and the AK-R1 kit that actually works. The included grid in the AK-R1 kit is a joke and does not work very well creating a small soft spot light. Be aware the honeycomb pattern is visible after you slice the 3MF files! I use the infill instead of modeling the honeycomb because it prints much faster this way. I use the honeycomb infill pattern because it creates a round spot light but takes 1 hour to print for the 30°. If you change the infill pattern to “Grid” change also the density to 25% check the screenshot above. Grid infill prints much faster (38 minutes) but it will produce of course a small square spot light when attached to your flash. In the 3MF files, modifier and infill is already set-up just open the file in Prusa Slicer change your printer, filament, slice and print. I used the 0.30mm DRAFT mode with ironing activated. My filament was Extrudr Greentec Pro Black because it has a matte finish but you can use PLA or PETG of course. UPDATE: USE THE 3MF FILES BECAUSE EVERYTHING IS ALREADY SET UP!!! The STL file is just a dummy file for Thingiverse to be able to publish this thing. More infos on my blog here: https://www.schweinert.com/diy-grid-godox-v1-ad200/
With this file you will be able to print DIY Honeycomb Grid Godox AD200 / V1 with your 3D printer. Click on the button and save the file on your computer to work, edit or customize your design. You can also find more 3D designs for printers on DIY Honeycomb Grid Godox AD200 / V1.
