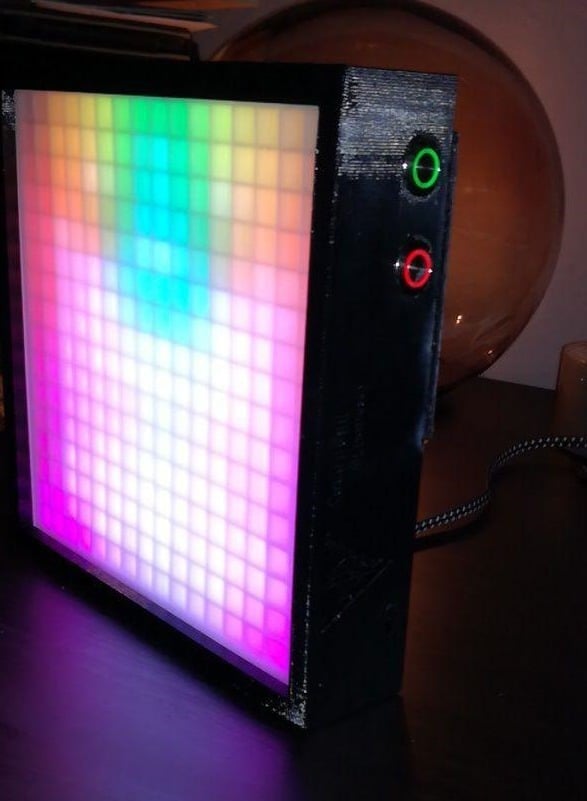
DIY GameFrame Frame and Grid
thingiverse
This is a 3D-printed frame & grid inspired by Jeremy Williams' GameFrame: https://ledseq.com/product/gameframe/ The Grid for 16x16 LED Pixel Matrix can be purchased here: https://www.ebay.com/itm/8x8-16x16-8x32-WS2812-5050-Full-Color-RGB-LED-Light-Panel-Matrix-Driver-Board/172941700364?var=&hash=item284420ed0c For controlling the LEDs, I used a Teensy LC. A 5-volt, 8-ampere power supply is required for this project. The code for the Teensy LC can be found on GitHub: https://github.com/Jerware/GameFrameV2 If you're using a WS2802B LED Matrix, some changes to the Sketch will be necessary. I disabled clock-mode because the code size increased after switching from APA-LEDs to WS2802B-LEDs. 14mm LED buttons were used to control the GameFrame. https://www.ebay.com/itm/14mm-Stainless-Steel-Momentary-Push-Button-Switch-Blue-LED/141833369309?epid=910406781&hash=item2105ed76dd:g:704AAOSwCHBbHBCD The original DIY grid can be found here: https://www.thingiverse.com/thing:2430240 I removed the massive frame of the grid to fit it into a 170x170mm wooden frame. A more detailed tutorial on building your own GameFrame can be found here, courtesy of FischOderAal (Thank you!!): https://imgur.com/a/Wp1VR Please note: You need the picture-files from ledseq.com to use the gameframe. In the first place, you'll need the 00system files for the SD-Card: https://ledseq.com/product/game-frame-sd-files/ Pictures will be coming soon!
With this file you will be able to print DIY GameFrame Frame and Grid with your 3D printer. Click on the button and save the file on your computer to work, edit or customize your design. You can also find more 3D designs for printers on DIY GameFrame Frame and Grid.
