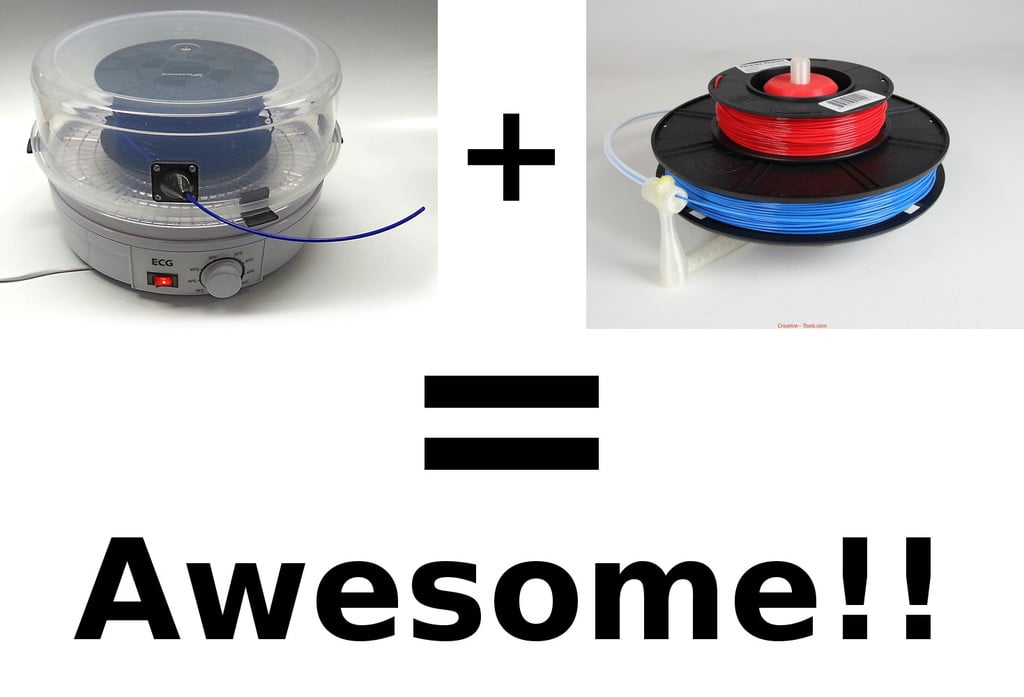
DIY Filament Dryer / Dehydrator, Tweaked v2.0
thingiverse
Shortly after creating my first filament dehydrator, I stumbled upon CreativeTools' Filament Spool Holder. My initial version worked seamlessly, but I encountered some unwanted shavings on the spool holder when switching filaments due to friction between the holder and the spool. Moreover, my original design was only compatible with specific spools, not as universally adaptable as I had envisioned. Although not a major concern, I'm a firm believer in maximizing efficiency...so here's an improved version that outshines its predecessor. Here are the links I've incorporated into this updated design: Dehydrator: https://www.amazon.com/Flexzion-Dehydrator-Food-Fruit-Dehydration/dp/B01J51JLCC/ref=sr_1_23?s=kitchen&ie=UTF8&qid=1499306986&sr=1-23&keywords=dehydrator+machine and Wilton's cake caddy, which I obtained from Joann http://www.joann.com/cake-caddy/5717806.html#q=cake%2Bcaddy&start=1, for approximately $10 (don't forget to utilize your coupons!). Sometimes Amazon is out of stock, but they do seem to have it in at this time. I'm aware that the nutrichef PKFD14 (and 14BK) won't fit the caddy, and someone mentioned that the Westinghouse http://amzn.to/2Bsxth4 isn't suitable either. Perhaps the Rosewill http://amzn.to/2HdMbJj will be compatible? You could use Dr. Boo's Filament Dryer Spacers https://www.thingiverse.com/thing:2797196 with a 5-star Chef Food Dehydrator, but since the walls are not transparent, you won't be able to see how much filament remains. I also discovered that Taulman has a dehydrator design similar to mine, so you might want to check it out if you prefer not to embark on a DIY project. To complete this setup, you'll need 2 #4 x 5/8" pan head screws, possibly spare thermal fuses, and 1/2" rubber stoppers (see below in Tips). If you're looking for suggestions for other dehydrators and tops, visit Tinkerman's original dehydrator page: https://www.thingiverse.com/thing:1618037 I didn't modify CreativeTools' duster, as the filament is enclosed within a space, making dust accumulation unlikely. My snoot is designed to accommodate a PC4-M6 Male Straight Pneumatic Connector. The PTFE tube prevents air from reaching the filament before it reaches the printer and keeps the filament from crimping. Special thanks go out to CreativeTools and Tinkerman for sharing their original ideas! *See my extra tips in printing instructions!
With this file you will be able to print DIY Filament Dryer / Dehydrator, Tweaked v2.0 with your 3D printer. Click on the button and save the file on your computer to work, edit or customize your design. You can also find more 3D designs for printers on DIY Filament Dryer / Dehydrator, Tweaked v2.0.
