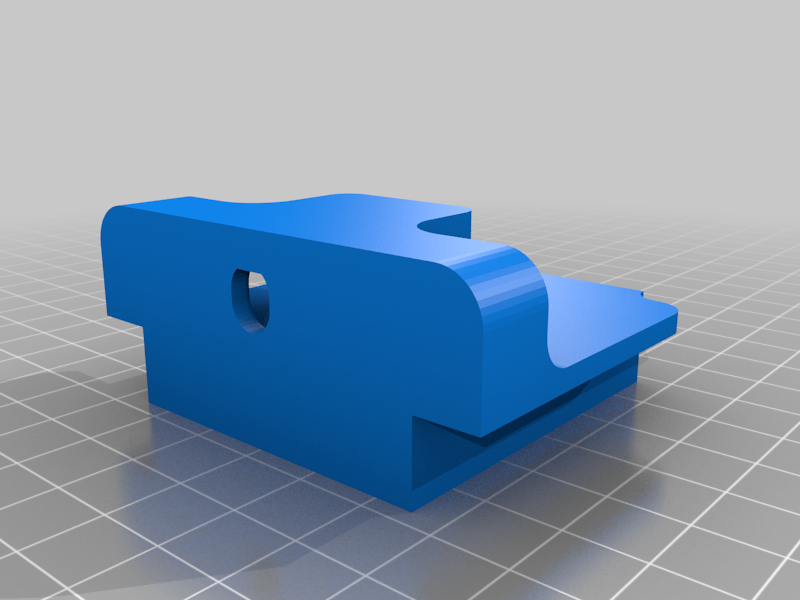
DIY Ender 3 Bed Leveller made from Digital Tread Depth Gauge
thingiverse
I got so freaking sick of needing to print TEST prints just to level my bed ... and then needing to remove the print surface to clean off the test print only to discover the act of removing and scraping the print surface caused my bed to come back out of level. I wanted to maek a way to level the bed that didn't rely on using a piece of paper or some other subjective measure of level-ness. This uses a $5 digital tire depth gauge that I bought off Ebay. Step 1 ) Simply home the head, turn off servos, then move to the front left position and drop the gauge until it JUST touches the bed. Step 2 ) Hit the ZERO button on the gauge and then lift the probe back up and move the head to the next corner. Step 3 ) Lower that corner significantly and then drop the probe until it touches. Start raising that corner until the gauge reads ZERO. Step 4 ) Repeat on the other two corners. At this point your bed should be CLOSE ... but I always do a quick zip around one more time, raising the probe, travelling to a corner, and then fine adjusting it. Just DON'T adjust the first corner ... it is your reference point from which the other three corners should be registered. Good luck! Also, if your gauge doesn't want to stay in the holder via friction you can use hot glue to hold it in place.
With this file you will be able to print DIY Ender 3 Bed Leveller made from Digital Tread Depth Gauge with your 3D printer. Click on the button and save the file on your computer to work, edit or customize your design. You can also find more 3D designs for printers on DIY Ender 3 Bed Leveller made from Digital Tread Depth Gauge.
