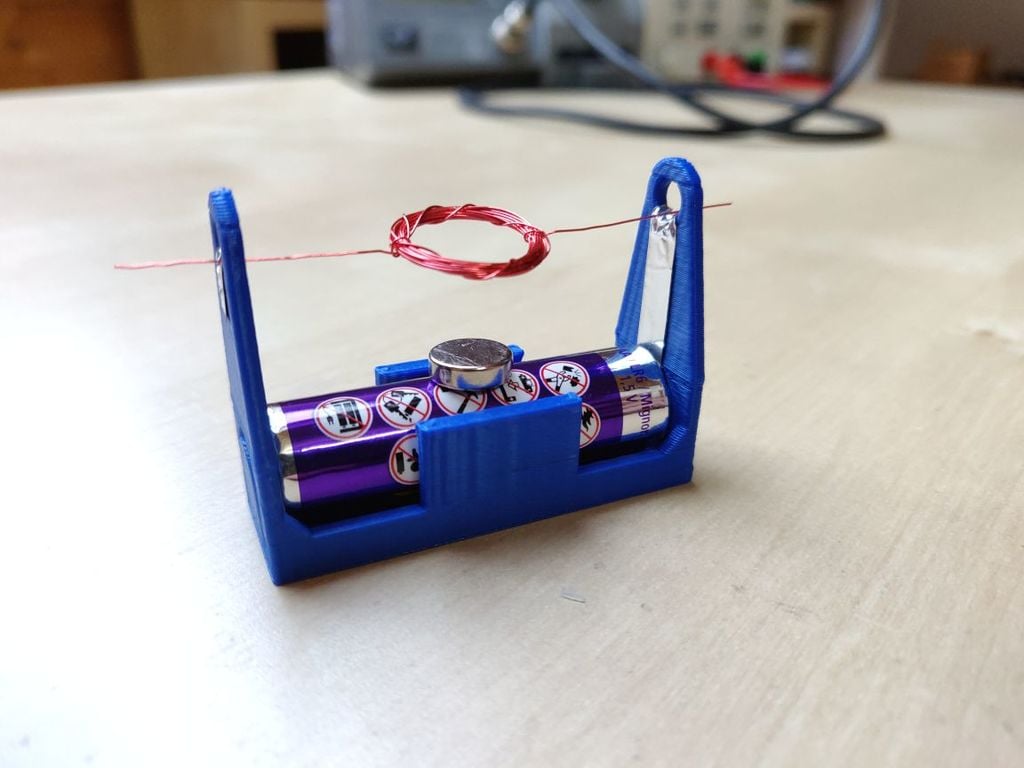
DIY electric motor
thingiverse
This simple model showcases the fundamental functionality of an electric motor. The model has been reduced to just a few parts, making it easy to build in no time. Required parts ------------------- - Printed body - AA battery - Small magnet - ~1m enamelled copper wire - Aluminum foil ~ 40mm x 20mm Instructions -------------- 1. Copper wire is wound 20-25 times around the AA battery, one end gets wrapped around the coil to hold every winding in place. Both ends are positioned to be aligned as shown in the pictures. The insulation is removed by a cutter only at the marked position by scratching 2-3 times along the wire. The overall length should be around 70mm to be inserted into the body. 2. Two pieces are cut from the aluminum foil with ~40mm x 8mm. Both are folded in half to be 40mm x 4mm. They are put through the inner bottom of the body and out the hole on top as shown in the picture. To push down the foil into the holes, a round object like a pen or screwdriver can be used. 3. The battery is carefully inserted into the body, with the aluminum foil held in place to remain in the holes. Then, the magnet gets positioned in the center of the battery. 4. The coil is inserted through one hole until it reaches the end, then through the second hole on the other side. After centering the coil, a small tip in one direction should start the motor. If the motor doesn't turn: Check if the insulation was removed properly. If the motor is not running well: Check if the axis (wire ends) are properly aligned; they can be bent to be better centered in the coil, and a little trimming might be required. To stop the motor, simply remove the coil. How it works -------------- When the uninsulated part of the coil touches the aluminum, the circuit with the battery is closed, creating a magnetic field that's repelled on one side and attracted on the other by the magnet. This leads to an impulse starting the rotation of the coil, then the circuit gets interrupted by the insulation to keep the coil from creating the magnetic field that would stop the rotation. When the coil has reached the uninsulated position again, the next impulse is created. Video of the running motor --------------------------- https://www.youtube.com/watch?v=cgkAOuLdyfM
With this file you will be able to print DIY electric motor with your 3D printer. Click on the button and save the file on your computer to work, edit or customize your design. You can also find more 3D designs for printers on DIY electric motor.
