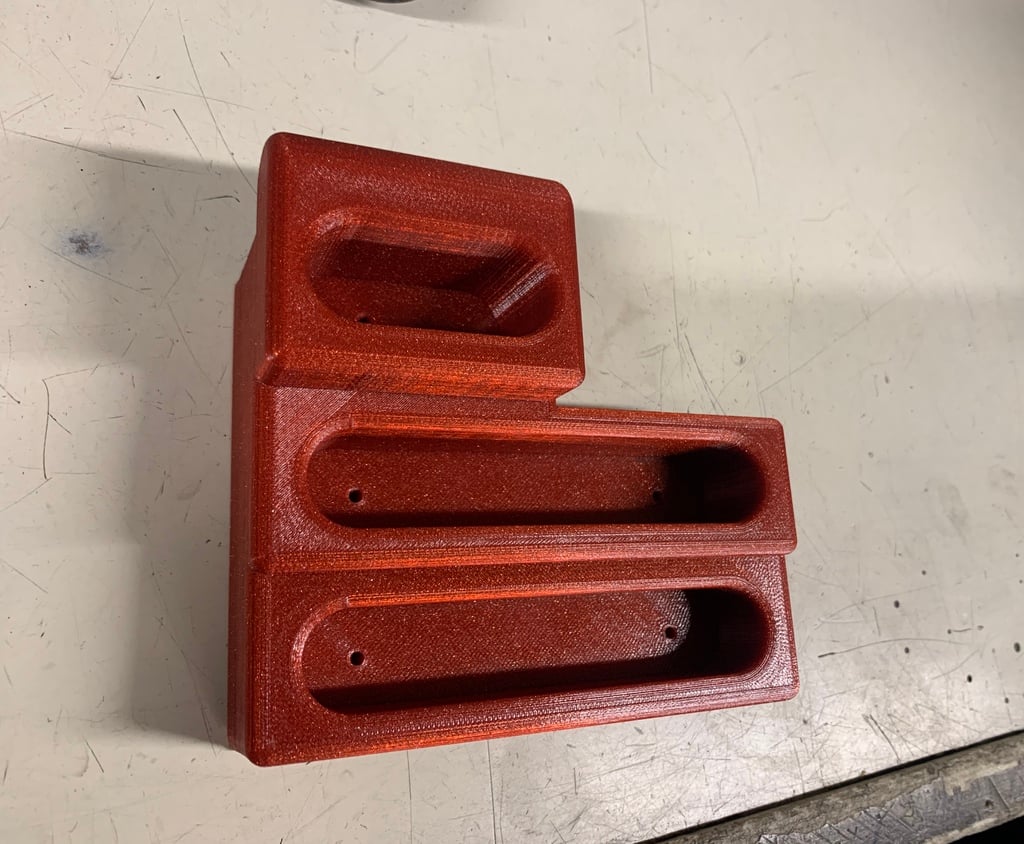
DIY Climbing Hangboard
thingiverse
Creating a Custom 2-Part Hangboard for Climbing Training at Home To start this project, gather the necessary materials, including a piece of plywood, a drill press, jigsaw, sandpaper, and a selection of screws. Measure and mark the wood to create two distinct panels: one for training your fingers on small holds and another for larger grips. Cut out the marked areas using a jigsaw, taking care not to splinter the wood. Sand the cut edges to smooth them out and remove any debris. Attach the two panels together using screws, ensuring they are securely fastened and evenly aligned. Now, let's focus on adding the holds themselves. You'll need a variety of materials for this step, including 1/4 inch plywood, a hot glue gun, and some wooden dowels. Cut the dowels to different lengths to create small, medium, and large holds. Use hot glue to attach these to the back of the 1/4 inch plywood pieces. Once the glue has dried, you can begin attaching the holds to your hangboard. Use screws to secure them firmly in place, ensuring they are evenly spaced and stable. This will provide a solid foundation for your training sessions. To add some extra realism, consider incorporating different textures into your design. You can use various materials like fabric, rubber, or even 3D printed parts to create a more authentic climbing experience. Simply attach these using hot glue, making sure they are securely fastened and won't come loose during use. Finally, give your hangboard a good sanding to smooth out any rough edges or splinters. This will ensure a comfortable grip for your hands during training sessions.
With this file you will be able to print DIY Climbing Hangboard with your 3D printer. Click on the button and save the file on your computer to work, edit or customize your design. You can also find more 3D designs for printers on DIY Climbing Hangboard.
