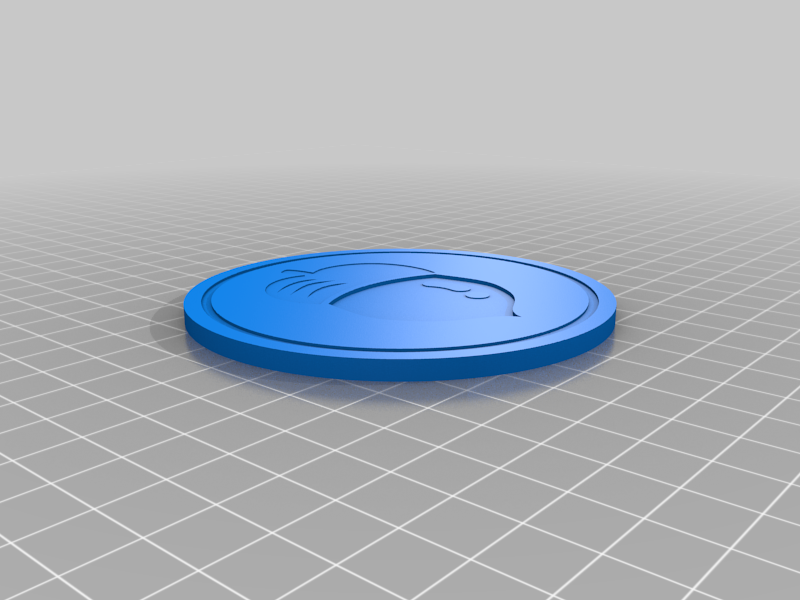
DIY Card Coaster (Animal Crossing)
thingiverse
Crafting a Customized Card Coaster is a Fun Project for Any Animal Crossing Enthusiast. To get started, gather a few simple materials that you likely have lying around your home. You'll need a piece of cardboard, scissors, glue, and some decorative items to give it a personalized touch. Cut the cardboard into a square shape, making sure it's large enough to fit a standard playing card on top. Next, cut a small notch at each corner of the cardboard to create a coaster that can sit comfortably under your favorite cup or glass. Now it's time to get creative! Use glue to attach any decorative items you like, such as stickers, stamps, or even a few strands of yarn. This is where you can really let your imagination shine and make your card coaster truly unique. Once everything is dry and in place, carefully place a playing card on top of the cardboard square. And that's it! You now have a one-of-a-kind card coaster to display proudly on your table or shelf.
With this file you will be able to print DIY Card Coaster (Animal Crossing) with your 3D printer. Click on the button and save the file on your computer to work, edit or customize your design. You can also find more 3D designs for printers on DIY Card Coaster (Animal Crossing).
